


Welcome to  -
Marg Books
-
Marg Books
Home > Marg Books > Cheque Management > What is the Process of Cheque Book Management in Marg Books?
What is the Process of Cheque Book Management in Marg Books?

Overview of Cheque Book Management in Marg Books
Process of Cheque Book Management in Marg Books
Process to Add Cheque Book at the time of Creating Payment Entry in Marg Books
OVERVIEW OF CHEQUE BOOK MANAGEMENT IN MARG BOOKS
- Every business requires cheque books of multiple banks for the purpose of doing transactions and to manage those cheques becomes hectic and time consuming.
- With the help of Cheque Book Management option in Marg Books, the user can easily maintain cheques and cheque books accurately of each bank in a systemized manner.
PROCESS OF CHEQUE BOOK MANAGEMENT IN MARG BOOKS
If the option of 'Cheque Management' doesn't appear in the software then click here
- Go to Banking >> Cheque Management.

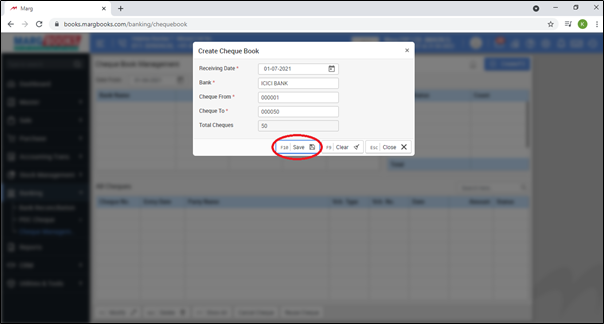
- A Create cheque book window will appear with some options which are mentioned below:
1. Receiving Date: Define the receiving date of the cheques.
Suppose mention '01/07/2021'.
2. Bank: Select the bank whose cheque book the user needs to be created.
Suppose select 'ICICI'.
Suppose, mention '00001'.
4. Cheque To: Define the last cheque number of the cheque book.
Suppose, mention '000050'.
5. Total Cheques: In this option, the software will calculate the total number of the cheques.

- Then click on 'Save' tab to save the details.
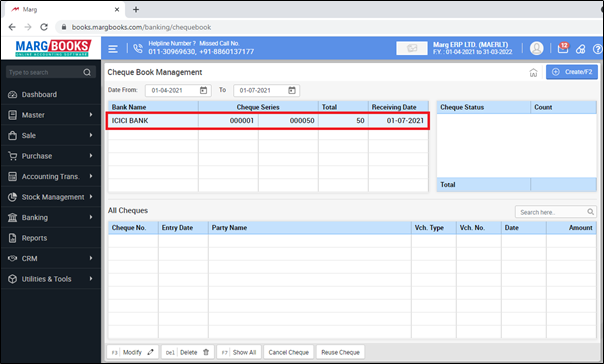
- After following the above steps, the cheque book will get added in the software.
Now Let's create a Payment entry.
- Go to Accounting Transaction >> Payment (+).
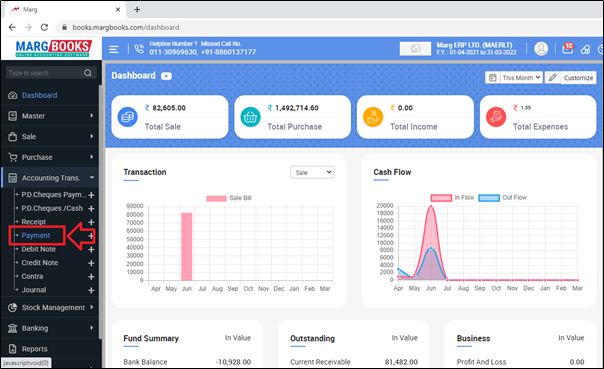
- A 'Payment Voucher' window will appear.
- In 'Payment Mode' option, the user will select the mode of the payment i.e. Bank.
- Suppose select 'ICICI Bank'.
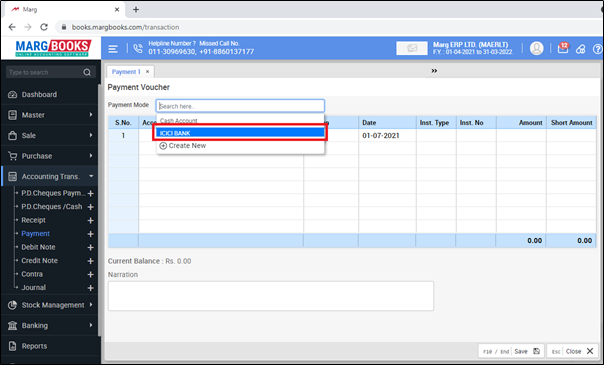
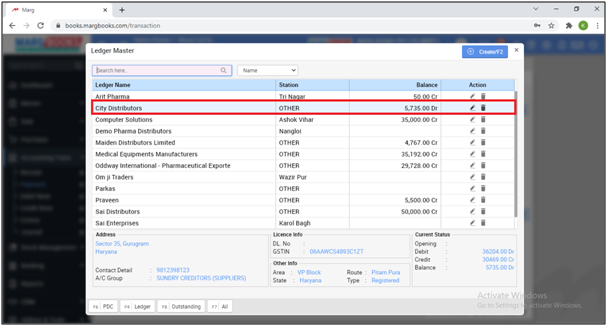
- Now select the party for which the payment entry needs to be created.

- Enter the date of the payment.
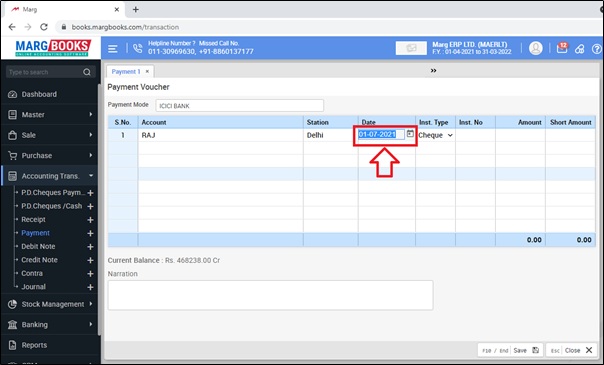
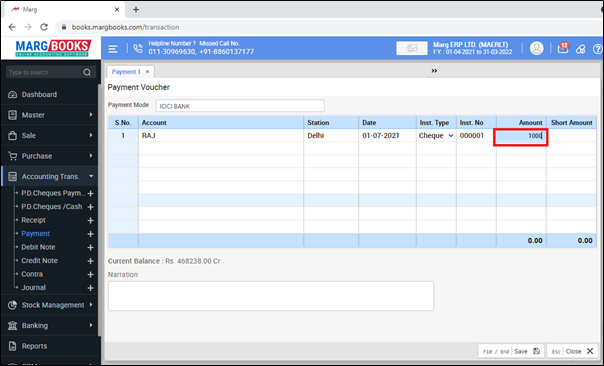
- Now the user can view that the software has picked the cheque number automatically according to the cheque book i.e. 00001.

- Press 'Enter' and mention the amount of the payment.
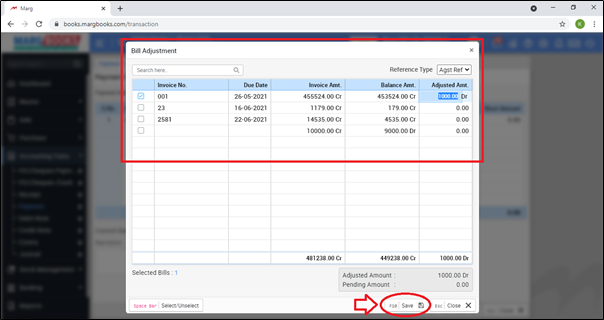
- The user will select the bill against which the payment has been made.
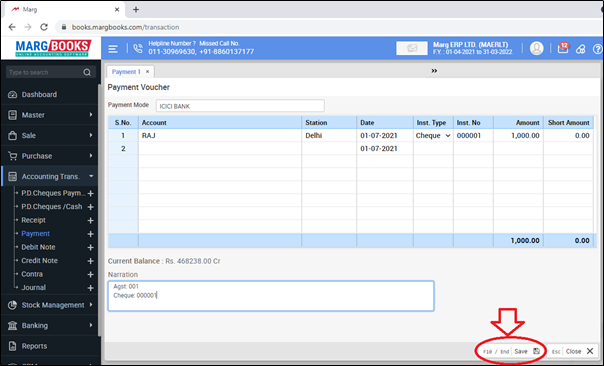
- Then click on 'Save' tab.
- Again click on 'Save' tab to save the entry.
- After creating the payment entry, the user can view the cheque book status i.e.
1. Available Cheques: 48
2. Regular Cheques: 2
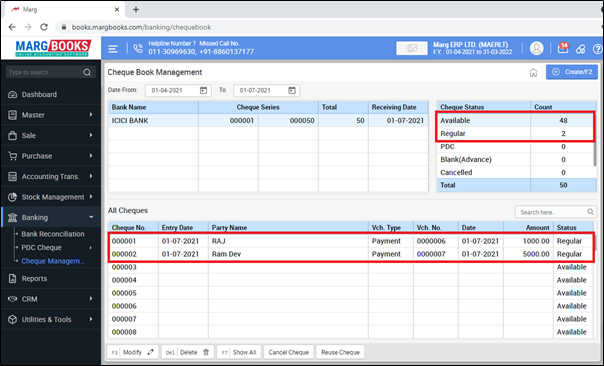
- In order to view the further details of the voucher entry, the user will press 'Enter' on it.
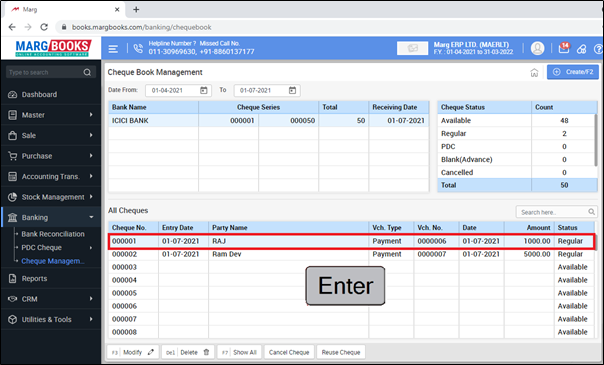
- Now the user can view the details of the selected cheque.

PROCESS TO ADD CHEQUE BOOK AT THE TIME OF CREATING PAYMENT ENTRY IN MARG BOOKS
- Marg Books has developed a special feature to add ‘Cheque Book’ of the bank at the time of creating the Payment entry itself. Also this option facilitates the user to add remaining cheques of the cheque book.
- Suppose if the user has already created 3 payment entries with bank (without saving cheque book in the software) and after that needs to save the cheque book then the software will also consider the 3 cheques out of total no of cheques in the software.
In order to know the process, the user will follow the below steps:
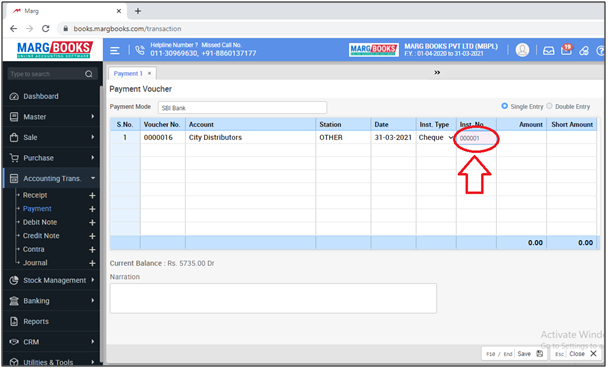
- Go to Accounting Transaction >> Payment (+).
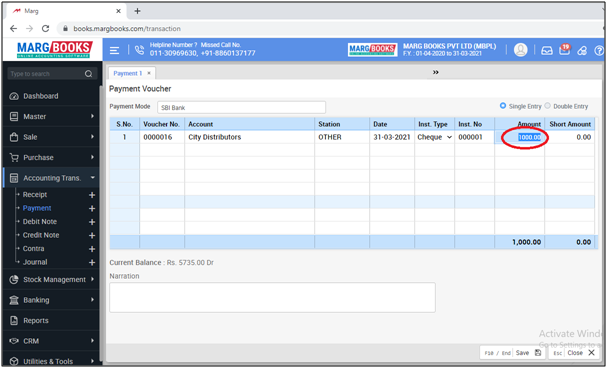
- A 'Payment Voucher' window will appear.
- In 'Payment Mode' option, the user will select the mode of the payment i.e. Bank.
- Suppose select 'SBI Bank'.

- Now select the party for which the payment entry needs to be created.
- Now enter the 'Cheque Number' as per the requirement.
- Suppose mention '000001'.
- Press 'Enter'.
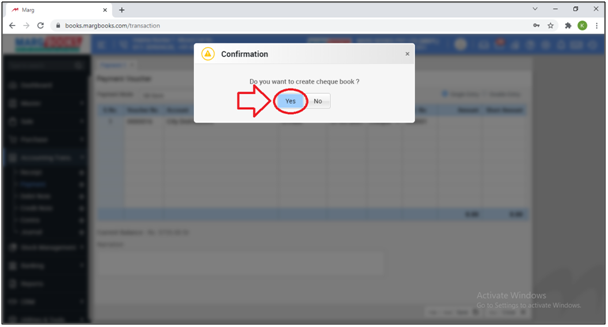
- An alert window of 'Do you Want to Create Cheque Book?' will appear.
- Click on 'Yes' to create Cheque Book.
- A 'Create Cheque Book' window will appear with some options which are mentioned below:
1. Receiving Date: The software will auto pick the date according to the payment date.
2. Bank: The software will auto pick the Bank according to the transactions.
4. Cheque To: Define the last cheque number of the cheque book.
Suppose mention '000050'.
5. Total Cheques: In this option, the software will calculate the total number of the cheques.

- Then click on 'Save' to save the cheque Book.

- Press 'Enter' and mention the amount of the payment.
- The user will select the bill against which the payment has been made.
- Then click on 'Save' tab.

- Again click on 'Save' tab to save the entry.

- After creating the payment entry, the user can view the cheque book status i.e.
1. Available Cheques: 49
2. Regular Cheques: 1


