


Welcome to  -
Marg Books
-
Marg Books
Home > Marg Books > Statutory Report > How to Generate e - Invoice in Marg Books ?
How to Generate e - Invoice in Marg Books ?

Overview of E-Invoicing in Marg Books
Process of Registration & Login in E-Invoice Portal
Process of E-Invoicing in Marg Books
OVERVIEW OF E-INVOICING IN MARG BOOKS
- Electronic Invoicing (e-Invoicing) is a system in which Business-to-Business (B2B) invoices, Export invoices & Invoices of Credit/Debit Notes of Registered parties are validated electronically by GSTN for further use on the common GST portal.
- Through Generate e-Invoice option in Marg Books, the user can easily upload their B2B, Credit/Debit Note & Export invoices on e-Invoice Portal after the registration process is completed.
- The main objective behind the introduction of e-Invoicing by the tax departments is to ease the whole process of invoicing i.e. to reduce all the reconciliation problems related to data and auto-populate the returns that will help the taxpayers to easily get the Input Tax Credit.
- CBIC has announced that from 1st Aug 2023 onward, E-invoicing is mandatory for all the taxpayers having aggregate turnover above Rs 5 crore in any of the previous years from 2017-18 Onwards.
- Starting December 15, 2023, e-Invoices will require a minimum 6-digit HSN for taxpayers with an annual Aggregate Turnover of 5Cr and above.
PROCESS OF REGISTRATION & LOGIN IN E-INVOICE PORTAL
- In order to upload the invoices on e-Invoice portal, the user needs to first register on e-Invoice Portal.
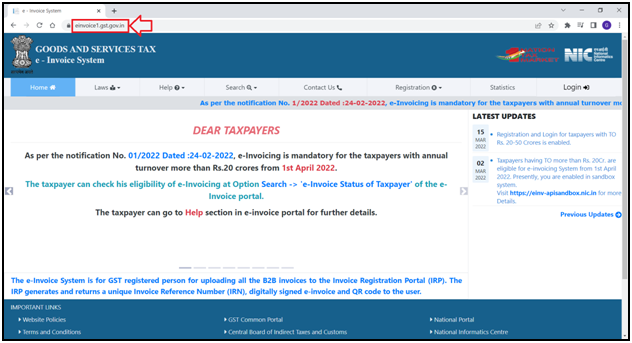
- Visit to https://einvoice1.gst.gov.in/
- Click on Registration > e-Invoice Enablement.
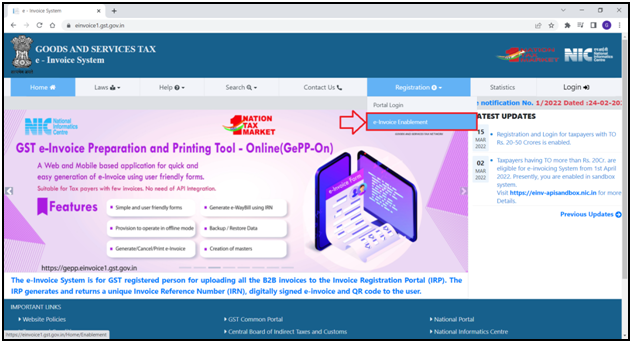
- An ‘e-Invoice Enablement Form’ will appear.
- The user will mention the ‘GSTIN’.
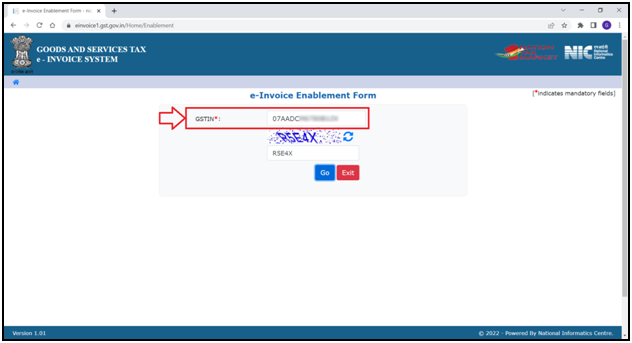
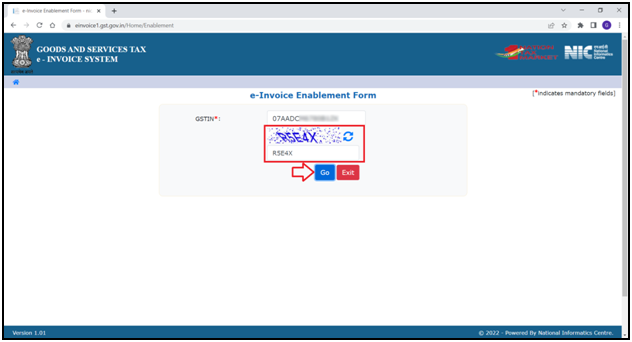
- Enter the ‘Captcha’ as shown.
- Then click on ‘Go’.
- The user can view all the details in the form.
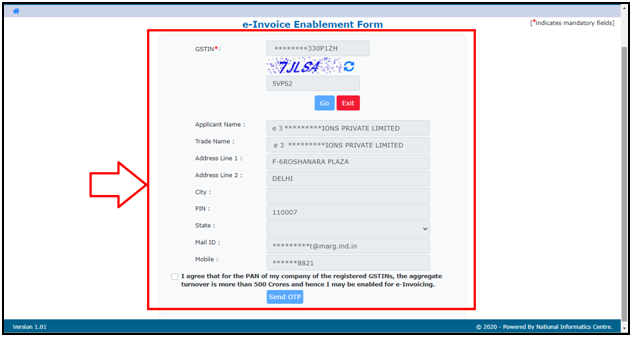
- Click on the check box of ‘I agree that for the PAN.....for eInvoicing’ and then click on ‘Send OTP’.
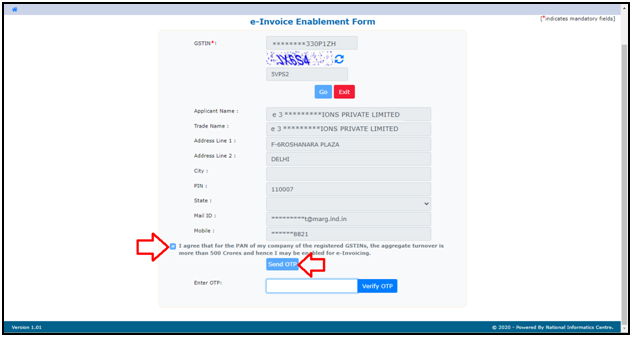
- An OTP will be sent to the Registered Mobile No.
- The user will enter the OTP in ‘Enter OTP’ field and click on ‘Verify OTP’.
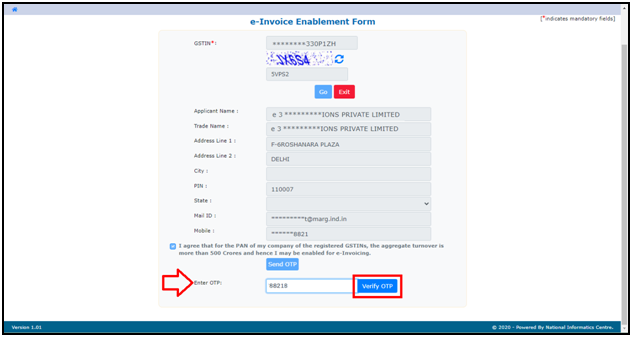
- In this way, the process of registration will get completed on e-Invoice Portal.
- Now the user will visit the e-Invoice Portal. Click on ‘Login’.
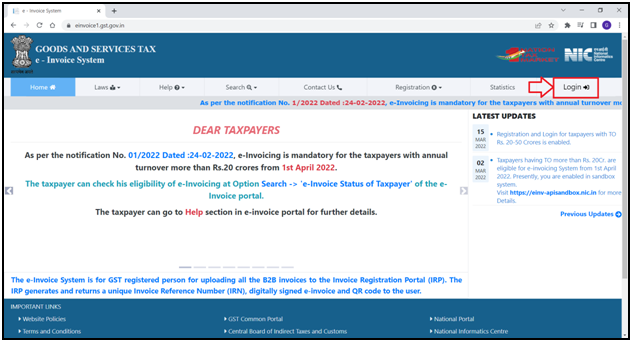
- An ‘e-Invoice System Login’ window will appear.
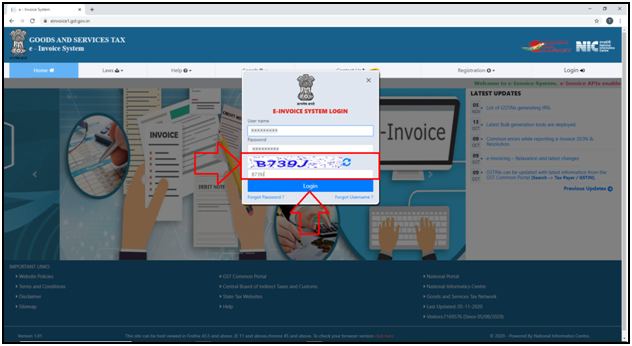
- Enter the ‘Username’ and ‘Password’.
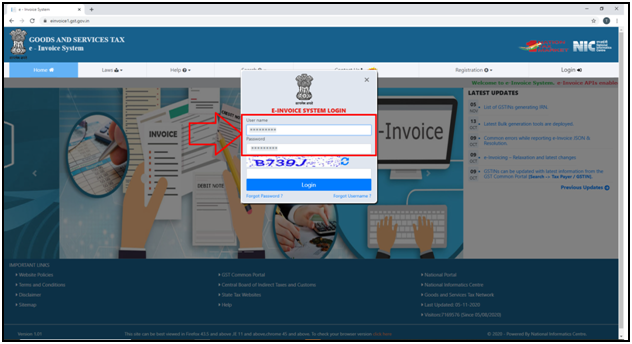
- Enter the ‘Captcha’ as shown here and then click on ‘Login’.
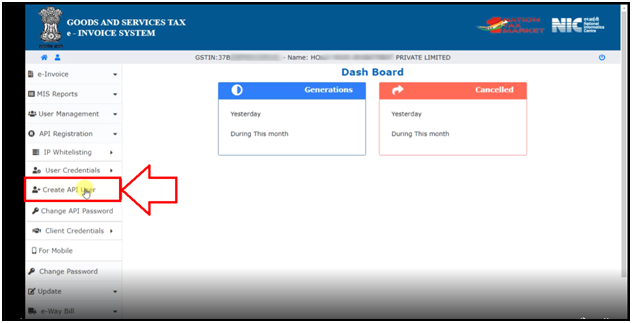
- A ‘Dashboard’ will appear.
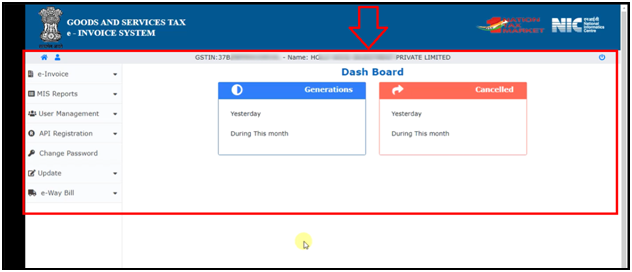
- Click on ‘API Registration’ from the left side icons given in the Dashboard.
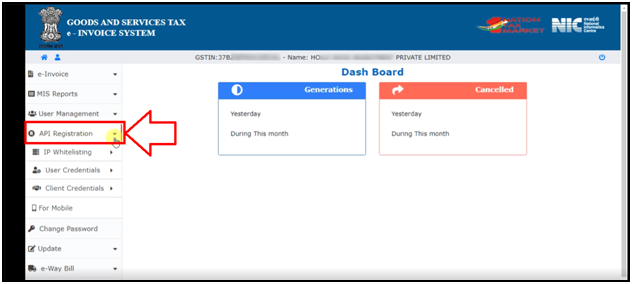
- Click on ‘Create API User’.
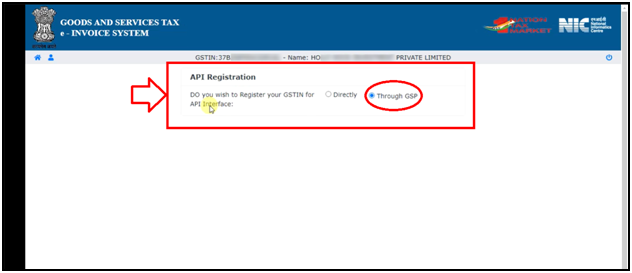
- An ‘API Registration’ window will appear.
- A message of ‘Do you wish to Register your GSTIN for API Interface’ will appear.
- The user will tick the circle of ‘Through GSP’.
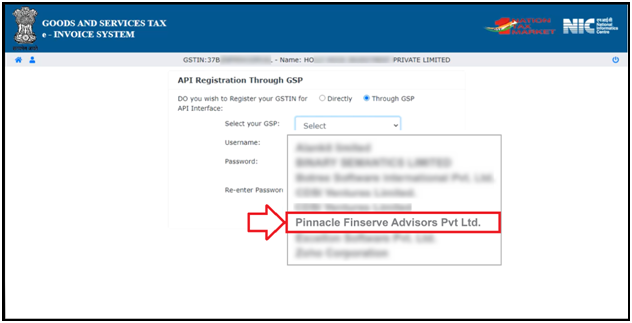
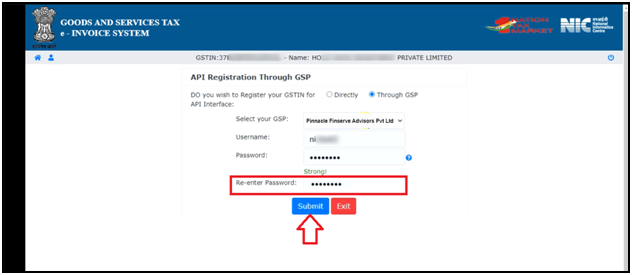
- As the user ticks the circle of ‘Through GSP’; some fields i.e. ‘Select your GSP, Username, Password, and Re-enter Password’ will appear.
Marg ERP has collaborated with Pinnacle Finserve Advisors Pvt. Ltd. The user can do the registration through this company.
- In ‘Select your GSP’ field, the user will select 'Pinnacle Finserve Advisor Pvt. Ltd.' as GSP.
- Now the user will create the Username and password as per the requirement.
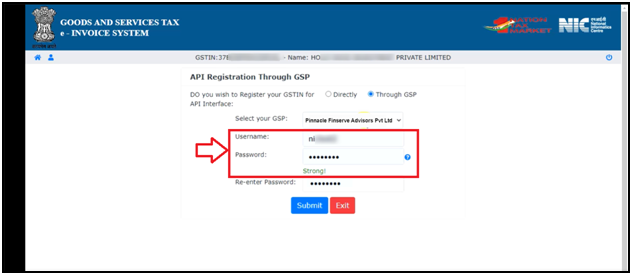
- Re-enter the Password.
- Then click on ‘Submit’ tab.
- A pop of message of ‘Account Created Successfully’ will appear.
- The user will click on ‘OK’.
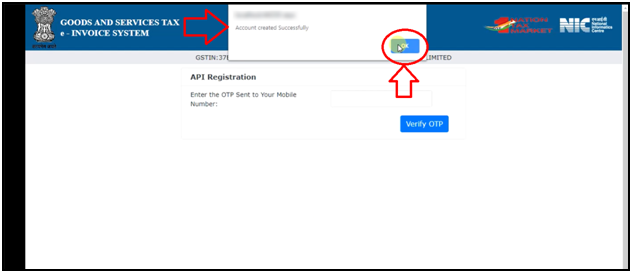
- So, in this way the process of the portal will get completed.
PROCESS OF E-INVOICING IN MARG BOOKS
- Firstly, the user will click on the 'Settings' icon on the dashboard window.

- A 'Dashboard Setting' window will appear.
- In 'Control Room' field, the user will click on 'Configure' button.

- A 'Control Room' window will appear.
- The user will search 'E-Invoice'.

- In 'E-Invoice' option, the user will select 'Yes'.

- The user will click on 'Configure' button.

An 'E-Invoice Configuration' window will appear.
1. GSP User Id: The user will mention the username which is created at the time of API Integration.
2. Password: The user will mention the password.
3. Upload Data For QRC Code: The user can opt for 'Hsn wise' to include the item hsn code when printing e-invoice data, or select 'Item wise' to include the item name in the data.
4. Alert to generate E-Invoice: The user will select 'Yes' to activate the alert for e-invoice generation during the billing process.

- Now press 'ESC' key.

- Again, press 'ESC' key.

- A 'Changes in Control Room Setting, page need to refresh' alert will appear.
- The user will click on 'OK'.

- Firstly, click on 'Report'

- A 'Combined Report' window will appear.
- The user will click on 'Statutory Report' tab.

- Now click on 'E-Invoice'.

- An 'E-Invoice Summary' window will appear through which the user can upload the invoices.

- The user will select the specific period for which invoices need to be uploaded as per the requirement.
- Suppose select 'Today'.

The user will select the option as following:
a. All: The user will select 'All' filter to view all uploaded/pending/cancelled invoices summary.
b. Uploaded: The user will select 'Uploaded' filter to view only uploaded invoices summary.
c. Pending: The user will select 'Pending' filter to view only pending invoices summary.
d. Cancelled: The user will select 'Cancelled' filter to view only cancelled invoices summary.
Suppose select 'All'.

- The user can place a check-mark on boxes (B2B and CDNR) i.e. whether the user needs to view only B2B Invoices or Credit Note or both of them.

- Now click on 'Submit' button.

- An 'E-Invoice List' will get displayed.

- The user will place a 'Check Mark' against the invoice that needs to be uploaded.

- Now click on 'Generate' button.

After following the above steps, the user can view E-Invoice will get successfully Uploaded in Marg Books.

