

Welcome to  -
HRXpert
-
HRXpert
Home > Hrxpert > E Mail Setup > What is the Process to E-Mail Setup in HRXpert Software ?
What is the Process to E-Mail Setup in HRXpert Software ?

Overview of E-Mail Setup in HRXpert Software
Process of E-Mail Setup in HRXpert Software
OVERVIEW OF E-MAIL SETUP IN HRXPERT SOFTWARE
- E-mail Setup field enables an employer to create an email set up so that the information which is required to deliver through email can be sent to various number of employees at a single point in time i.e. Salary Slips, Monthly Attendance Reports, etc.
PROCESS OF E-MAIL SETUP IN HRXPERT SOFTWARE
- Go to Admin Tools > E-Mail Setup.
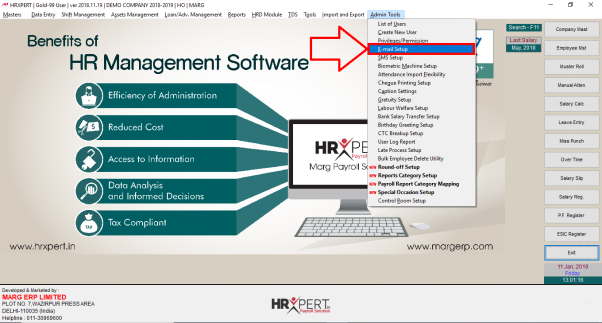
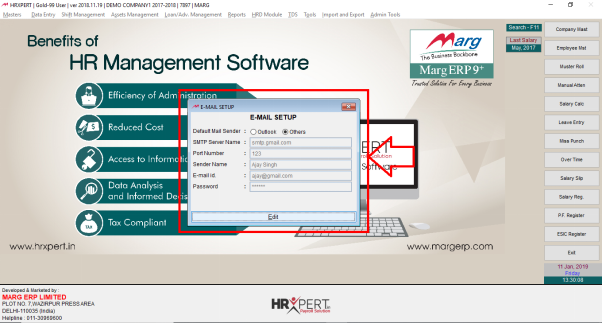
- An 'E-Mail Setup' window will appear in which the employer will click on 'Edit'.
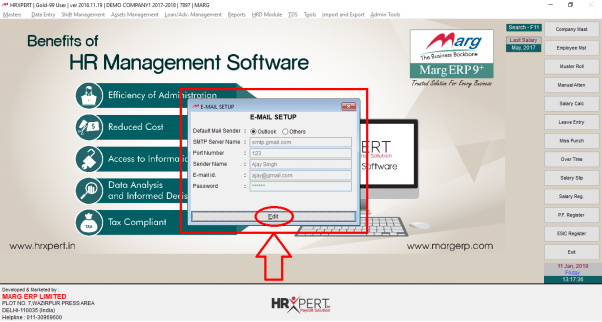
Now, different options are available in E-Mail Setup window i.e.
a. Default Mail Sender: Select how the E-Mail setup needs to be done i.e. Outlook or through other mail senders.
If the Outlook is already configured in employer’s system, then by default all the details will get auto-filled.
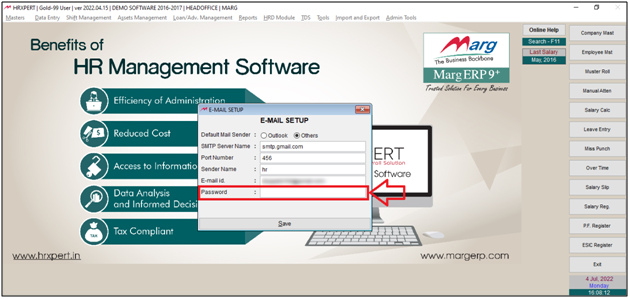
In case, if the outlook is not being configured in the employer’s system then click on 'Others'.
b. SMTP Server Name: Enter the SMTP Server Name as per the requirement.
c. Port Number: Enter the Port Number as per the requirement.
d. Sender Name: Enter the name of the sender who is sending the mail.
e. E-Mail ID: Mention the E-Mail ID of the sender here.

f. Password: Here the user needs to mention the App password generated by Gmail.
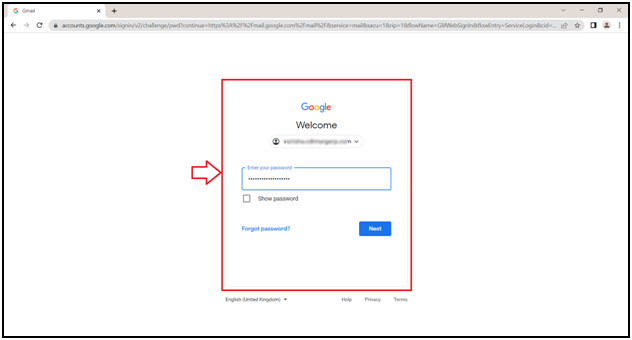
- To generate the app password, firstly the user will login to Gmail Account by mentioning ‘Email ID’ and ‘Password’.
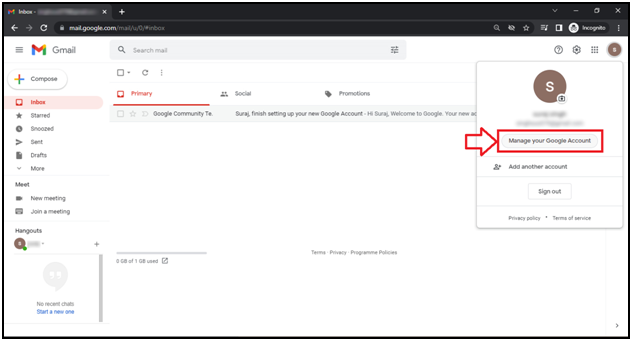
- A ‘Gmail Account’ window will appear.
- From the right side of the Gmail Account, click on the ‘alphabet’ icon.
- Click on ‘Manage your Google Account’.
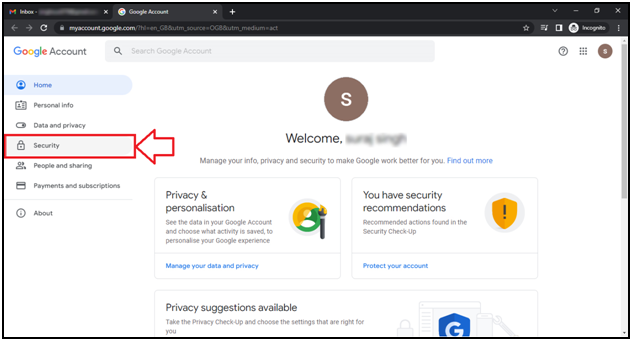
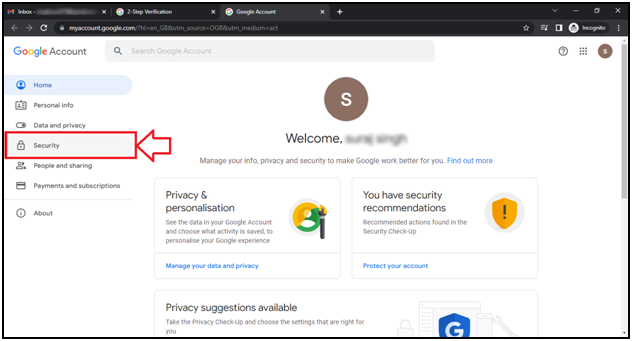
- Then from the left side, click on the ‘Security’ tab.
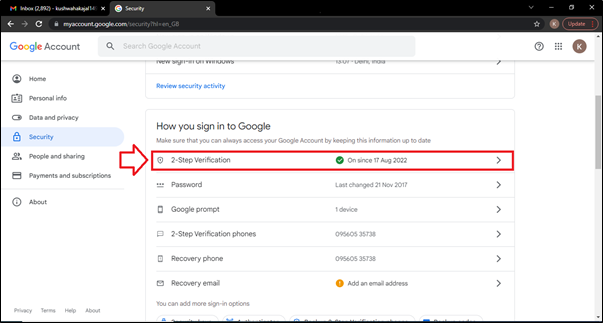
- Now click on ‘2-Step Verification’ option.
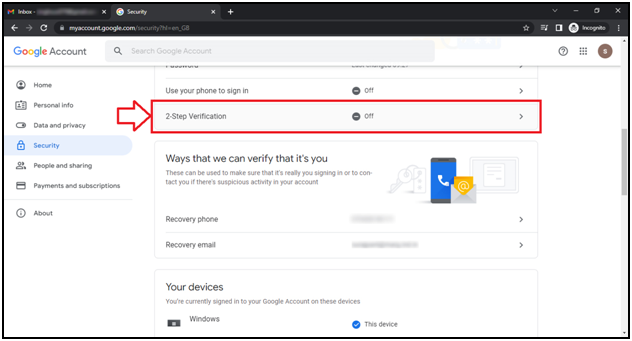
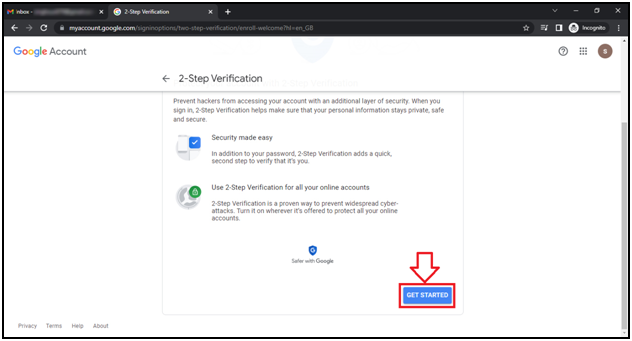
- A ‘2-Step Verification’ window will appear.
- Click on ‘Get Started’ tab.
- Then enter the Gmail ‘Password’ and click on ‘Next’ tab.

- The user will mention the mobile number which is linked with the Gmail account.
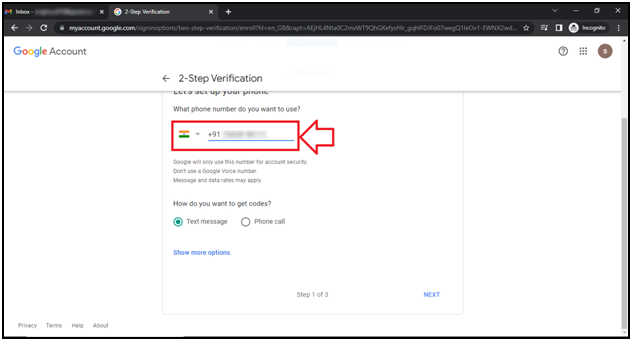
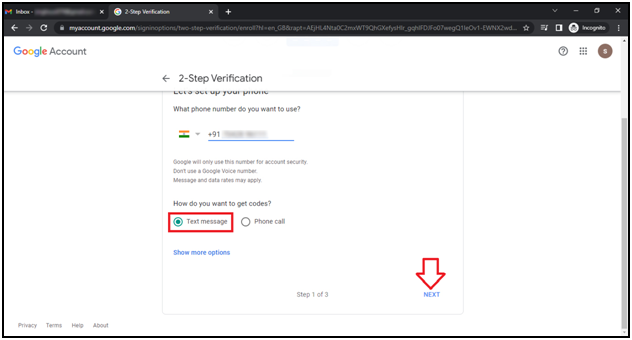
- Then select the ‘medium’ through which the Code needs to be received i.e. Text Message or Call.
- Suppose tick the circle of ‘Text message’.
- Then click on ‘Next’ tab.
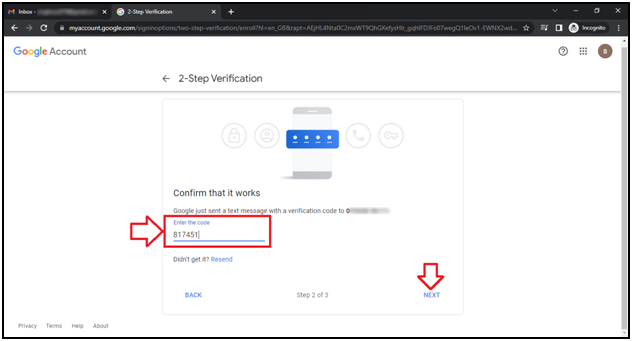
- The user will enter the code (OTP) here which is received via text message.
- Then click on ‘Next’ tab.
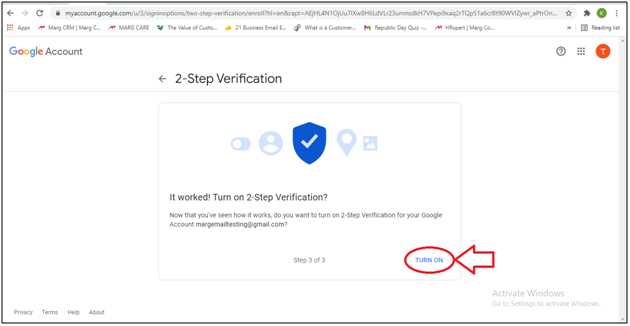
- A ‘2-Step Verification’ window will appear.
- Now the user will turn on the option of 2-Step Verification.
- The user will again click on ‘Manage your Account’ tab.
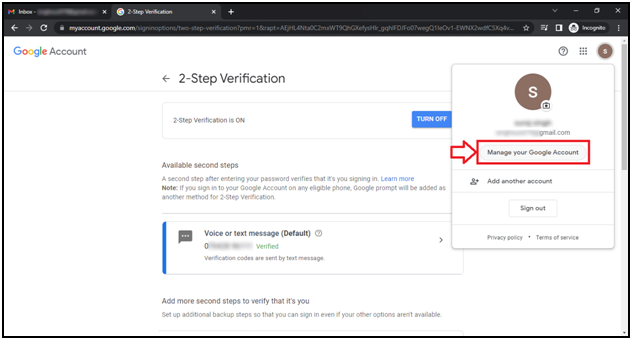
- Click on ‘Security’ tab.
- The user will click on ‘2- Step Verification’ option.
- A ‘2- Step Verification’ window will appear.
- Click on ‘App Passwords’.
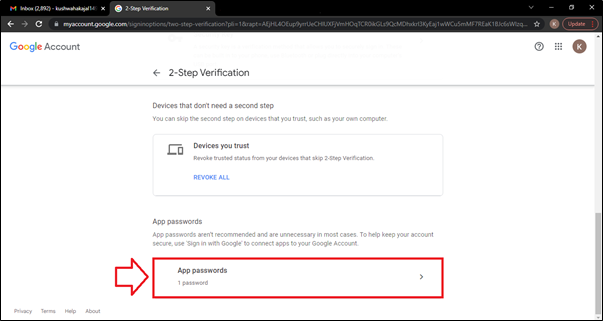
- An ‘App Passwords’ window will appear.
- The user will type Marg ERP and click on 'Create'.

- After that the Gmail will generate the App Password which will be shown only ONCE. The user will copy this password & save it for future use.

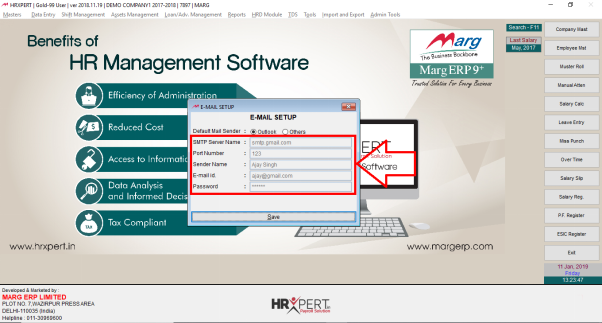
- Then the user will mention this app password and click on 'Save'.

Fig: 1 Entering & Saving the Details if Outlook Not Configured
- So, in this way the employer can do the process of E-Mail Setup.
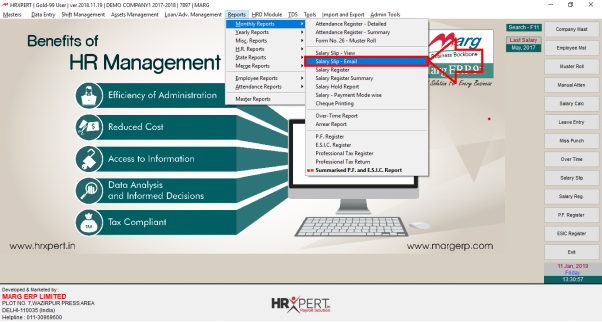
- Now, if the employer needs to send the Salary Slip via E-Mail, go to Reports >> Monthly Reports >> Salary Slip-Email.
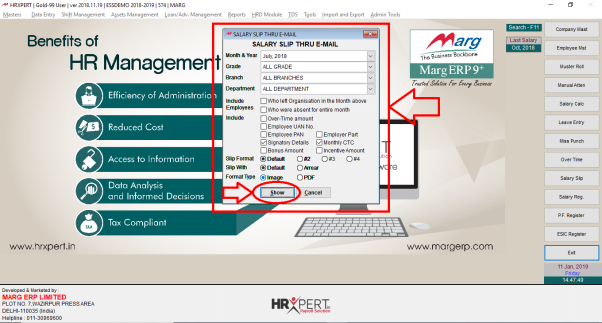
- A 'Salary Slip Thru E-Mail' window will appear where the employer will select the options as per the requirement i.e.
- a. Month & Year: Select the Month and Year. Suppose, July 2018.
- b. Grade: Select the Grade as per the requirement. Suppose, All Grade.
- c. Branch: Select the Branch as per the requirement. Suppose, All Branches.
- d. Department: Select the Department as per the requirement.
- Suppose All Departments.
- And select all the other options as per the requirement.
- Then click on 'Show'.
- Select the employees as per the requirement.
- Click on 'Send'.
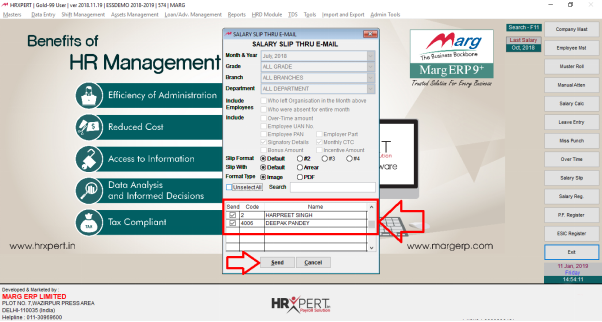
Now, the Salary Slips will be sent to the selected employees on their respective E-Mail ID’s.

