

Welcome to  -
HRXpert
-
HRXpert
Home > Hrxpert > Employee Report > How to view Employee History in HRXpert Software ?
How to view Employee History in HRXpert Software ?

Overview of Employee History Report in HRXpert Software
Process of Employee History Report in HRXpert Software
OVERVIEW OF EMPLOYEE HISTORY REPORT IN HRXPERT SOFTWARE
- Employee History Report option in HRXpert Software enables the employer to view the changes that has been made in the Organisation field of Employee Master.
- With the help of this option the employer can view the changes in branch/division, designation, department etc. and can also generate and print the excel report of Employee History.
PROCESS OF EMPLOYEE HISTORY REPORT IN HRXPERT SOFTWARE
- Go to Reports > Employee Reports > Employee History Report.

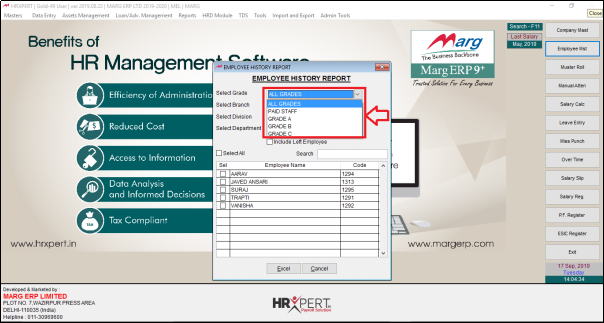
- An 'Employee History Report' window will appear.
- In 'Grade', option the employer will select the grade of the employees to view their history.
- Suppose, select ‘All Grades’.
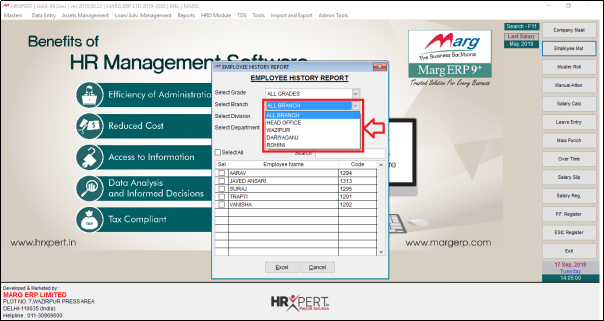
- In 'Branch' option, the employer will select the branch of the employees to view their History report.
- Suppose select ‘All branch’.
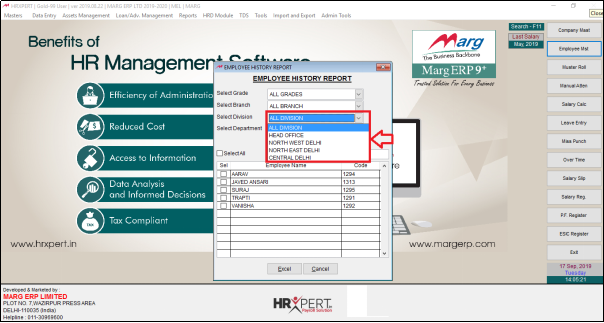
- In 'Division' option the employer will select that particular division to view the Employee History report.
- Suppose select ‘All Division’.
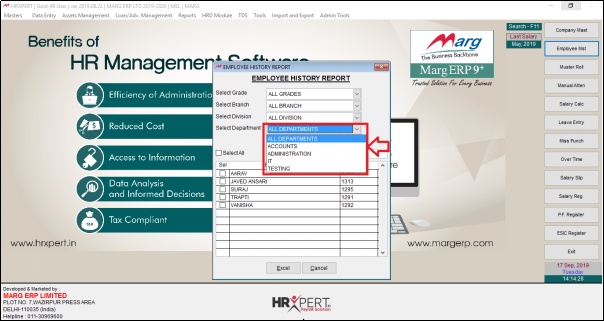
- In'Department'option the employer will select that particular department to view the Employee History report.
- Suppose select ‘All Department’.
- Place check mark if the employer needs to include employee who left the organitsation.

- The employer will place check mark on selected employee for which report needs to be view otherwise place check mark on 'Select All'.
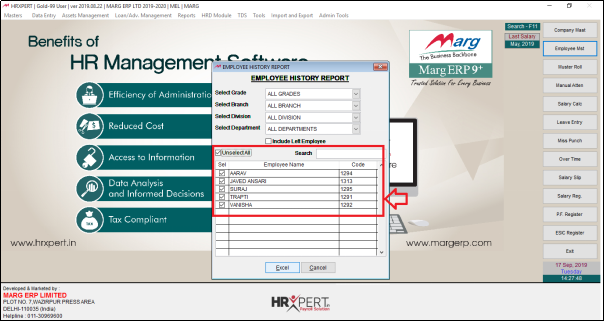
- To generate Employee History Report in Excel, the employer will click on ‘Excel’.

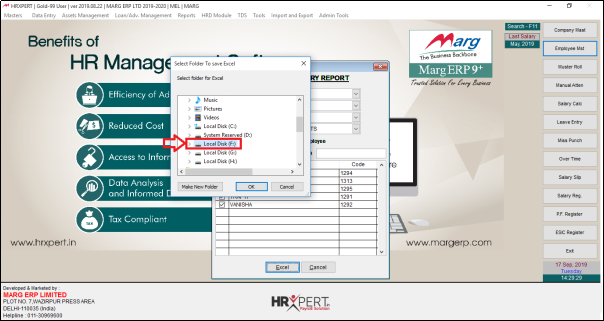
- A 'Select Folder to Save Excel' window will appear.
- The employer will select the folder to export excel.
- Suppose select ‘Local Disk F’.
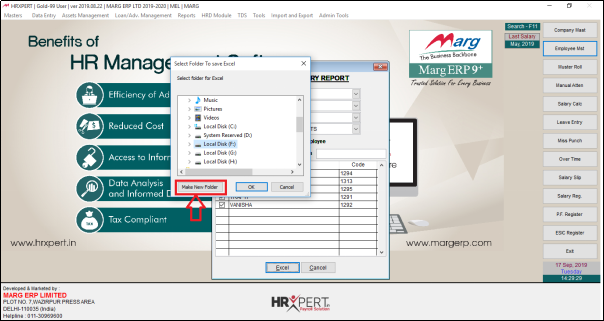
- Select the folder or click on ‘Make new folder’ to export excel.
- Suppose click on ‘Make new Folder’.
- Now the employer will edit the name of the folder as per the requirement.
- Suppose enter 'Income detail'.

- Select the created folder and click on ‘Ok’.
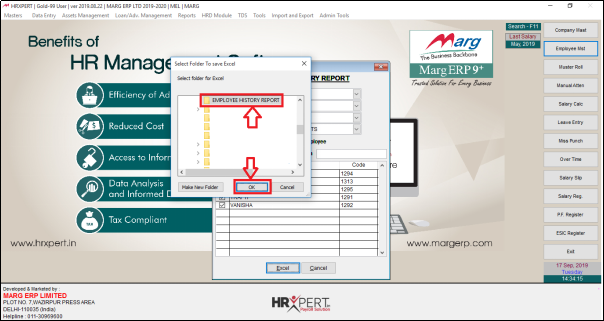
- A message of ‘Excel sheet is Generated’ will appear.
- The employer will click on ‘OK’.

After following the above steps, the employer can view Employee history will get generate in Excel Format in HRXpert Software.

