

Welcome to  -
HRXpert
-
HRXpert
Home > Hrxpert > Heads Of Income Deduction > What is the process of Heads of Income and Deduction in HRXpert Software ?
What is the process of Heads of Income and Deduction in HRXpert Software ?

Overview of Heads of Income/Deduction in HRXpert Payroll Software
Process of Heads of Income/Deduction in HRXpert Payroll Software
OVERVIEW OF HEADS OF INCOME/DEDUCTION IN HRXPERT PAYROLL SOFTWARE
- Heads of Income and Deduction enables the employers to create the salary structure of the employees of the organization.
- With HRXpert Payroll Software, the employers easily define the salary heads related to Earning/Income (Basic, HRA, DA, Overtime, etc.) and Deduction (Provident Fund, Medical Expense, etc.
PROCESS OF HEADS OF INCOME/DEDUCTION IN HRXPERT PAYROLL SOFTWARE
NOTE: Before creating Income/Deduction Head in HRXpert Payroll Software, the employer should firstly create Grade Master.
- Go to Masters >> Employee Grade. Press Enter.

- A 'Grade Master' window will appear.
- In ‘Grade Name’ the employer can view that ‘Paid Staff’ grade has been created by default.

- Click on ‘Add’ to create the grade as per the requirement.

- A 'New Grade' window will appear.
- In ‘Name’ the employer will enter the name of the grade which is to be created.
- Suppose enter 'Grade A'.
- Then, the employer will click on ‘Okay’.

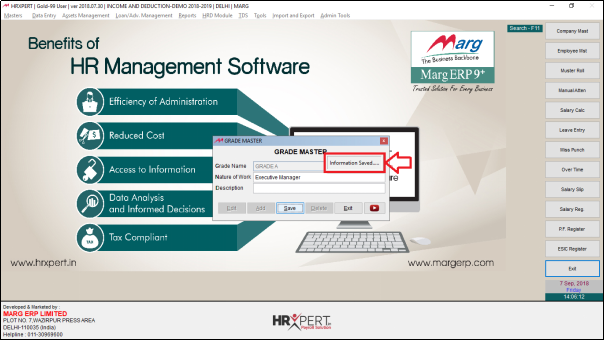
- In ‘Nature of Work’ the employer will enter the nature of work.
- In ‘Description’ the employer will enter the description.
- Then, click on ‘Save’.

- An ‘Information Saved’ pop-up will appear.
- Go to Masters >> Heads of Income/Deduction.
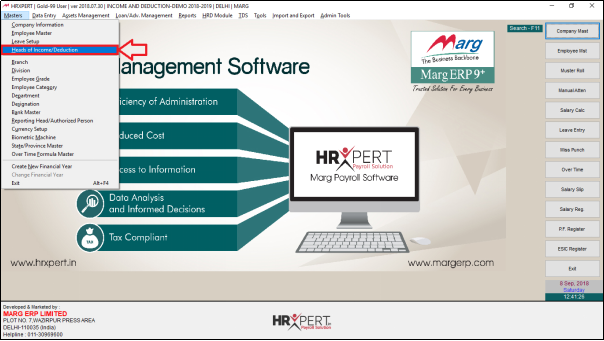
- An Income and Deduction Heads window will appear.
- The employer will now select the Grade.
- Suppose select ‘Grade A’.

- The employer will now click on ‘Edit’.
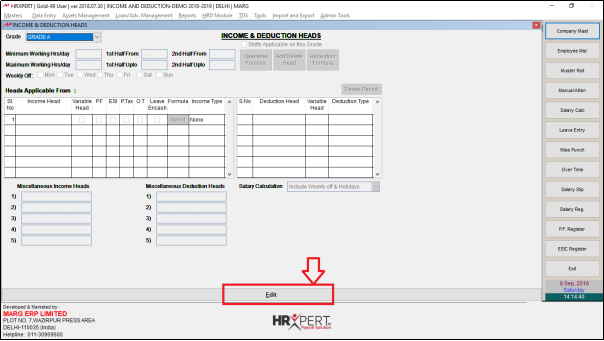
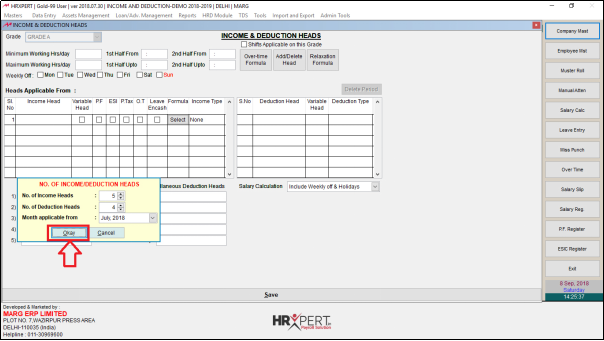
- A 'No. of Income/Deduction Heads' window will appear.
NOTE: In Income and Deduction Head, variable head will also be included.
- In ‘No. of Income Heads’ enter the number of required income heads.
- Suppose enter '5'.
- In ‘No. of Deduction Heads’ enter the number of required deduction heads.
- Suppose enter '4'.
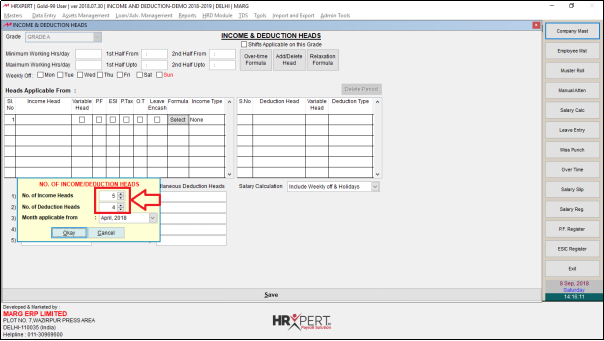
- In ‘Month applicable from’ the employer will select the month from when to process the attendance.
- Suppose, select ‘July, 2018’.

- Click on ‘Okay’.
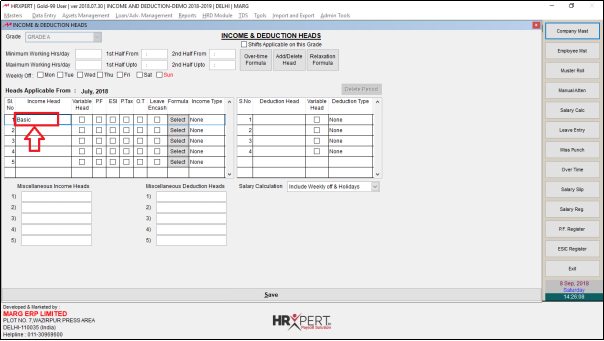
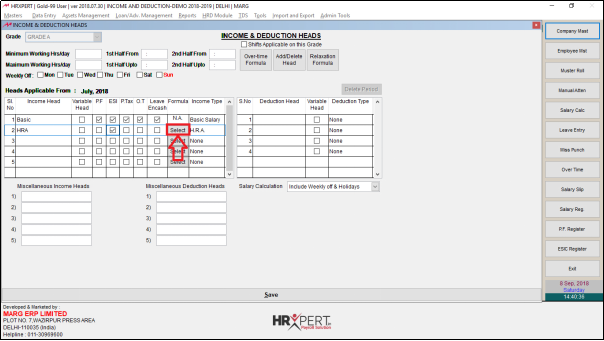
- The employer can view ‘Heads Applicable From: July 2018’ i.e. these heads will be applicable from July, 2018 and when the employer will generate salary then July month will be the starting month of the attendance.

- The employer will now enter the heads.
- In ‘Income Head’, the user will enter 'Basic'.
- Select ‘Variable Head’ if this income head is not fixed.
NOTE: Variable head will not be shown in the Salary structure of an employee but when salary will be calculated then that variable head will be shown.

- In ‘P.F.’ the employer will select whether to apply P.F. on ‘Basic’ or not.
- To apply P.F. on ‘Basic’ select the box.

- In ‘ESI’ the employer will select whether to apply ESI on ‘Basic’ or not.
- To apply ESI on ‘Basic’ select the box.
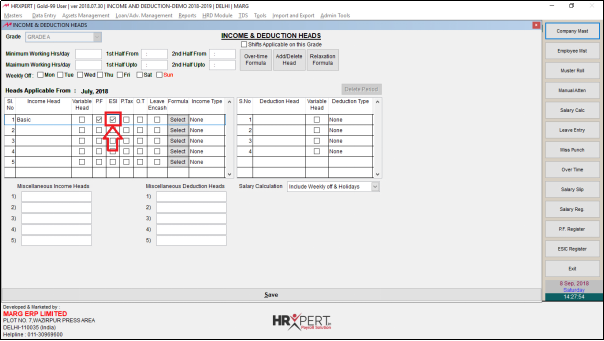
- In ‘P.Tax’ the employer will select whether to apply Professional tax on ‘Basic’ or not.
- To apply P.Tax on ‘Basic’ select the box.
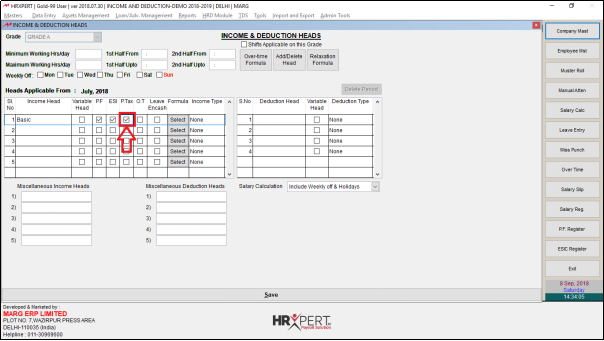
- In ‘O.T.’ if the company calculates OT on Basic then tick the Box.

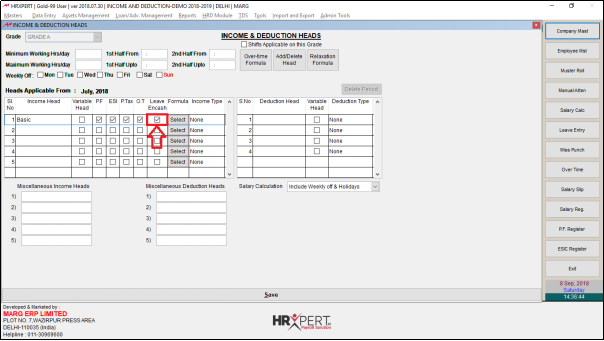
- Some companies encash all leaves and some companies encash leaves at the end of an year as they carry forward 10 or 15 leaves and rest gets encashed. So, in ‘Leaves Encash’ select whether or not to encash leaves on basic.
- Suppose employer wants to encash leaves on ‘Basic’ then tick this box.
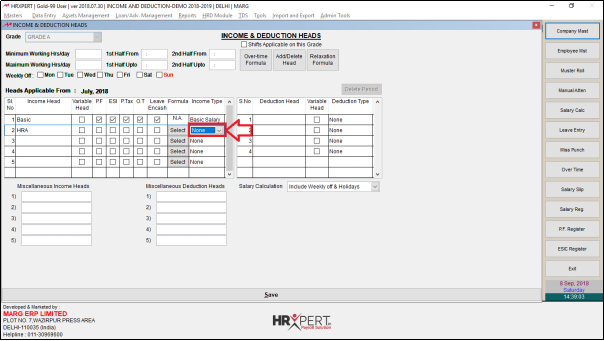
- In ‘Income Type’ the employer will map income head with income type.
- Whatever income head will be mapped with income type, value will be calculated accordingly.
- Now, map ‘Basic’ income head with ‘Income Type’ ‘Basic Salary’.

- The employer will now enter the next income head.
- Suppose enter 'HRA'.
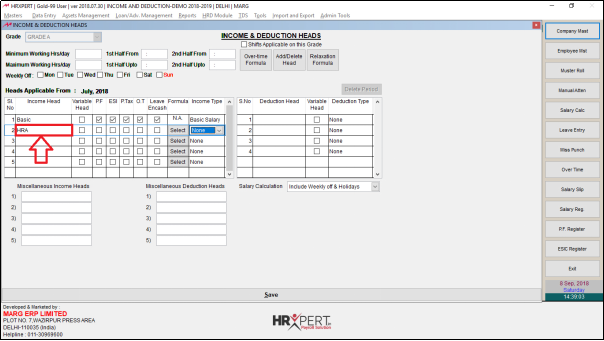
- If ‘Income Type’ is selected as ‘None’ then the exemption of HRA which is get in TDS will not be received until income type is selected as every company creates head with different income type.
- Then, select ‘income Type’ as ‘H.R.A’.
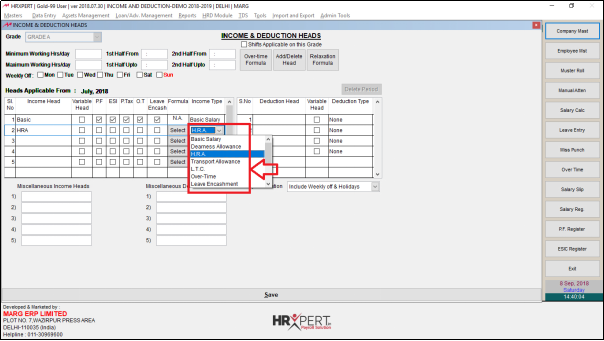
- Now, the employer will select what is applicable in HRA.
- Suppose select ‘E.S.I’ if E.S.I is applicable in HRA.

- Suppose, a company has made a standard that HRA will be 70% of basic then employer can set that formula in ‘Formula’.
- The employer will now create the next income head as ‘DA’ i.e. Dearness Employee.
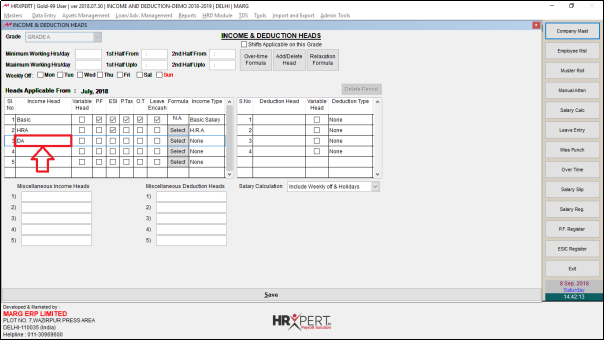
- To apply P.F. on ‘DA’ the employer will select the box.

- The employer will now select Income type as ‘Dearness Allowance’.
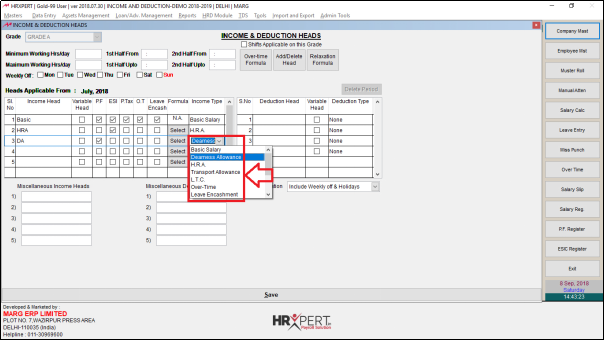
- The employer will now create next head 'Special Allowance'.

- The employer will now apply ‘ESI’ on Special Allowance.

- Select Income type as ‘Special Allowance’.
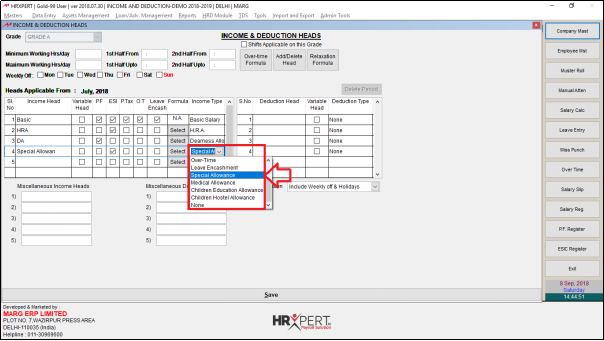
- The employer will now create next income head as 'Overtime'.

- Set Overtime as Variable head because overtime amount is not fixed.

- The employer will now select Income Type as ‘Overtime’.

- The employer can view that in Overtime, O.T. will be N.A. because on Overtime amount OT will not be calculated.

- The employer will now create Deduction Heads.
- Suppose create 'P.F.'.
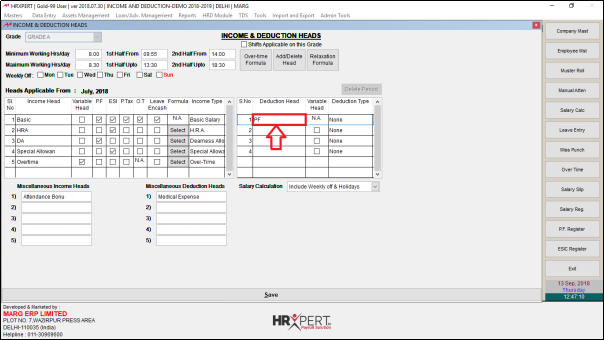
- The employer will map Deduction Type with deduction Head.
- Select Deduction Type as ‘Provident Fund’.

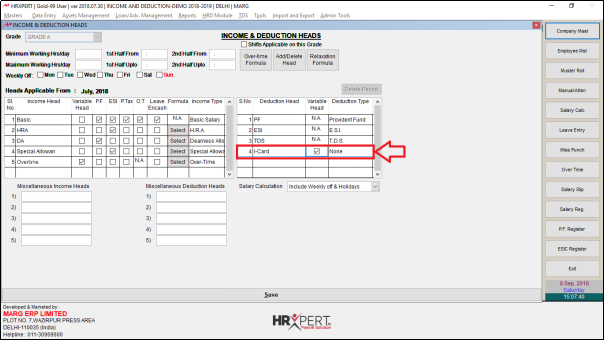
- Similarly, the employer will create ESI and TDS deduction Heads.

- The employer will now create another deduction head “I-Card” and set it as Variable Head.
- There are some field on which the employer does not want to apply P.F or E.S.I. Those fields can be created under ‘Miscellaneous Income Heads’ and ‘Miscellaneous Deduction Heads’.
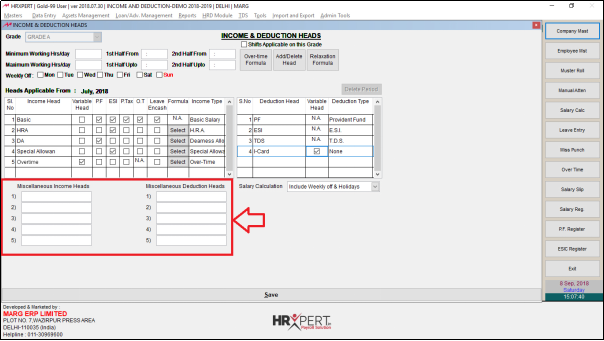
- The employer will now create ‘Attendance Bonus’ in Miscellaneous Income Head.
- Then, create ‘Medical Expense’ in Miscellaneous Deduction Head.

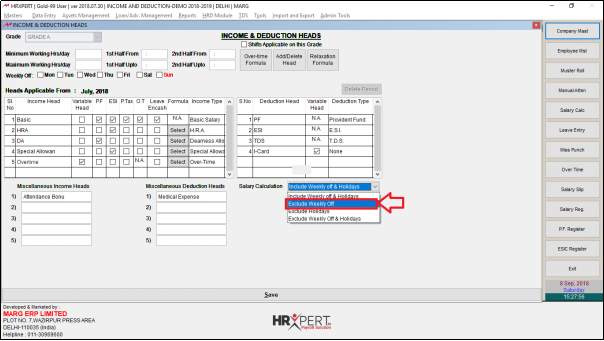
- In ‘Salary Calculation’, the employer can calculate salary in four ways.
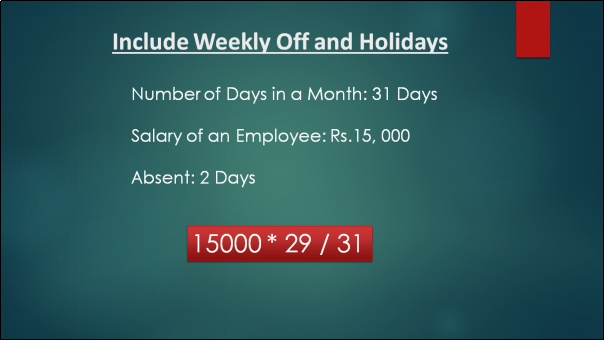
‘Include Weekly offs & Holidays’:

- Suppose there are 31 days in a month & the salary of an employee is Rs. 15,000 and was absent for 2 days.
- To calculate salary on the basis of weekly off and holidays, the software will minus those 2 days from 31 days on which the employee was absent i.e. 29 days.
- Now software will multiply it with the salary i.e. 15,000 and then divide by total number of days i.e. 31.
A. Method to calculate salary
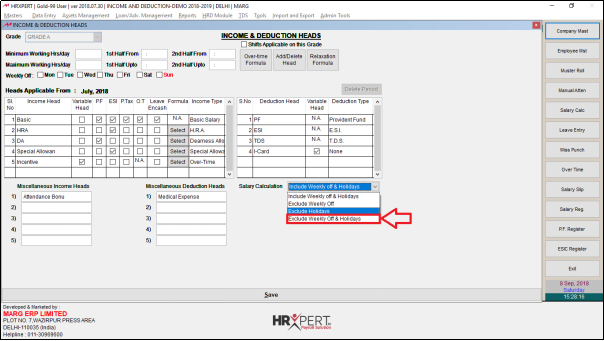
Exclude Weekly Off:
- Suppose there are 31 days in a month & the salary of an employee is Rs. 15,000 and was absent for 2 days and there are 4 weekly off.
- To calculate salary on the basis of exclude weekly off, the software will minus those 4 weekly off i.e. 27.
- Then, 4 weekly off and 2 absent will be subtracted.
- The software will calculate salary as 15000* 25/27.

B. Method to calculate salary
Exclude Holidays:

- Suppose there are 2 holidays and 2 are absent.
- The software will minus 2 holidays from 31 working days, i.e. 29.
Then, 2 holidays plus 2 absent will be subtracted i.e. 27
- Software will calculate salary as 15000*27/29.

C. Method to calculate salary
- Similarly, the employer can calculate salary on the basis of Exclude Weekly off & Holidays.
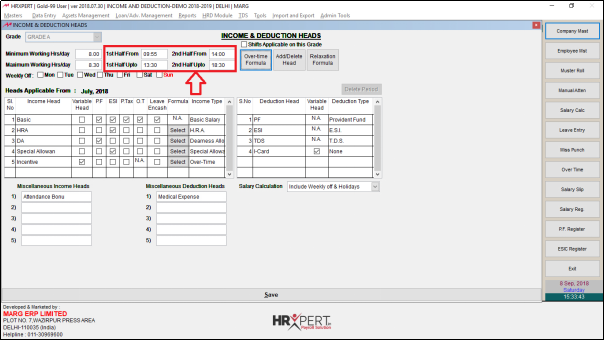
- In ‘Minimum Working Hrs/Day’ the employer will enter the minimum working hours per day.
- Suppose enter '8'.
- In ‘Maximum Working Hrs/Day’ the employer will enter the maximum working hours per day.
- Suppose enter '8.5' and if the employee works more than that then it will be considered as overtime.

- Then, the employer will enter when will the first half begin and when will it end.
- Suppose enter '09:55' and '13:30' respectively.
- Now, the employer will enter when will the second half begin and when will it end.
- Suppose enter '14:00' and '18:30' respectively.
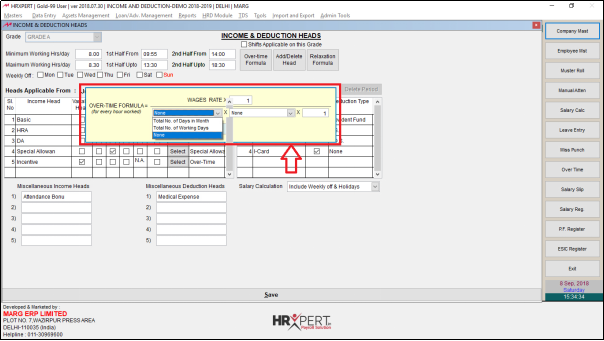
- The employer will now click on ‘Over-time Formula’.
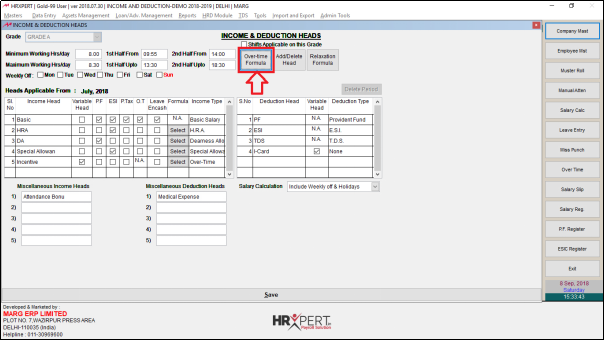
- The employer will now calculate overtime formula accordingly.
- The employer will now click on ‘Add/Delete Head’.
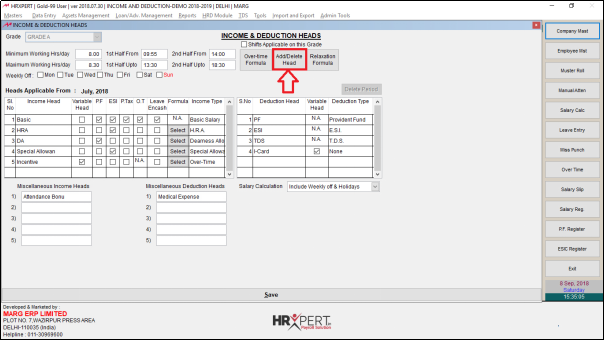
- The employer can now add or delete heads as per the requirement.

- Now, click on ‘Relaxation Formula’ in which the employer can mention how much relation is to be given to an employee.

- The employer can view 2 options i.e. ‘Relaxation as per Time in/ Time out’ and ‘Relaxation as per hours worked in each half’.
- If the employer selects ‘Relaxation as per Time in/Time Out’ then in Time in mention the relaxation for punching in morning and for early leaving in evening.
- Suppose in ‘Time in’ enter “10:10” and in ‘Time out’ enter “18:15”.

- In ‘Relaxation as per hours worked in each half’ the employer will mention the number of minimum hours an employee has to work in first half and the minimum hours to work in second half.
- Suppose enter '3' and '4' respectively.
- Click on ‘Okay’.

- The employer will now click on ‘Save’.

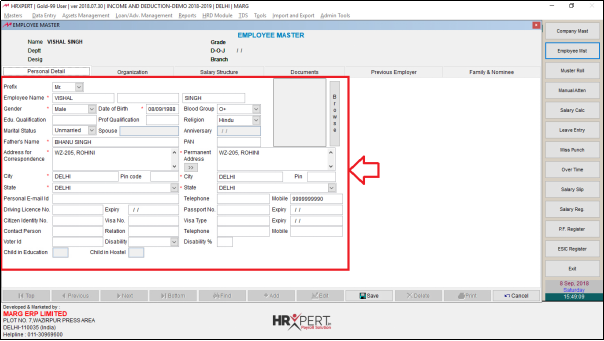
- The employer will now create Employee Master in Employee Master Window.
- Enter the personal Details.
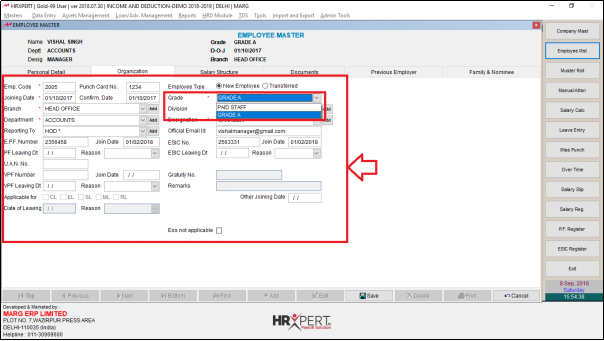
- The employer will enter the organization details.
- In Grade, select the grade which has been created.
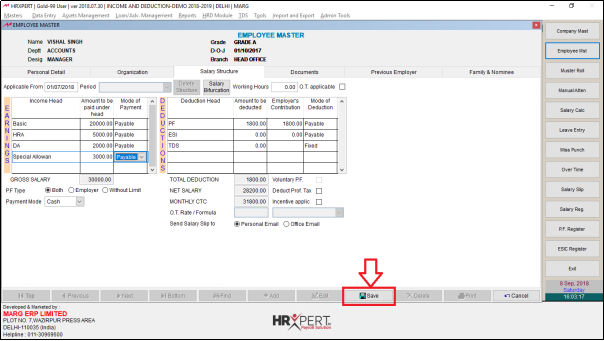
- The employer will now click on ‘Salary Structure’ tab.
- The employer can view that the salary structure which was created is displayed.

- Suppose under Earnings Head, enter Basic as '13,000', HRA as '5,000', DA as '2000' and Special allowance as '3000'.

- The employer can view that under Deduction Head, P.F. and ESI are automatically deducted.

- Click on ‘Save’.
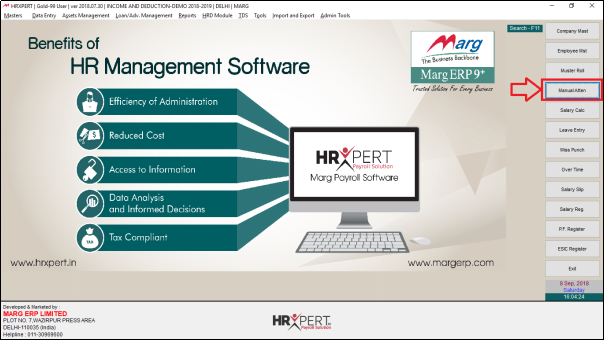
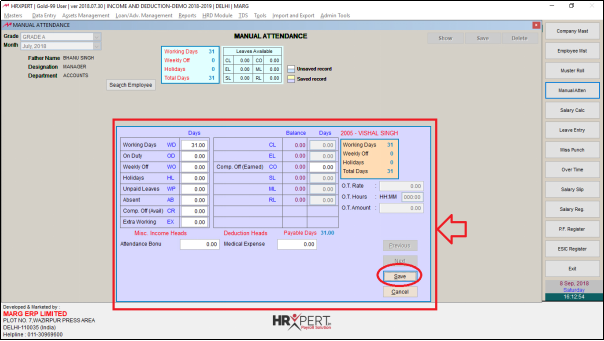
- From the home screen, click on ‘Manual Attendance’.
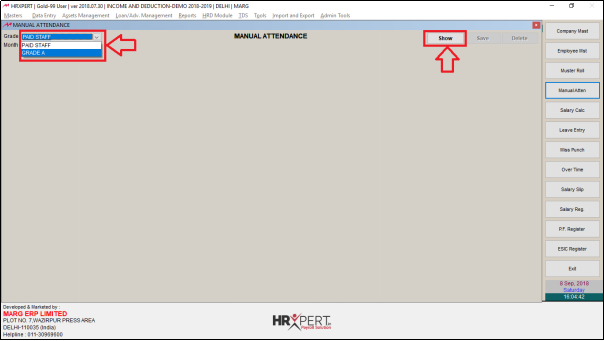
- A 'Manual Attendance' window will appear.
- The employer will select the Grade and then click on ‘Show’.
- Press 'F10' key.
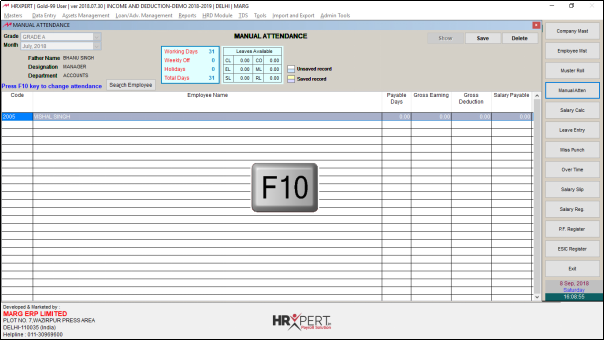
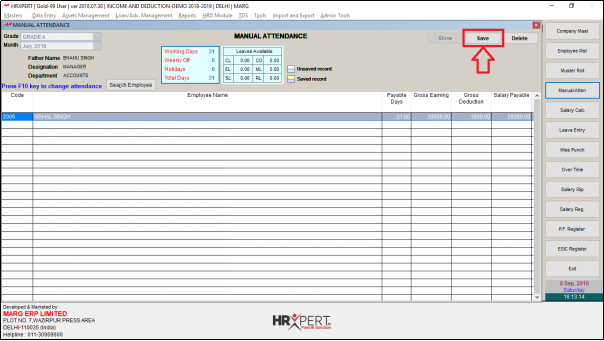
- The employer will now create the attendance and then click on ‘Save’.
- Again, click on ‘Save’.
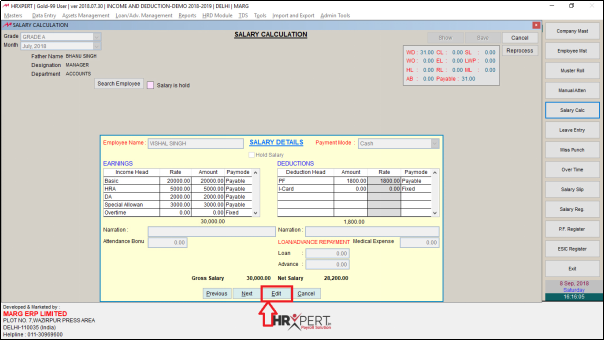
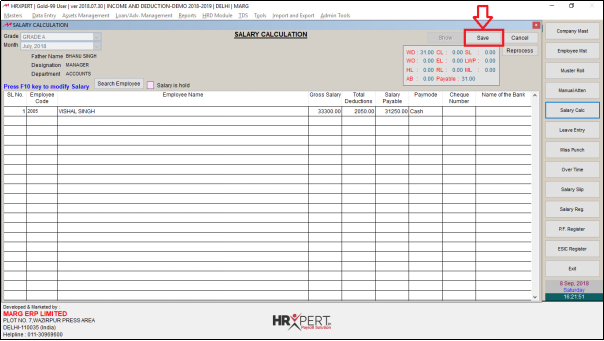
- From the home screen, click on ‘Salary Calculation’.

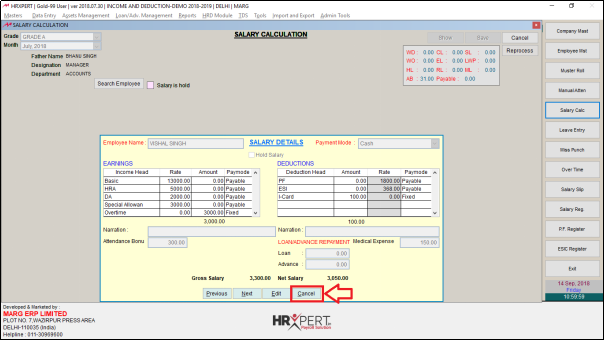
- A 'Salary Calculation' window will appear.
- The employer will select the Grade and then click on ‘Show’.

- Now the employer will calculate salary for Variable Head.
- Press 'F10' key.

- The employer will now click on ‘Edit’.
- Enter Overtime amount as '3000' and I-card deduction amount as '100'.
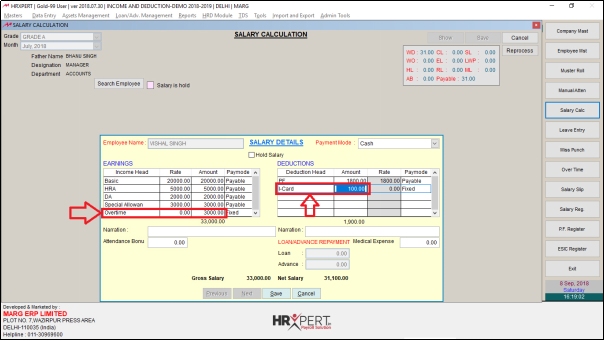
- Suppose the employee was on time for the whole month. So, as per the company policy the employee with get 1 day bonus.
- In ‘Attendance Bonus’ enter ‘300'.

- Suppose if the company has done the medical policy of an employee then the medical amount will also be deducted.
- So, in ‘Medical Expense’ enter '150'.

- Then click on ‘Cancel’ to exit this window.
- Click on ‘Save’.
- From the home screen, click on ‘Salary Slip’.

- A 'Salary Slips' window will appear.
- The employer will select the Grade.
- Then, select ‘Overtime amount’ to view the overtime amount on salary slip.
- Click on ‘Show’.
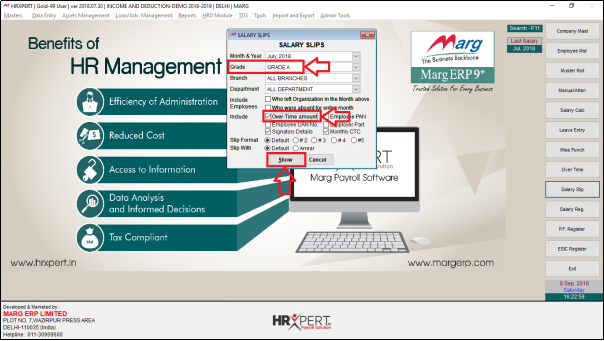
- Now select the employee and click on ‘Display’.

- The employer can view the Income and Deduction heads in the salary slip.

- The employer can also view the variable head i.e. the Overtime amount in the Salary Slip.

