Welcome to  -
Marg Books
-
Marg Books
Home > Marg Books > Invoice Template > How to Customize Invoice Templates in Marg Books ?
How to Customize Invoice Templates in Marg Books ?

Overview of Invoice Template Option in Marg Books
Process to Set & Create Customized Template in Marg Books
OVERVIEW OF INVOICE TEMPLATE OPTION IN MARG BOOKS
- Marg Books provides its users a simple interface with predefined invoice templates.
- The user can easily customize them & generate professional Invoices instantly & give customers a highly personalized experience.
PROCESS TO SET & CREATE CUSTOMIZED TEMPLATE IN MARG BOOKS
- Go to Utilities & Tools.
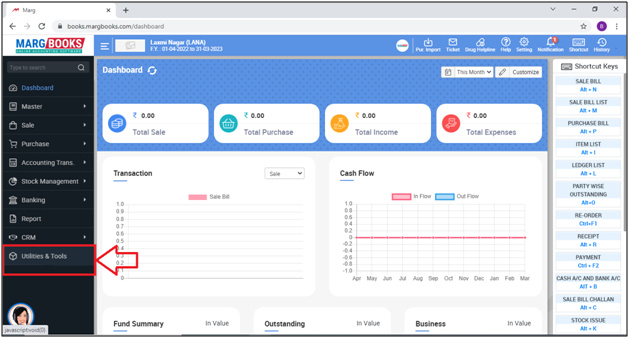
- An 'Utilities & Tools' window will appear.
- The user will select 'Invoice Template'.
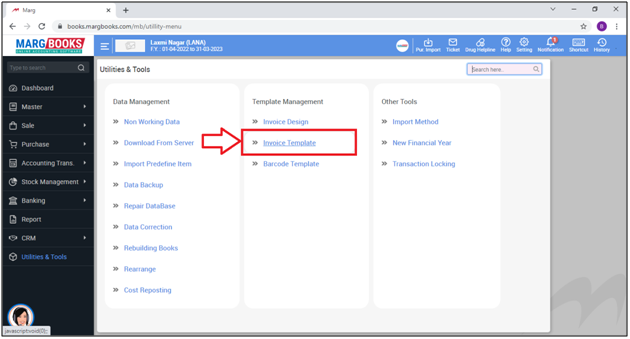
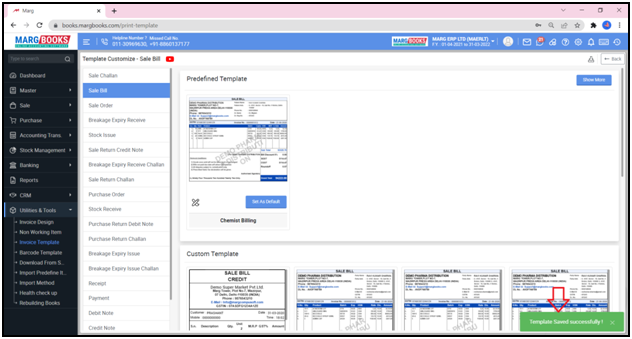
- A ‘Template Customize’ window will appear.
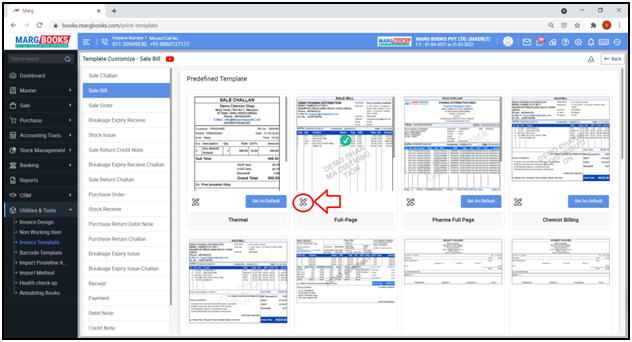
- Select the Transaction for which Invoice Template needs to be set i.e. Sale Challan, Sale Bill, Sale Order, etc.
- Suppose select ‘Sale Bill’.
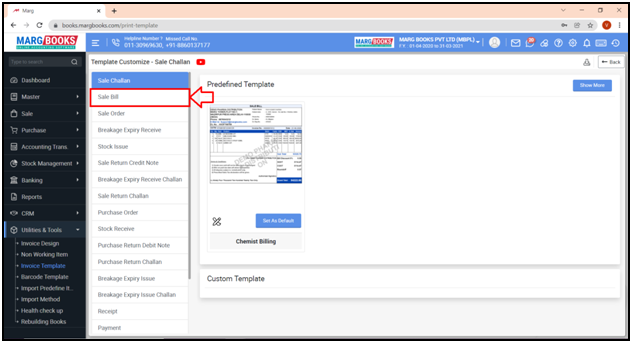
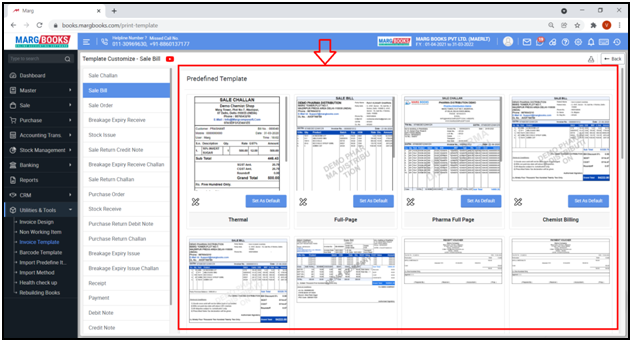
- Click on ‘Show More’ tab from the right side.
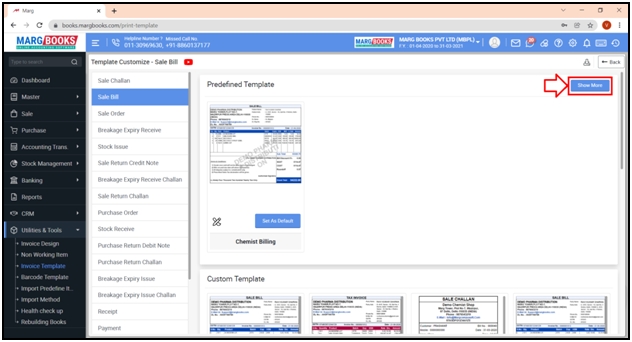
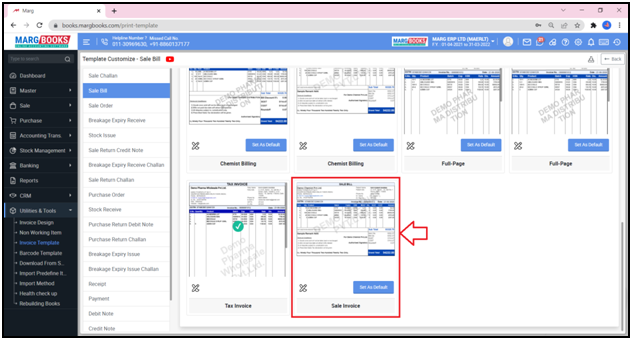
- The user can view that the different Templates are given i.e. Thermal, Full Page, Pharma Full Page, Chemist Billing, General Billing, etc.
The transaction for which the template is customized or set as default then that will be applicable for only that transaction.
- Suppose select ‘Sale Bill’.
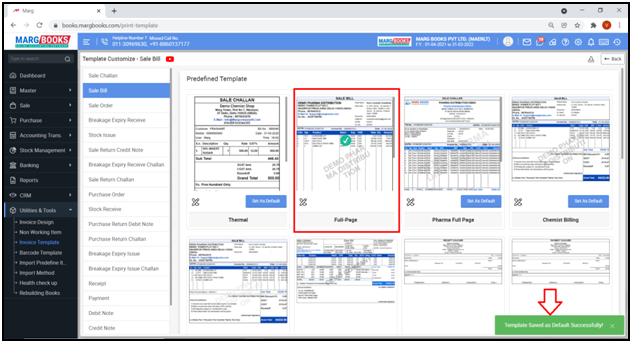
- The user will click on ‘Set as Default’ in order to set the template as default.
- Suppose select ‘Full Page’.

- A message of ‘Template Saved as Default Successfully’ will appear.
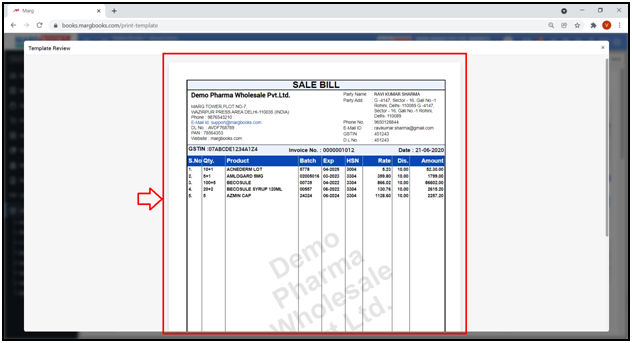
- The user can also click on that particular template in order to view it on the full screen.
- If the user needs to customize the Invoice then click on ‘Customize’ icon.
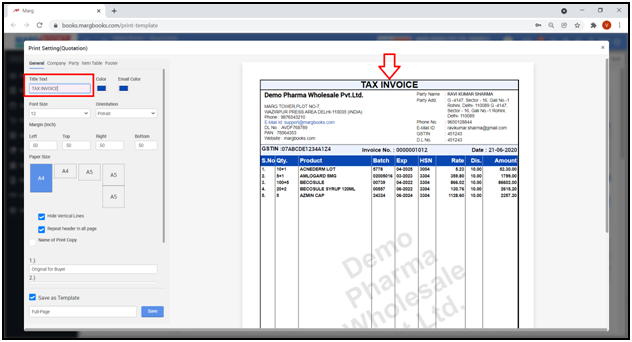
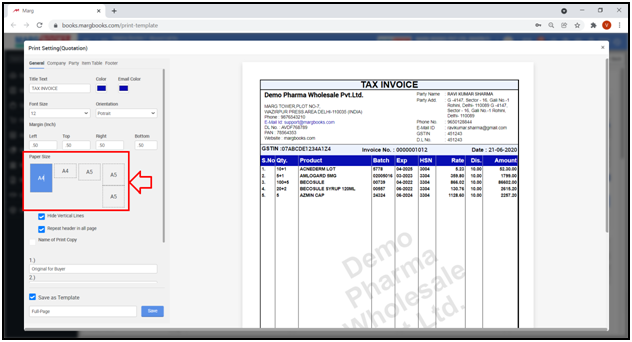
- A ‘Printing Setting (Quotation)’ window will appear with different fields.
- The user can customize the Invoice as per the requirement.
1. General Tab
a. Title Text: The user can change the Title of the invoice.
Suppose mention ‘Tax Invoice’ instead of ‘Sale Bill’.

- As the user will change the title of the invoice then at the same time it will get changed in the bill on the right side.
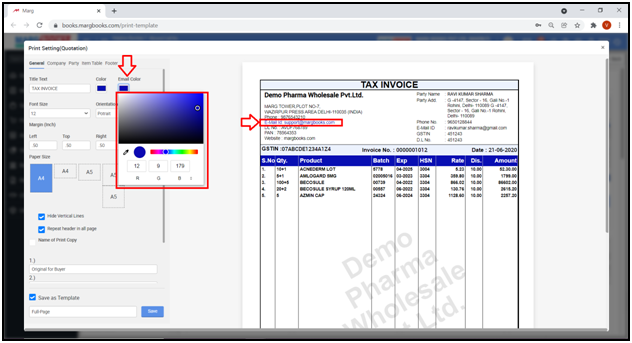
b. Color: The user can change the color as per requirement.

c. Email Color: The user can change the Email color as per requirement.
d. Font Size: The user can set the size of the font as per the requirement.
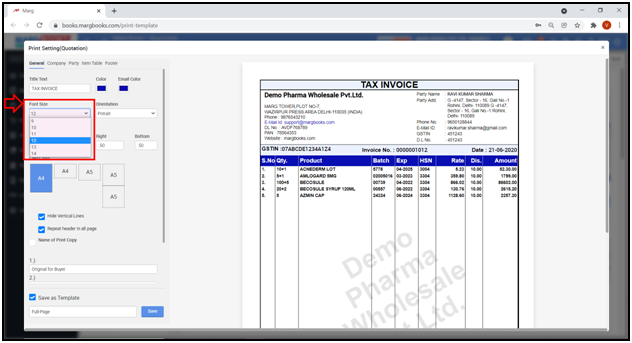
e. Orientation: The user can select the Orientation i.e. Portrait or Landscape as per the requirement.

f. Margin (Inch): The user can set the margin i.e. Left, Top, Right and Bottom as per the requirement.

g. Paper Size: The user will set the size of the paper i.e. A4, A5, etc. as per the requirement.
h. Hide Vertical Lines: The user can tick or untick the checkbox as per the requirement that whether the vertical lines must be shown or not in the invoice.
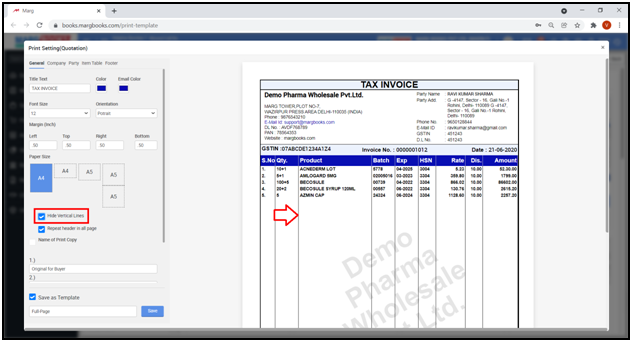
i. Repeat Header in all Page: The user can tick or untick the checkbox as per the requirement i.e. if the header must appear on every page in case the Sale Bill is coming in more than 1 page then tick the checkbox otherwise keep it as untick.

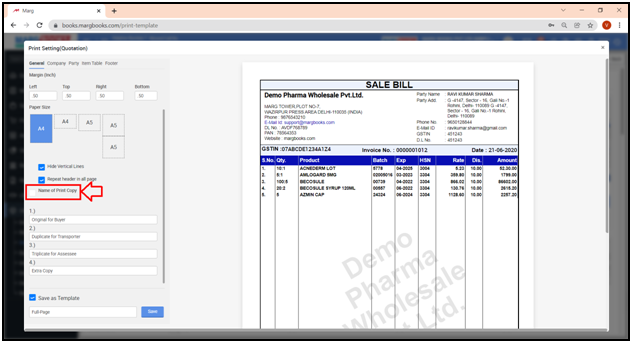
j. Name of Print Copy: If the user needs to print the name of the copy on the Sale Bill then tick or untick it as per the requirement.
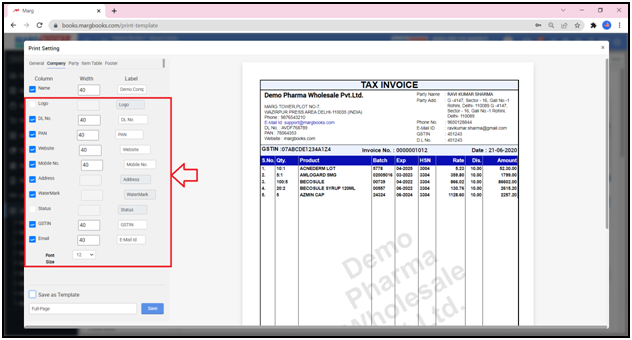
2. Company Tab
a. Name: Select whether the user needs to print the name of the company on the bill or not. The user can set the width of the company name & modify the label of the company as per the requirement.
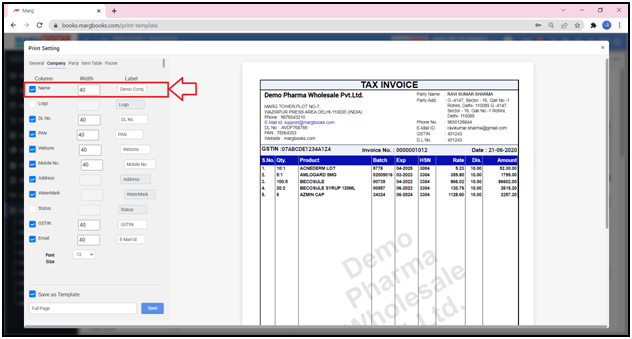
- Similarly the user will select or deselect the other fields i.e. D.L. No., PAN, Website, Mobile No., Address, GSTIN, Email, etc. as per the requirement.
- Apart from it, the user can set the Font Size as per the requirement.
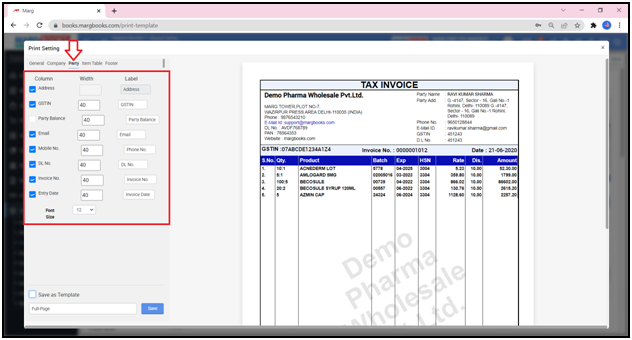
3. Party Tab
a. Address: Select whether the user needs to print the address of the party on the bill or not as per the requirement.
- The user can set the width of the Party name & modify the label of the party as per the requirement.
- Similarly the user will select or deselect the other fields i.e. GSTIN, Email, Mobile No., DL No., Invoice No., Entry Date, etc. as per the requirement.
- Apart from it, the user can set the Font Size as per the requirement.
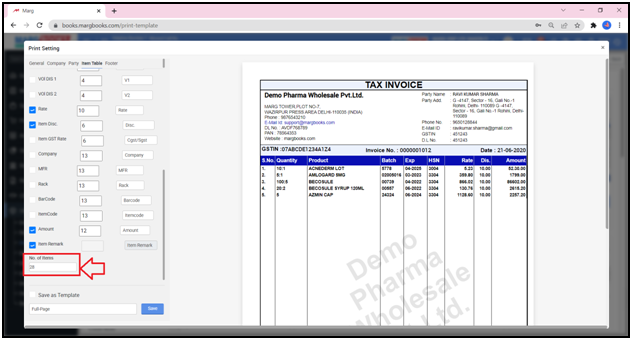
4. Item Table Tab
- Select which all columns must be displayed on the bill as per the requirement i.e. Same Item Merge, S.No, QTY., Product, Batch, etc.
- The user can set the width of the column (increase or decrease the width of any column manually or with the help of up and down arrow) & modify the label of the Item table as per the requirement.
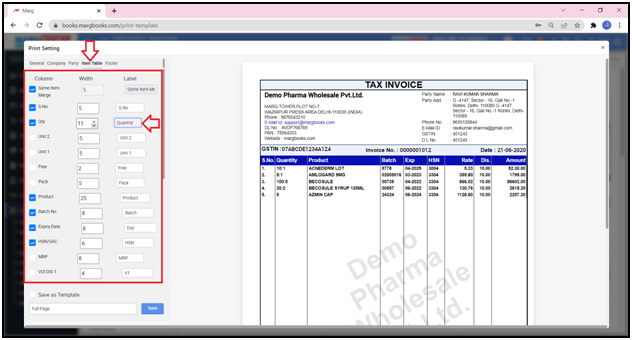
- Similarly the user can set the Number of items as per the requirement i.e. how many items must be shown on a single page.
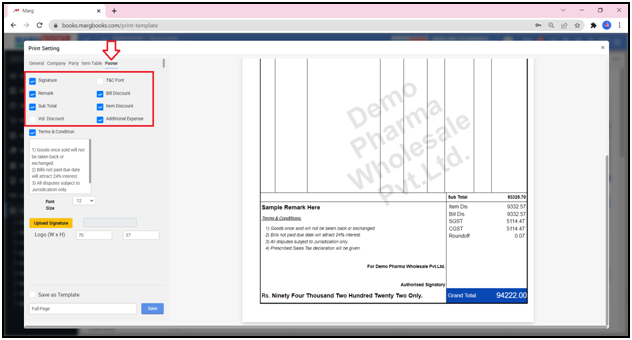
5. Footer Tab
The user will select or deselect the fields which are required to be included or hiden in the footer as per the requirement.
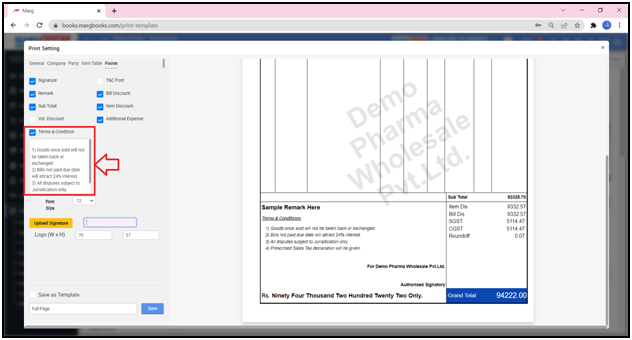
- The user will also mention the Terms and Conditions as per the requirement.
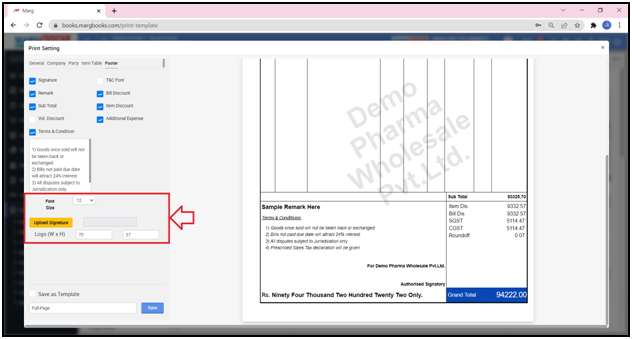
- Apart from it, the user can upload the Signature & set the Font Size as per the requirement.
- Now the user will click on ‘Save as Template’.
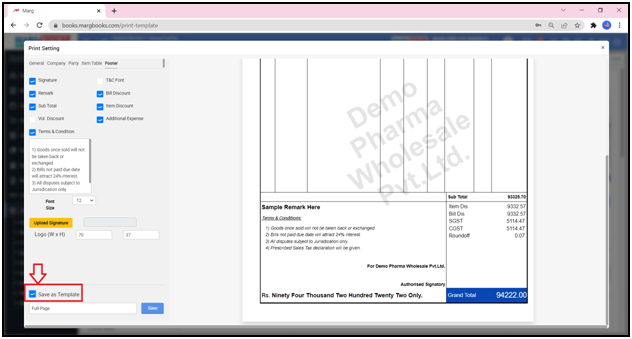
- Then mention the name which needs to be given to the Template & click on ‘Save’ tab.

- A ‘Template Saved Successfully’ message will appear.
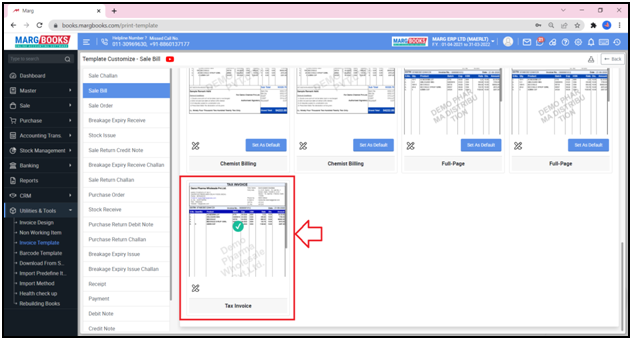
- Now the user can view that the Template which is been customized is shown here.
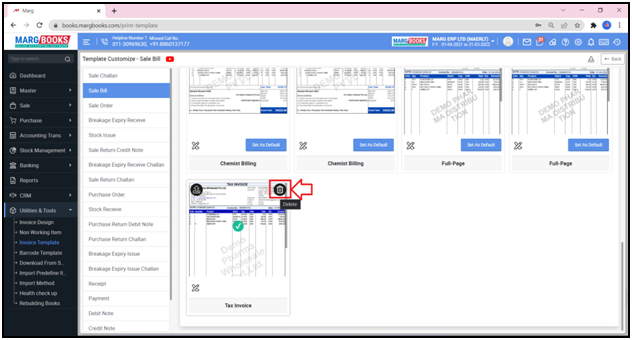
- If the user will move the cursor on the template then ‘Delete’ icon is shown through which the customized template can be deleted as per the requirement.
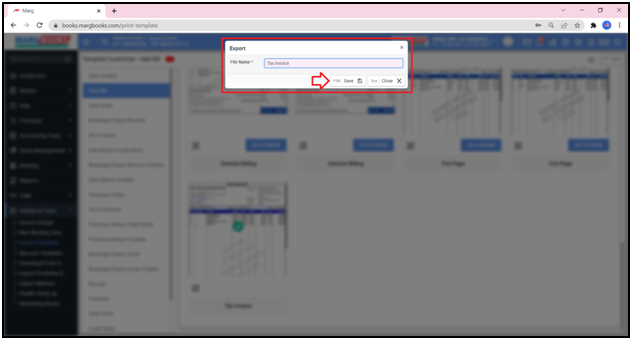
- Apart from it, the user can also export the Template as per the requirement by clicking on the ‘Export icon.
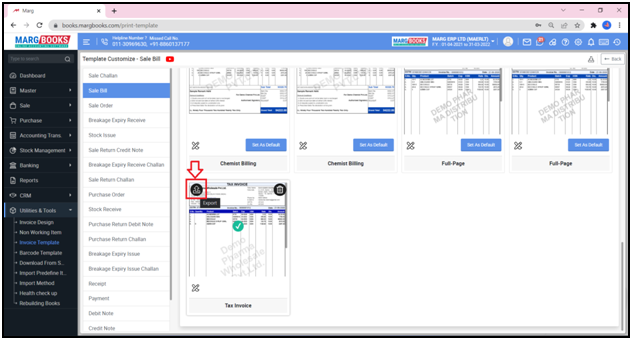
- An ‘Export’ window will appear.
- Mention the ‘File Name’.
- Then click on ‘Save’ tab.
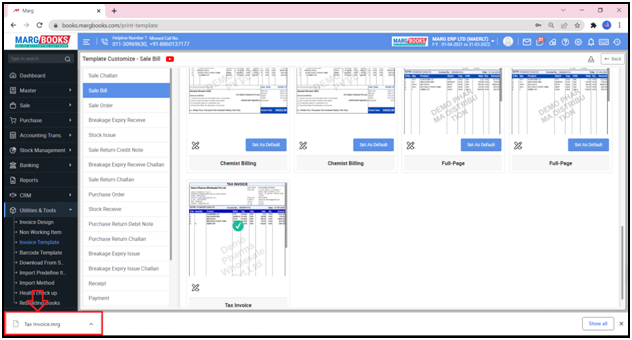
- Now the user will view that the Template has been exported.
- The user can also import the template as per the requirement by clicking on the ‘Import’ icon.

- Select the Template which needs to be imported & then click on ‘Open’.
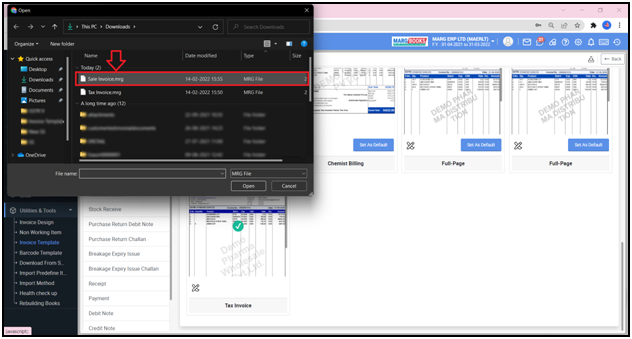
- Now the user can view that the Template has been imported.