Welcome to  -
HRXpert
-
HRXpert
Home > Hrxpert > Employee Master > How to create Employee Master in HRXpert Software ?
How to create Employee Master in HRXpert Software ?

Overview of Employee Master in HRXpert Software
Process to Create Employee Master in HRXpert Software
Process To Change Caption In Hrxpert Software
OVERVIEW OF EMPLOYEE MASTER IN HRXPERT SOFTWARE
Employee Master option enables the employer to enter the complete details of the different employees in an organization. Usually, employee details can be categorized into following sections:
- Personal Info
- Organization
- Salary Structure
- Documents
- Previous Employer
- Family & Nominee
PROCESS TO CREATE EMPLOYEE MASTER IN HRXPERT SOFTWARE
Note: If the employer is creating an employee for the first time in HRXpert Software then firstly, the employer needs to create Heads of Income and Deductions and Reporting Head from Masters Menu.
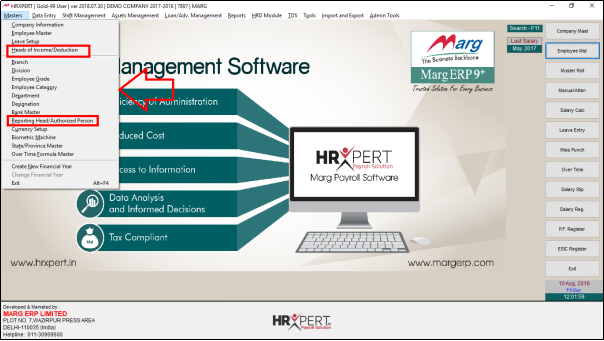
- Now, in order to create an employee, go to Masters > Employee Master.
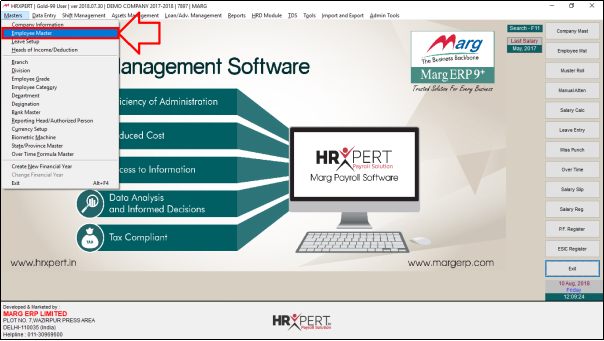
- An 'Employee Master' window will appear.
- The employer will mention all the details of their employee.
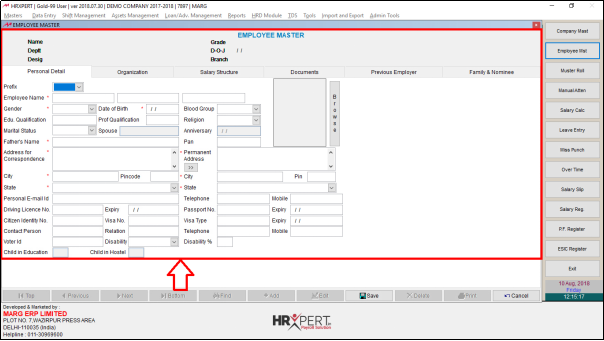
The details of New employee can be categorized into the following sections: -
1. Personal Details
2. Organization
3. Salary Structure
4. Documents
5. Previous Employer
6. Family & Nominee
Note: The fields having star (*) means that those fields are mandatory.
PERSONAL DETAILS
Firstly, the employer will fill the 'Personal details' i.e. the Personal information of employee.
a. Prefix: Select the salutation i.e. Mr., Miss, Ms., Mrs. Suppose select 'Mr.'.
b. Employee Name: Mention the employee name i.e. First Name, Middle Name, Last Name.
c. Gender: Mention the Gender of the employee.
d. Date of Birth: Enter the Date of birth of the employee.
e. Blood Group: Mention the Blood group of the employee.
f. Edu. Qualification: Mention the Educational qualification of the employee.
g. Prof. Qualification: Mention the Professional qualification of the employee.
h. Religion: Mention the Religion of the employee i.e. Hindu, Muslim, Sikh etc.
i. Marital Status: Mention the Marital status of the employee i.e. Unmarried, Married etc.
j. Spouse: Mention the Spouse name of the employee.
k. Father’s Name: Mention the Father’s name of the employee.
l. PAN: Enter the PAN no. i.e. Permanent A/c No. of the employee as per the requirement.

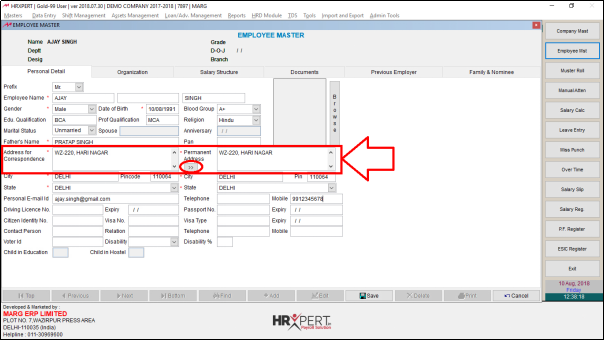
m. Address for Correspondence: Mention the Address for Correspondence. If the correspondence address is same as the permanent address then simply click on arrow button to copy the address.
n. Permanent Address: Mention the Permanent Address of the employee.
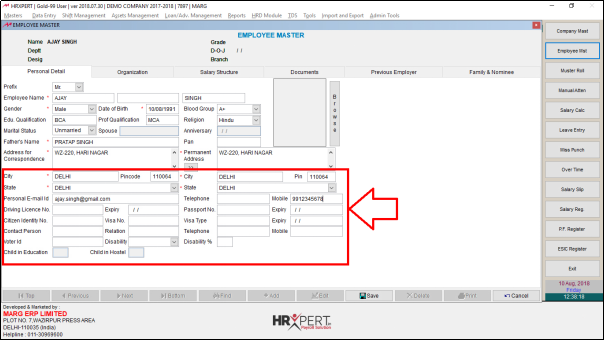
o. City: Enter the city of the employee.
p. Pin code: Mention the Pin code of the city.
q. State: Mention the State of employee where he/she is residing.
r. Personal Email Id: Enter the personal Email-Id of the employee.
s. Mobile: Enter the Mobile number of the employee.
t. Driving Licence No.: Enter the Driving Licence number of the employee.
u. Expiry: Mention the expiry date of the driving licence number of the employee.
v. Passport No.: Mention the Passport no. of the employee.
w. Expiry: Mention the expiry date of the Passport number of the employee.
x. Child in Education: Mention the no. of children who are currently studying if the employee is married.
y. Child in Hostel: Mention the no. of children who are currently studying in hostel if the employee is married.
- The employer can click on 'Browse' in order to upload/attach the photo of the employee.
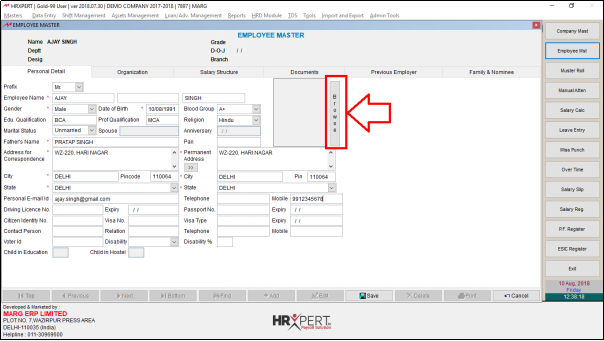
- The employer will select the path and photo to upload it.

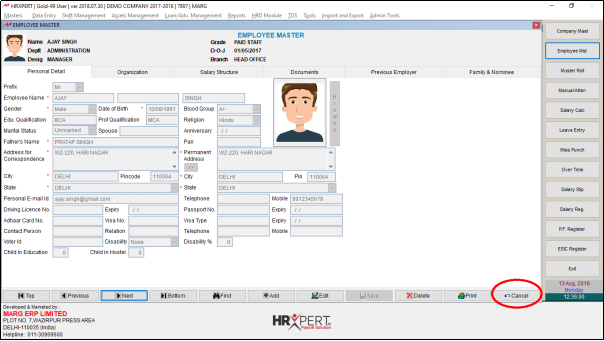
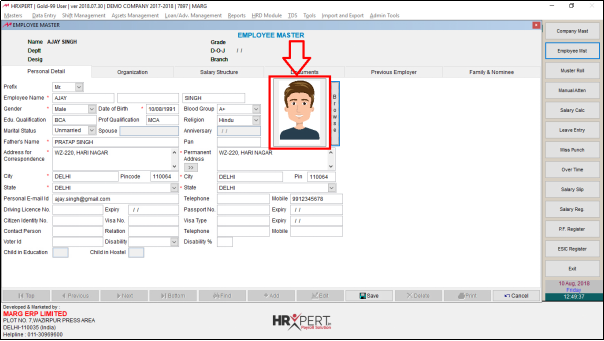
- Now the emloyer can view Employee Photo has been uploaded.
- The employer can change the captions of like Citizen Identity No. and Voter ID. In order to change these captions; the employer needs to come out from the Employee Master window.
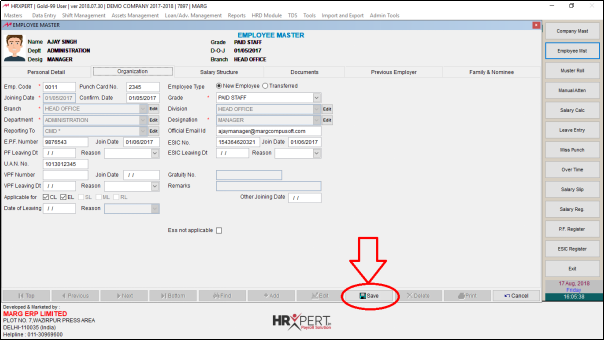
Note: When the employer will save this information then the software shows a message 'Employee Date of Joining should not be blank' i.e. the Employee date of joining field should not be left blank.

PROCESS TO CHANGE CAPTION IN HRXPERT SOFTWARE
- Firstly click on 'Save' to save the details, as if in case the employer doesn’t save the information and come out from the window then the details which are being filled will be removed.
- Click on 'Cancel' button to came out from the Employee Master window.

- Now, go to Admin Tools > Caption Settings.
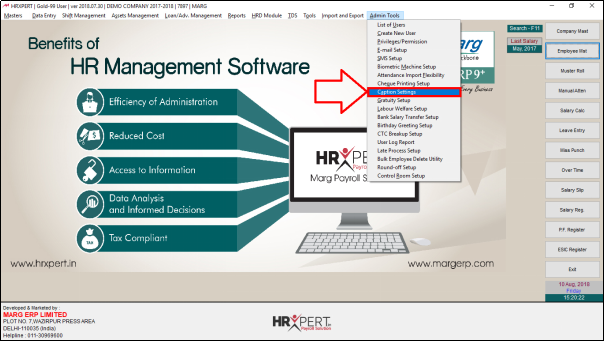
- A 'Caption Setting' window will appear in which the employer will click on 'Edit'.

- Suppose the employer wants that there should be Aadhaar Card Number instead of Citizen ID in 'Custom Caption' column.
- So, the employer will enter 'Aadhaar Card No.' here and click on 'Save'.

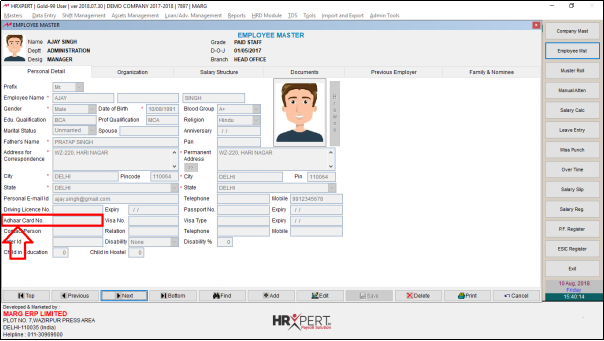
- Then go to Employee Master again.
- The employer can view 'Aadhaar Card Number' will get display as a caption instead of Citizen ID.
2. ORGANISATION
Then the employer will fill the 'Organisation details' i.e under this Tab the employer will define the details of the employee which are related to the organization such as Joining date, Designation etc.
a. Employee Code: Enter the Code of the employee.
b. Punch Card No.: Enter the Punch card No as stored in biometric machine.
c. Joining Date: Mention the Joining Date of the employee.
d. Grade: Select the Grade of the employee.
e. Branch: Select the Branch of the employee.
f. Division: Select the Division of the employee.
g. Department: Select the Department of the employee.
h. Designation: Select the Designation of the employee.

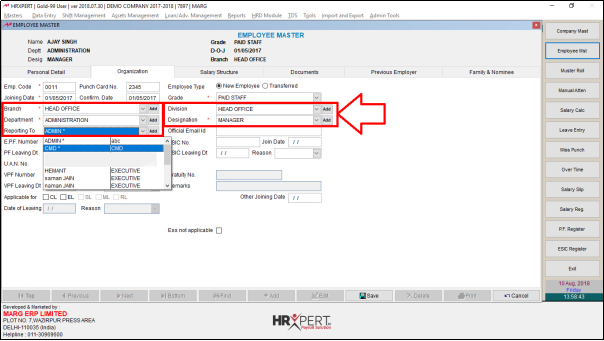
i. Reporting To: Select the Reporting head of the employee i.e. to whom the employee is reporting.
Those who are having a star that means they are the reporting persons and rest of them are the employees.
- Along with it, the employer can also view that Add buttons are displaying. It means that the employer can click on 'Add' to create Branch, Division, Department, Designation and Reporting To.
j. Official Email Id: Enter the official Email ID of the employee.
k. E.P.F Number: Enter the EPF number allotted to the employee.
l. Join Date: Enter the Date on which EPF has been started.
m. ESIC Number: Enter the ESIC number allotted to the employee.
n. Join Date: Enter the Date on which ESIC has been started.
o. PF Leaving Date: Enter the Date on which EPF has been stopped.
p. Reason: Enter the Reason why EPF has been stopped.
q. ESIC Leaving Date: Enter the Date on which ESIC has been stopped.
r. Reason: Enter the Reason why ESIC has been stopped.
s. UAN No: Enter the UAN No. of the employee.
t. VPF Number: Enter the VPF No. of the employee
u. Join Date: Enter the Joining date.
v. Gratuity No.: Enter the Gratuity No.
w. VPF Leaving Date: Enter the Leaving date.
x. Reason: Enter the Reason for Leaving.
y. Remarks: Enter the Remark as per the requirement.

z. Applicable for: Here, the employer will define the type of leaves for which the employee is entitled to:
- CL-Casual Leave
- EL-Earned Leave
- SL-Sick Leave
- ML-Maternity Leave
- RL-Restricted Leave
aa. Gratuity Number: Mention the Gratuity number of the employee.
3. SALARY STRUCTURE
- Under this Tab, the employer will define the Salary breakup of the employee. Salary Structure is divided into the two heads:
(i) Earning Details: Under this head, the employer will define the earning details.
(ii) Deduction Details: Under this head, the employer will define the deduction details.
- Every company has a different salary structure. Also, some companies change the salary structure employee to employee while some companies create a fixed salary structure for each employee.
- As the company defines a fixed salary structure like if the employer goes to CTC Breakup setup.
- In order to go to CTC Breakup Setup, click on 'Cancel'.

- Now, go to Admin Tools > CTC Breakup Setup.
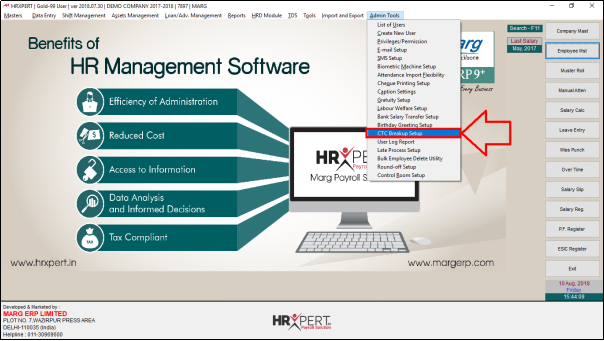
- A 'CTC Setup' window will appear in which the employer will select the Grade and click on 'Show'.
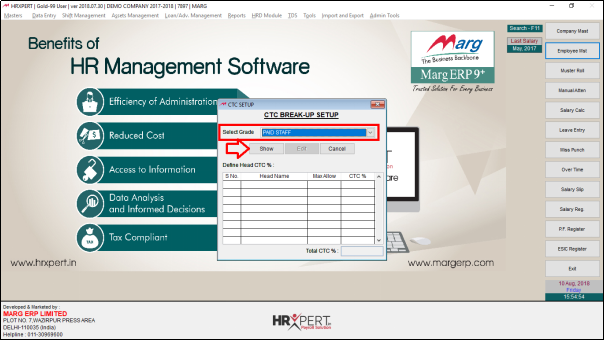
- The employer can view that the heads which were created in Income & Deduction Head will be shown here.
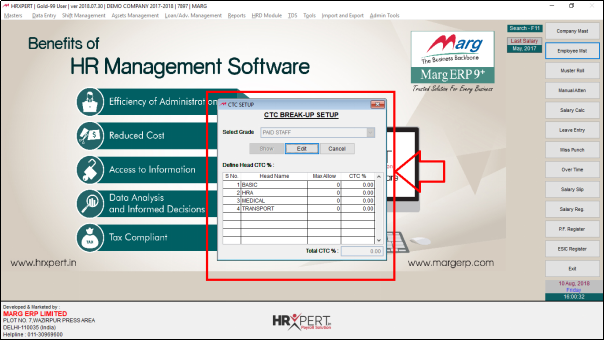
- Now, suppose after clicking on 'Edit', the employer defines the CTC percentage like Basic pay must be 50% of CTC and HRA must be 25% of CTC. Similarly, specify Medical and transport also. So, in this way the employer can specify the CTC percentage as per the requirement.

- The benefit of this is that as the employer will enter the CTC amount; the percentage which is being defined here, the amount will be bifurcated accordingly.
- Now, the employer will 'Save' it.
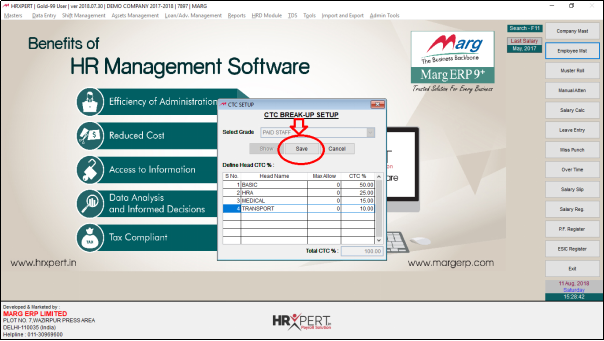
- The Employer can view the CTC breakup.

- Now, again go to the salary structure Tab, click on 'Edit'.
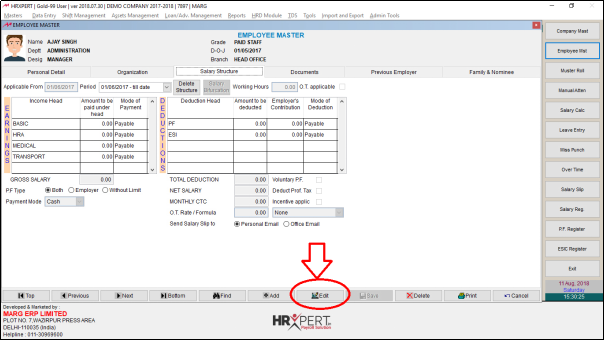
- Here, either the employer will add the amount directly or click on 'Salary Bifurcation' and view that those percentages will be shown here which was being added in CTC Breakup.

- Along with it, the employer will also view the fixed amount of Medical and Transport which is being set.

- Now suppose, the employer will enter CTC 30,000 and click on 'Show'.
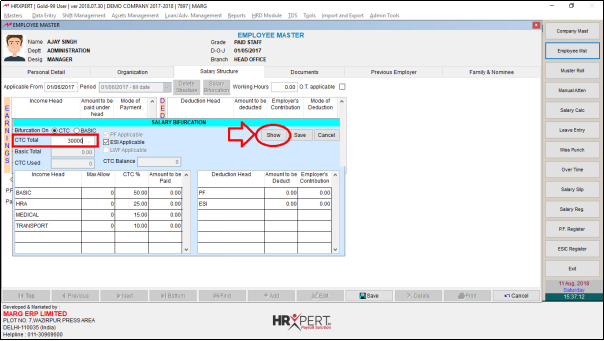
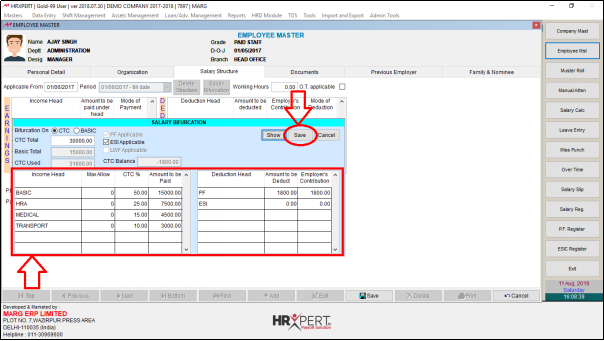
- Now, the employer can view that the software has bifurcated the amount automatically according to the percentage.
- The employer will click on 'Save'.
- Now, the employer can view that the salary structure has been created.
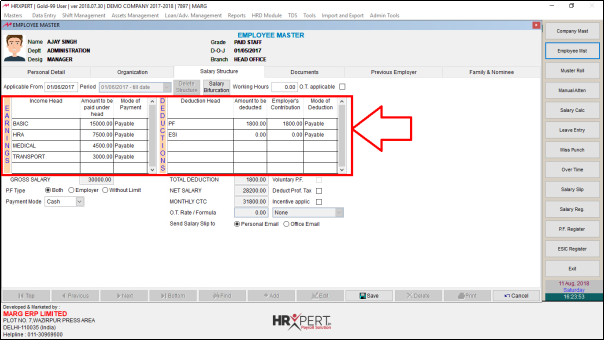
- Working Hours: The employer can define the working hours of the employee.
- O.T. Applicable: Define whether the employee is applicable for Over-time or not tick here.

- PF Type: Here, by default PF type is set as 'Both' i.e. Like, now PF is 12%, then it will be deducted from both employer and employee.
- If the employer will select 'Employer' then there will be a limit on employer only i.e. 12% will be deducted from employer and employee can deduct the PF as per their requirement.
- If the employer will select 'Without limit' then there will no limit applicable on any of them i.e. both the employer and employee are allowed to deduct PF as per their requirement.
- So, for now select 'Both'.
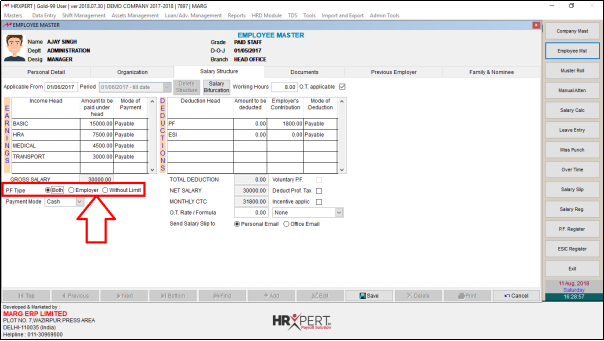
- Payment Mode: It means that in which mode the employer needs to pay the salary to the employee i.e. (Cash, Cheque or Bank Transfer).
a) Cash: If the employee’s salary is paid in Cash, then select this option.
b) Cheque: If the employee’s salary is paid through Cheque then select this option.
c) Bank Transfer: If employee’s salary is paid through Bank Transfer then select this option. Then Enter the required bank details i.e. Bank Name & Bank A/c No. of the employee.
For now, select 'Cheque'.
- So, in this way, the employer can define salary structure.

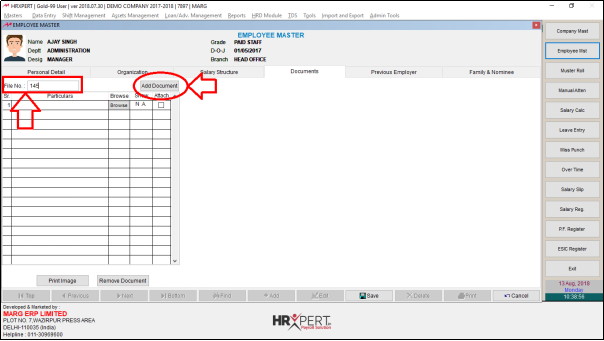
4. DOCUMENTS
- Under this Tab, the employer can maintain the details of the documents which are being provided by the employee such as Identity details, Qualification and Experience Certificate etc.
- The employer can attach the documents of an employee.
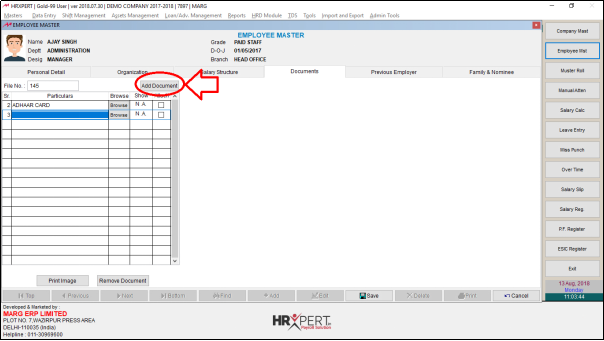
a) File No.: Enter the File Number then click on 'Add Document'.
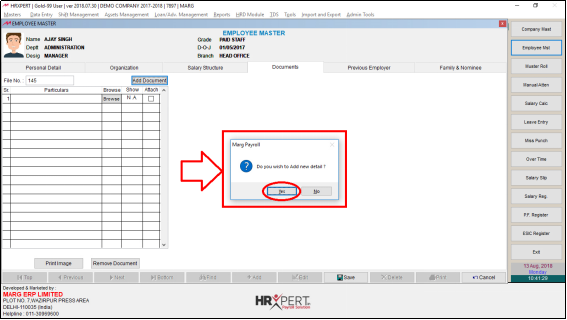
- Then the software will ask that 'Do you wish to add new detail' in which the employer will click on 'Yes'.
b. Particulars: In this column, the employer is required to mention the type of the document which is being received from the employee.
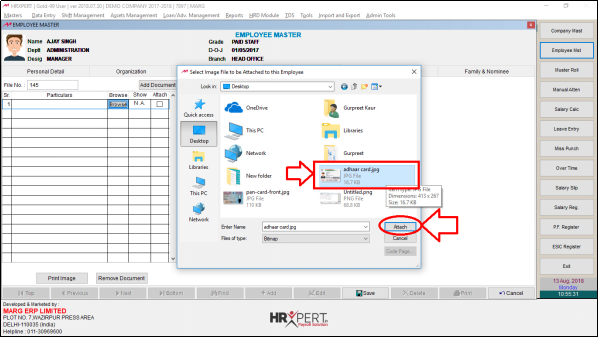
c. Browse: By selecting this option, the employer can upload the scanned documents provided by the employee.
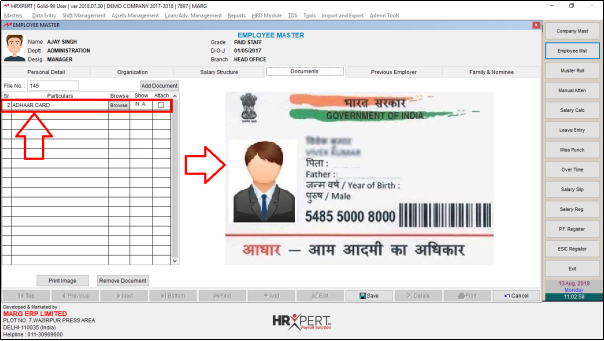
- Click on 'Browse'.

- Select that particular document. Then click on 'Attach'.
- The Employer can view the Documents Tab.
- Similarly, if the employer needs to add another document then again click on 'Add Document'.
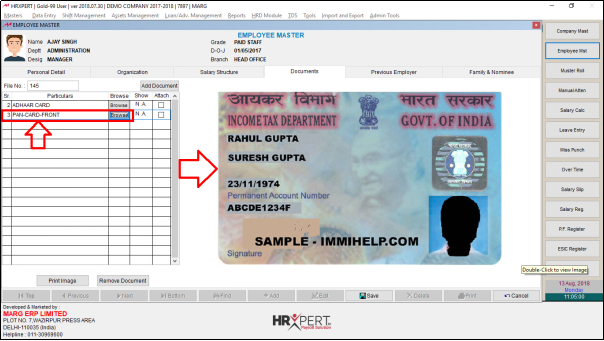
- After that the employer will click on 'Browse' and Select that particular document.
- Click on 'Attach'.

- The Employer can view the Pan Card will get upload.
- Now, the employer can 'tick' the check box in front of that document which needs to be attached and along with it the employer can 'Print' the document and can also 'Remove' it.

5. PREVIOUS EMPLOYER
Under this Tab, the employer can define the details of the Previous company. Once the employer will select this tab then the following details will be required to be filled:
a. Name of the Employer: Mention the Name of the Previous Employer i.e. previous name of employer.
b. Complete Address: Mention the Complete Address of previous company.
c. Date of Joining: Mention the Date of Joining of the employee in the previous company.
d. Date of Leaving: Mention the Date of Leaving of the employee in the previous company.
e. Last Salary drawn: Mention the Last Salary drawn by the employee in the previous company.
f. Department: Mention the Department for which employee has worked in the previous company.
g. Designation: Mention the Designation of the employee in the previous company.
h. Job Profile: Mention the job profile in of the employee in the previous company.

6. FAMILY AND NOMINEE
- Under this Tab, the employer can define the details of Family members & Nominee of employee like Name of member, Relation with Employees means what is the relation of employee with that particular member, residing with employee etc.
a) Name of the Member: Mention the Name of the Family Member of the employee.
b) Relation with Employee: ,Mention the Relation of this member with the Employee.
c) Reside with Employee: Does this member resides with employee
d) Address: Mention the Address of the Nominee
e) If dependent on employee: Mention whether this member is dependent on employee or not.
f) % age P.F Nominee: Mention the %age if P.F Nominee.
g) % age ESI Nominee: Mention the %age if ESI Nominee.
h) % age GRATUITY Nominee: Mention the %age if GRATUITY Nominee.
- So, in this way after filling the details of an employee, the employer will click on 'Save'.

- Now, if the employer needs to do any changes in the employee master then click on 'Edit' and do the changes as per the requirement.
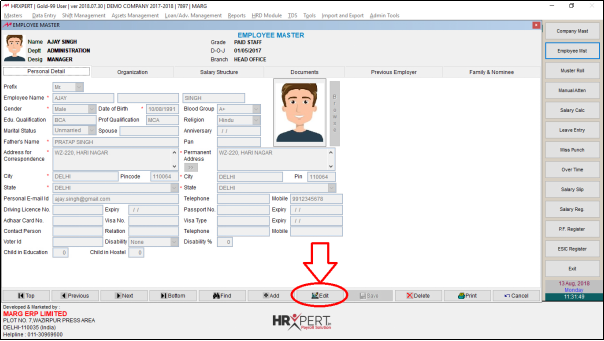
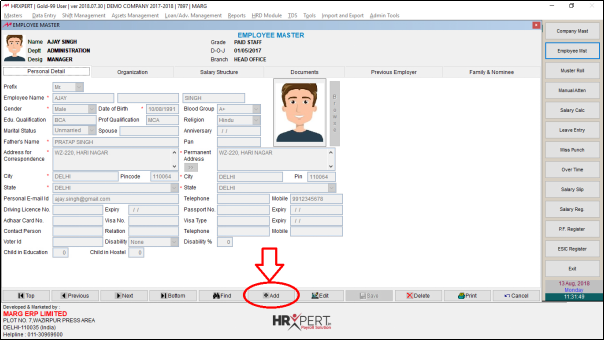
- If the employer needs to create a new employee then simply click on 'Add'.
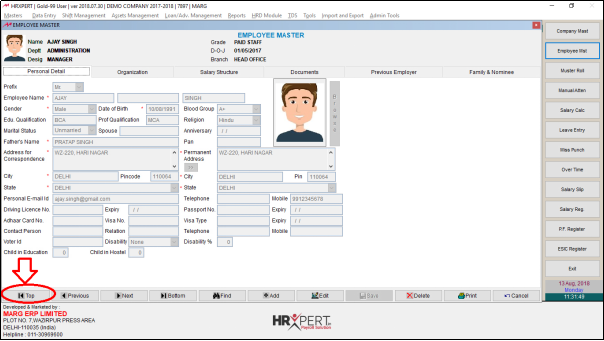
- If the employer needs to go to the first record from the last record then click on 'Top'.
- The Employer can view the document details of Employee.

- And if the employer needs to go to the last record from the first record then click on 'Bottom'.
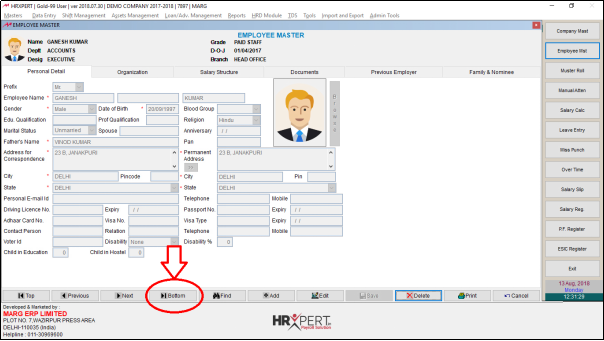
- The Employer can view the Bottom Employee detail will get display.
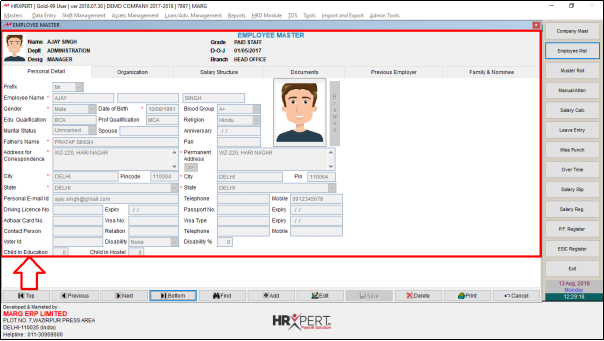
- Along with it, the employer can also go to 'Previous' and 'Next' record from here.
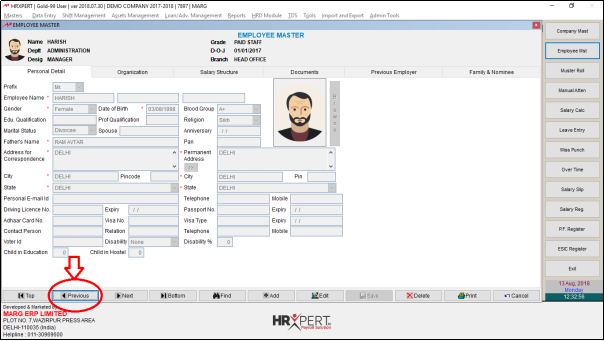
- The Employer can view the Previous Employee detail will get display.

- If the employer needs to find any employee then click on 'Find'.
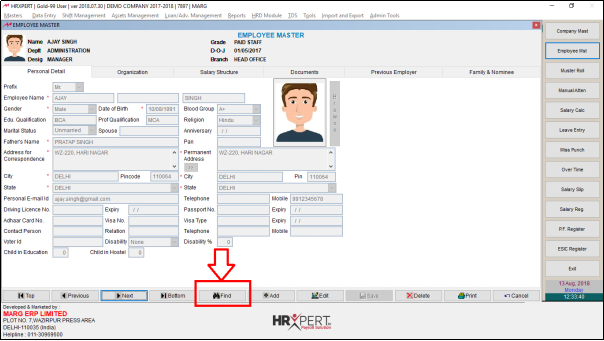
- Now enter the name of the Employee which needs to find.
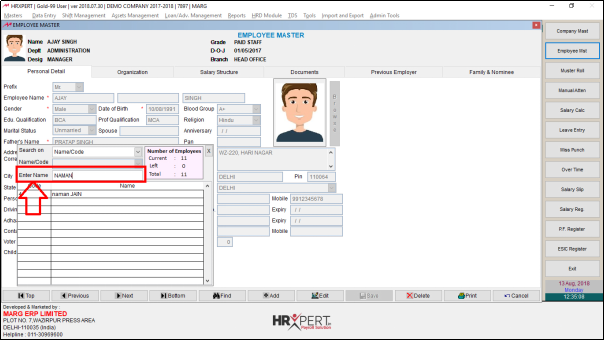
- Suppose mention 'Naman'.
- The Employer can view Employee 'Naman' will get display.
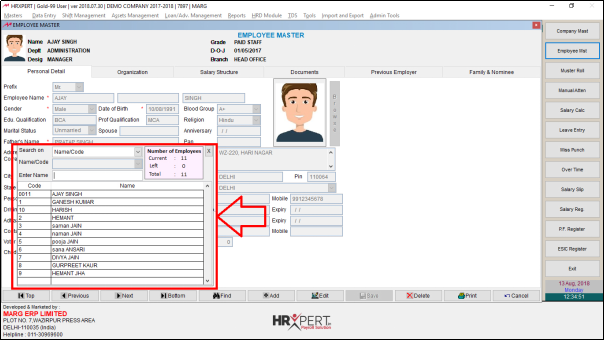
- The employer can also view 'Current' Employees in company, Employees 'Left' from the company and 'Total' Employees.

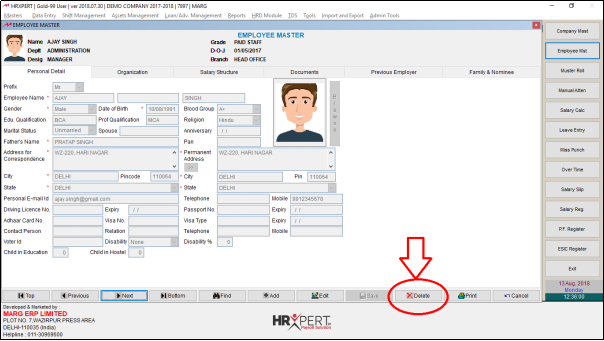
- And if the employer needs to delete any employee then click on 'Delete'.
Note: The employer can’t delete the employee in which the salary details are present.
- The employer can also print the employee details by clicking on the 'Print' button.
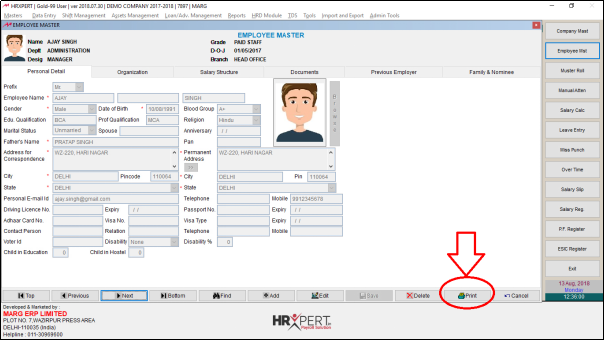
- If the employer needs to EXIT from the employee master window then simply click on 'Cancel'.