

Welcome to  -
Marg ERP 9+
-
Marg ERP 9+
Home > Margerp > Advance Control > If ' Date Not Matched! ' alert appears while Create, Modify and Delete Sale Bill then how to resolve it in Marg Software ?
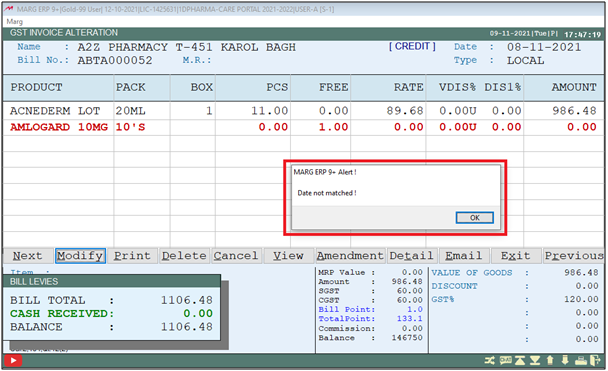
If ' Date Not Matched! ' alert appears while Create, Modify and Delete Sale Bill then how to resolve it in Marg Software ?

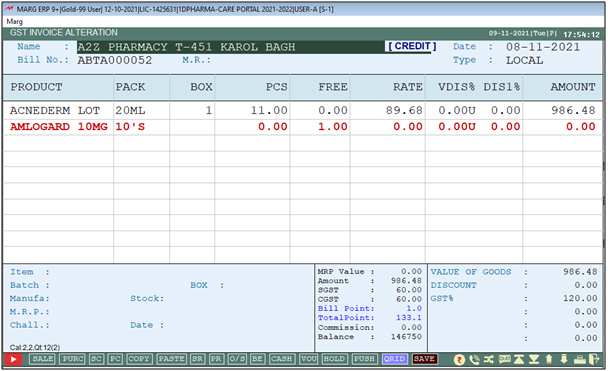
In Marg Software, if at the time of modifying sale bill software displays an alert of 'Date not match', then this issue can be resolved easily.
In order to resolve the error of 'Date not matched', the user needs to follow the below steps:
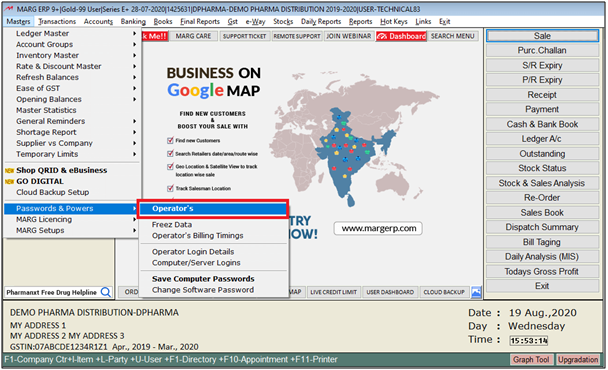
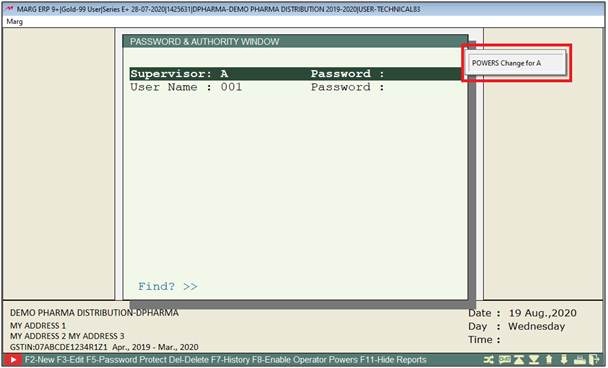
- Go to Masters > Passwords & Powers > Operator's.
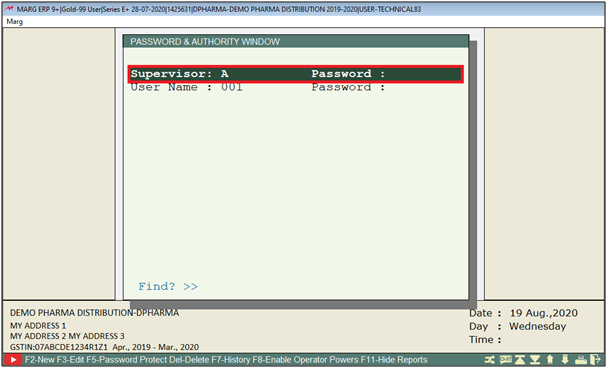
- A 'Password & Authority' window will appear.
- Select the user to make the desired changes. Then Press 'Enter' key.
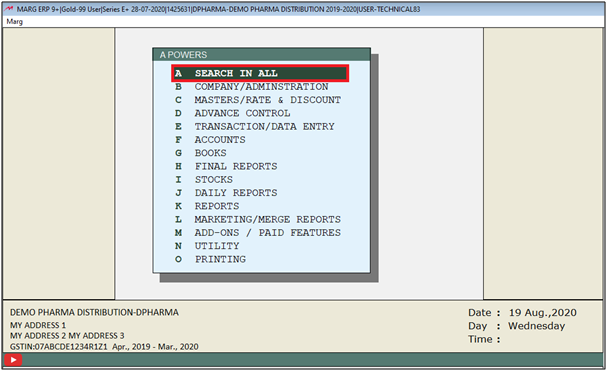
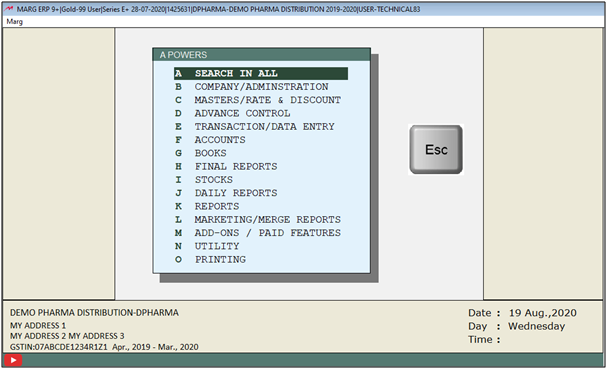
- A 'Powers' window will appear in which the user will select ‘Search In All’.
- A 'Powers' window will appear in which the user will search 'Today' .
- Click on ‘Accept’.

- A 'Today' window will appear.
- In 'Working Date A-Any S-Todays Date F-From Server' option, user will select 'A'.
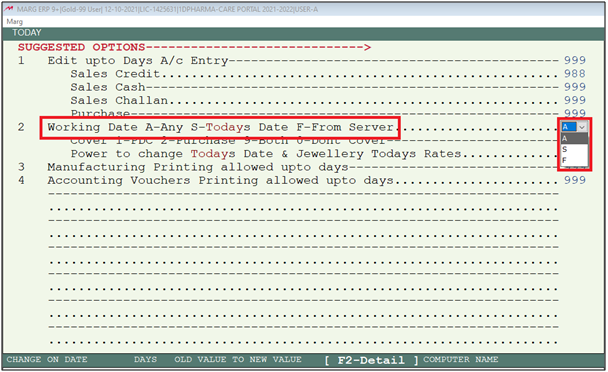
- The user will now press 'ESC' key.
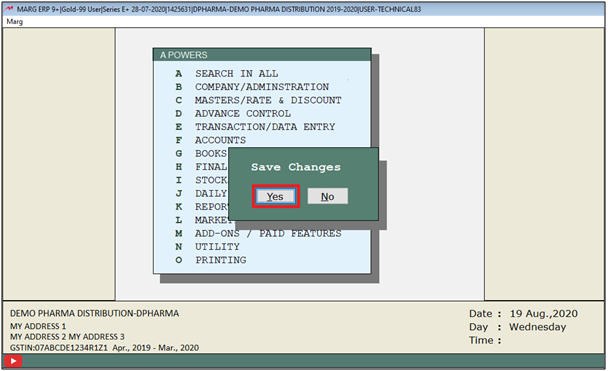
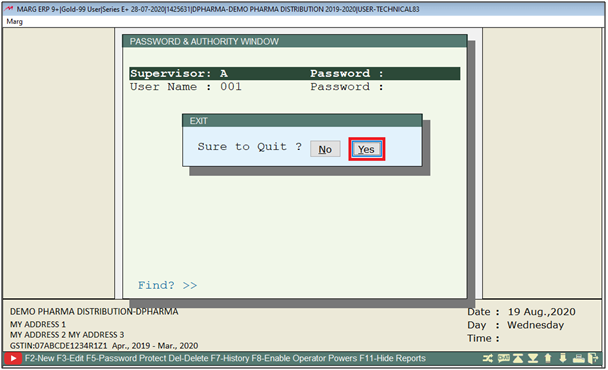
- Again press 'ESC' key and then click on ‘Yes’ to save the changes.
- A 'Powers Change' POP-UP will appear in which the user will press 'ESC' key.
- Again Press 'ESC' key and then click on ‘Yes’.
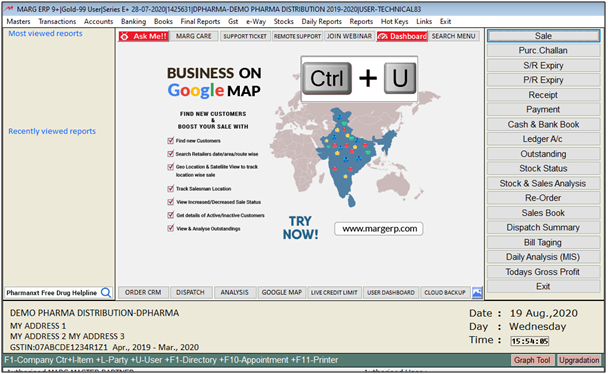
- Now, in order to Re- login, the user will press 'Ctrl+U' key on the main screen of the software.
- A 'Change User' window will appear in which the user will enter the User ID and Password.
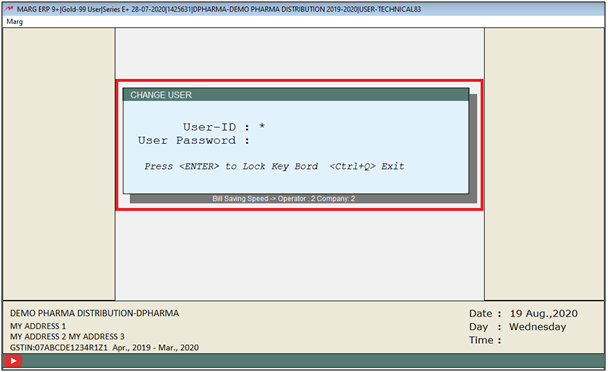
- A 'Change User' window will appear in which the user will press 'ESC' Key.

After following the above steps, the user can view the error of 'Date not matched' will get resolved in Marg Software.

Cause: This error appears due to system and software date not matched.
In Order to resolve Date not match with your Computer Date, this issue user needs to follow below steps:
Solution:
1. Go to Control panel in system.
2. Now click on Clock & Region > Date & Time. Then click on 'Change date & Time'.
3. A 'Date & Time' setting window will appear. Click on 'Change descender setting'.
4. The user will select 'Short date format as dd/mm/yyy and then click on 'Apply & ok'.
In This Page


