

Welcome to  -
Marg ERP 9+
-
Marg ERP 9+
Home > Margerp > Departments Reports > How to view My Item Report in Marg Software?
How to view My Item Report in Marg Software?

Overview/Introduction to My Item report in Marg Software
Process to Create My Item Report in Marg Software
Process to View My Item Report in Marg Software
OVERVIEW/INTRODUCTION TO MY ITEM REPORT IN MARG SOFTWARE
- My Item Report of Marg Software, facilitates user to create their own report for the items which are of particular category i.e. Narcotic,Schedule Item, Tb etc.
- With the help of this report user can easily view the sale/purchase of the selected item and can check their transaction history as well.
PROCESS TO CREATE MY ITEM REPORT IN MARG SOFTWARE
Go to Stocks > Department Reports > My Item Report.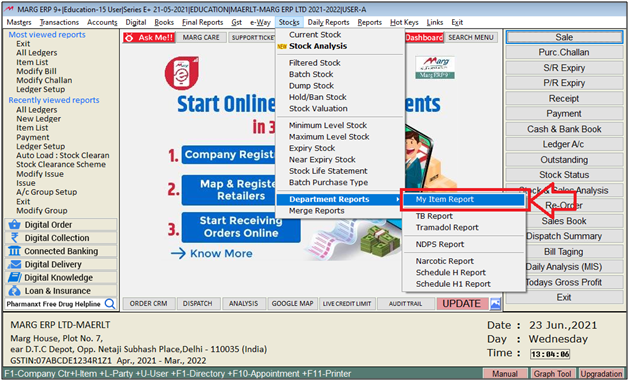
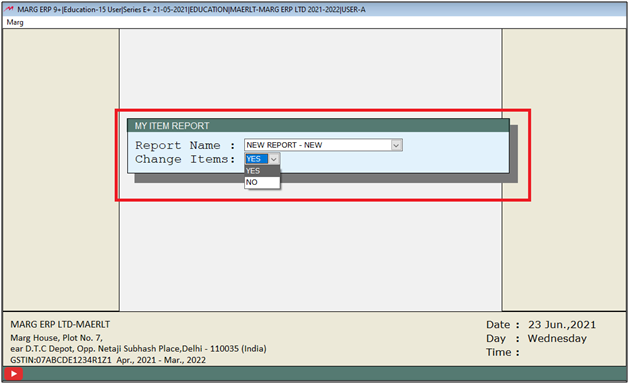
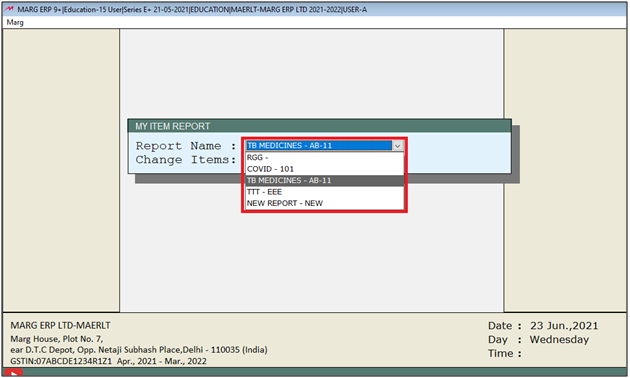
My Item Report window will appear.
a. Report Name: The user will select 'New Report-New' from the drop down.
b. Change Items: The user will select 'Yes'.
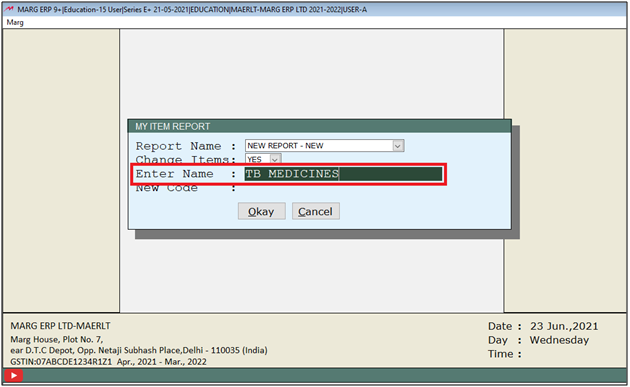
c. Enter Name: Mention the name of the report as per the requirement .
Suppose, mention TB Medicines.
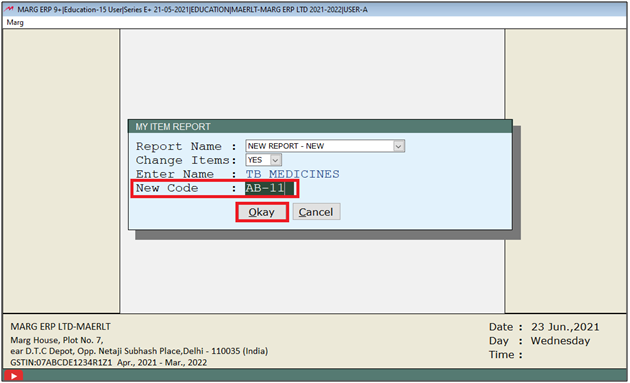
d. New Code: Mention the code of the report as per the requirement.
Suppose, mention AB-11.
Then click on 'Okay'.
- Now press (+) key on the selected items (the items which is needed in the selected report).
- Suppose, the user is generating report for TB medicines, so selected all the items of TB treatment.
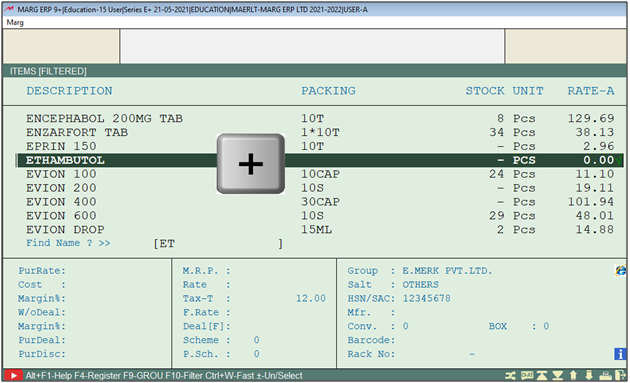
- Similarly, the user can select multiple items as per the requirement.
- Then press 'Enter' to load the selected items into the report .

PROCESS TO VIEW MY ITEM REPORT IN MARG SOFTWARE
- Go to Stocks > Department Reports> My Item Report.
- Now select the created report as per the requirement.
- Suppose,select 'TB Medicines'
Now select the options as per the requirement.
a. From: Mention the date from which the report needs to be viewed.
b. To: Mention the date till which the report needs to be viewed
c. Report Heading: The user can easily view the heading of the report as per the requirement and also can change it on the temporary basis (if required).
d. With Rate: Select 'Yes', if the report needs to be viewed with rate otherwise keep the option as 'No'.
e. Select Format: Now select the format of the report as per the requirement.
f. Separate/Continue: Select whether the report needs to be generated on the separated pages or in the continuation.
g. Purchase/Sale: Select the nature of the transaction for which the report needs to be viewed.
h. Report For: Select the transaction for which the report needs to be viewed. Suppose, select 'Sale'.
i. Serial No. From: Mention the serial No. of the item from which to which the report needs to be viewed.
Then the user will click on 'View'.

After following the above steps, the customize report will get generated.


In This Page


