

Welcome to  -
Marg ERP 9+
-
Marg ERP 9+
Home > Margerp > E Invoicing > How to Generate e - Invoice ( Single or Bulk ) in Marg Software ?
How to Generate e - Invoice ( Single or Bulk ) in Marg Software ?

Overview Of E-Invoicing In Marg ERP Software
Process Of Registration & Login To E-Invoice Portal
Process To Upload Single E-Invoice In Marg ERP Software
Process To Upload Bulk E-Invoice In Marg ERP Software
Note: With effect from 15 June 2024, it's mandatory to Activate E-Invoice Service in Marg Wallet for generating it.
OVERVIEW OF E-INVOICING IN MARG ERP SOFTWARE
- Electronic Invoicing (e-Invoicing) is a system in which Business-to-Business (B2B) invoices, Export invoices & Invoices of Credit/Debit Notes of Registered parties are validated electronically by GSTN for further use on the common GST portal.
- Through Generate e-Invoice option in Marg ERP Software, the user can easily upload their B2B, Credit/Debit Note & Export invoices on e-Invoice Portal after the registration process is completed.
- The main objective behind the introduction of e-Invoicing by the tax departments is to ease the whole process of invoicing i.e. to reduce all the reconciliation problems related to data and auto-populate the returns that will help the taxpayers to easily get the Input Tax Credit.
- CBIC has announced that from 1st Aug 2023 onward, E-invoicing is mandatory for all the taxpayers having aggregate turnover above Rs 5 crore in any of the previous years from 2017-18 onwards.
- Starting December 15, 2023, e-Invoices will require a minimum 6-digit HSN for taxpayers with an annual Aggregate Turnover of 5Cr and above.
PROCESS OF REGISTRATION & LOGIN TO E-INVOICE PORTAL
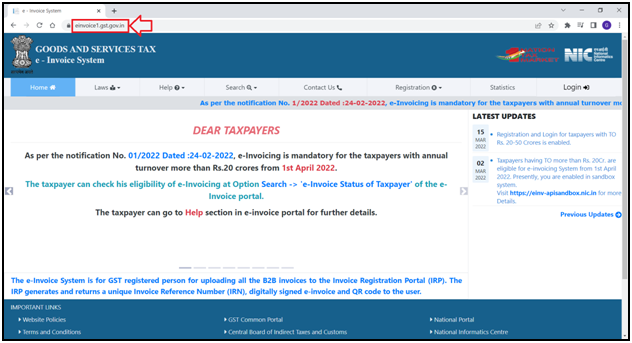
- Visit to einvoice1.gst.gov.in
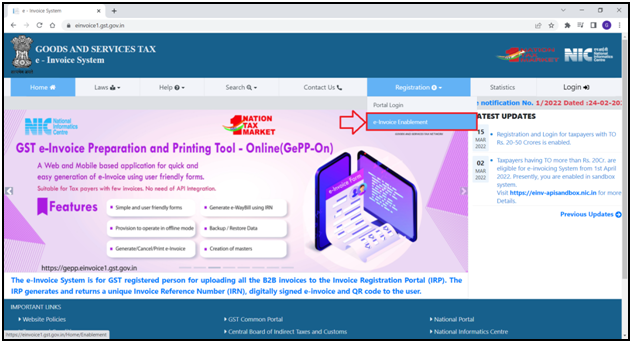
- Click on Registration > e-Invoice Enablement.
- The user will mention the 'GSTIN'.
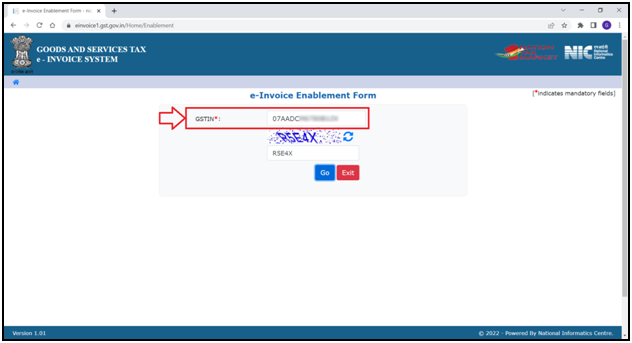
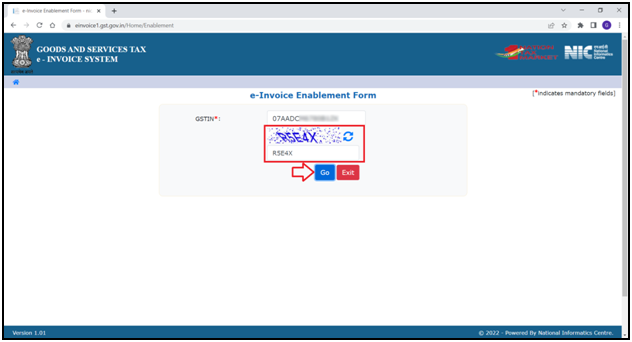
- Enter the 'Captcha' as shown and Click on 'Go'.
- The user can view all the details in the form.
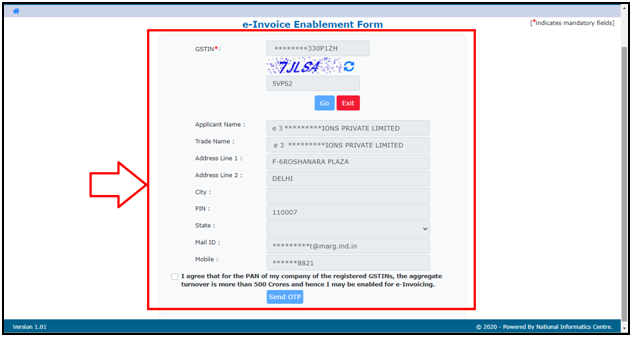
- Tick the checkbox and click on 'Send OTP'.
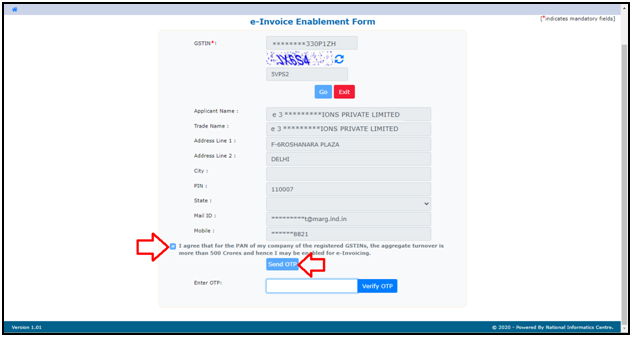
- An OTP will be sent to the Registered Mobile No.
- The user will enter the OTP and click on 'Verify OTP'.
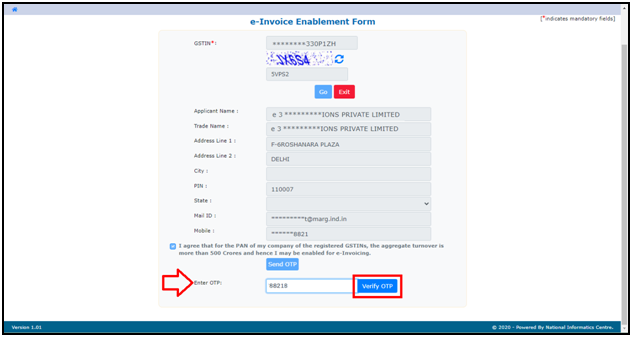
- In this way, the registration process will be completed on the e-Invoice Portal.
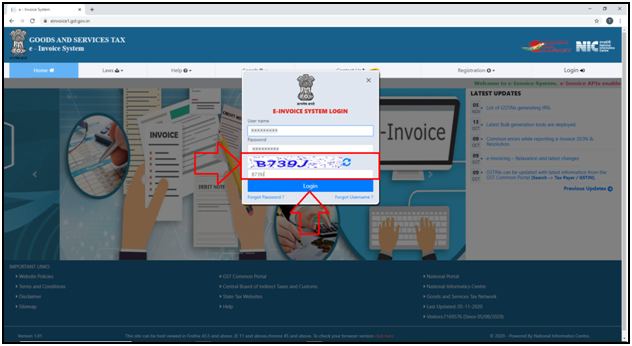
- Now click on 'Login'.
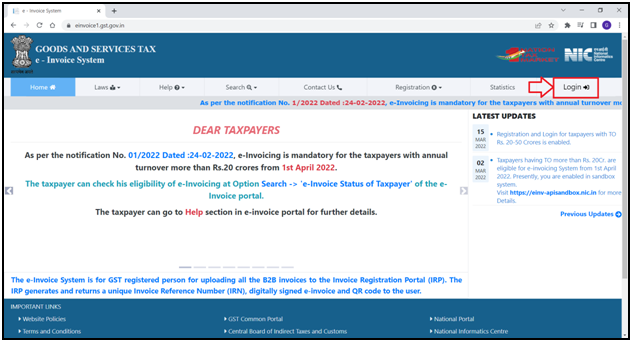
- The user will mention the User ID / Password.
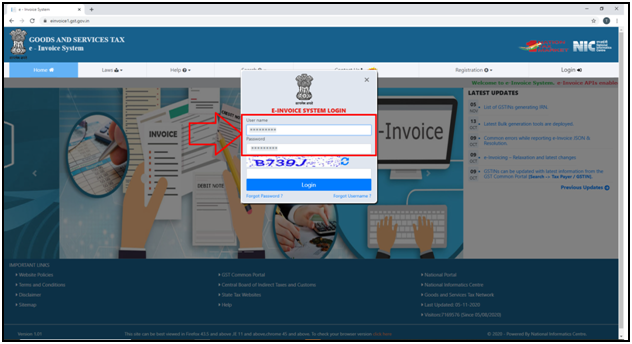
- Now mention the captcha of the Einvoice Panel.
- Click on 'Login'.
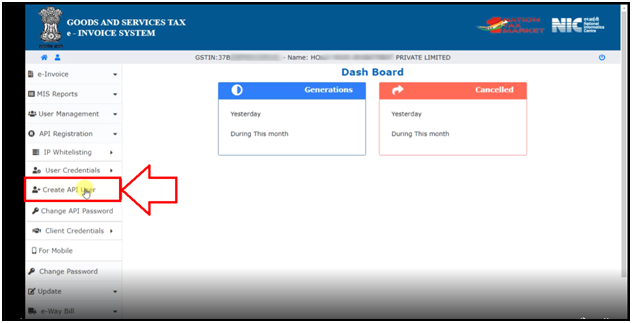
- A ‘Dashboard’ will appear.
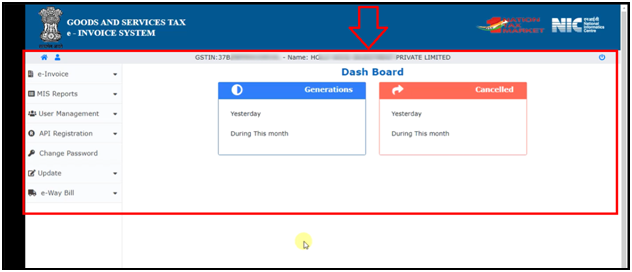
- Click on 'API Registration' from the left side icons given in the Dashboard.
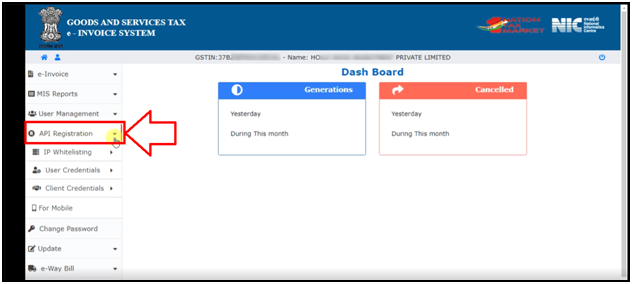
- Click on ‘Create API User’.
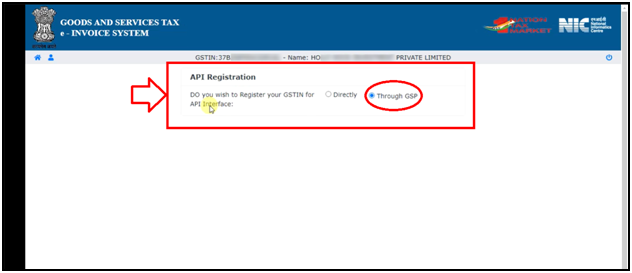
- A message of ‘Do you wish to Register your GSTIN for API Interface’ will appear.
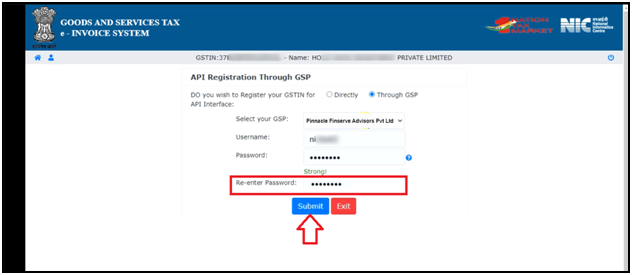
- The user will select 'Through GSP'.
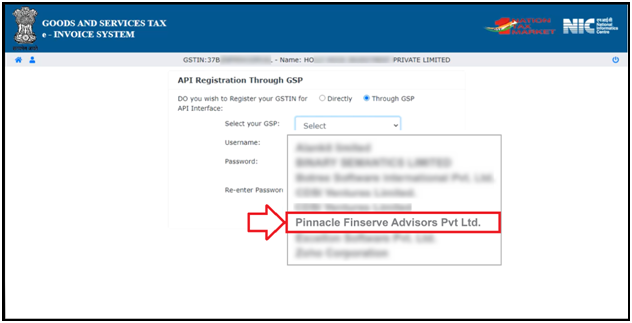
Note: Marg ERP has collaborated with Pinnacle Finserve Advisors Pvt. Ltd. The user can do the registration through this company.
- In ‘Select your GSP’ field, the user will select 'Pinnacle Finserve Advisor Pvt. Ltd.' as GSP.
- Now the user will create the Username & Password as per the requirement.
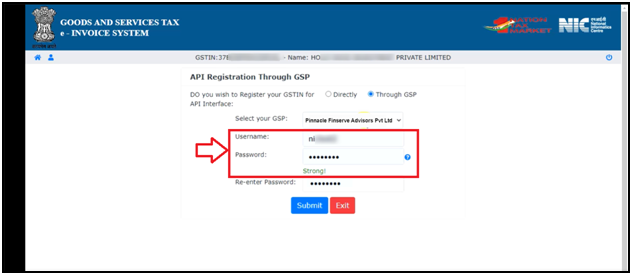
- Re-enter the Password and Click on ‘Submit’ tab.
- A pop of message of ‘Account Created Successfully’ will appear.
- The user will click on ‘OK’.
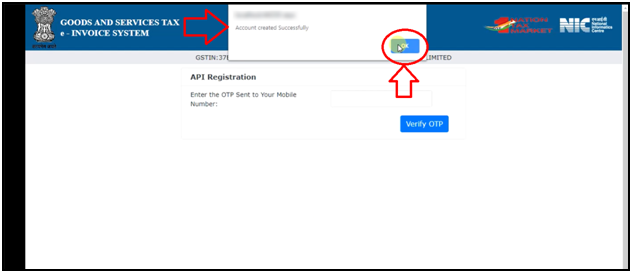
So, in this way, the portal process will be completed.
PROCESS TO UPLOAD SINGLE E-INVOICE IN MARG ERP SOFTWARE
- Go to GST > GSTR Settings.

- The user will select 'E Invoice Settings'.

- An ‘eInvoice Details’ window will appear.
- Click on 'Edit'.

a. E-Invoice Y-On F4 Key, A-Ask, N-No: It means that whenever the user creates an invoice then the software will ask whether to upload the Einvoice on the portal or not.
So the user will set this field as ‘A’.

b. E-Invoice Y-HSN Code I-Item wise N-No (Tax% Only): Select this option if need to upload invoices on a different basis.
Y-HSN: Select the option to needs to upload invoices HSN-wise.
I-Item: Select the option to needs to upload invoices HSN-wise.
Suppose select 'Y'.

c. Include Nil/Exempt items in einvoice: If needs to include Nil/Exempt items along with the Taxable Item then select the option 'Yes' otherwise keep the option as 'No'.

d. Upload Nil/Exempt Bills as Invoice: If needs to upload Nil/Exempt Bills as einvoice then select the option 'Yes' otherwise keep the option as 'No'.

e. Select Your GSP: Select the 'Pinnacle Finserve Advisors Pvt. Ltd.'.

d. eInvoice Login Username & Password: Mention the Username and Password which is created at the time of API Integration.
Click on 'Save' button.

- Now go to GST > Generate eInvoice.

- In 'Period' field, the user will mention the date range for which the invoices need to be viewed.
- Click on 'Show'.

- The user can view all the invoices of B2B, Credit Note or Export (Invoice Type) will get displayed.

- The user can apply a filter to view the Pending, Uploaded, Cancelled, or All Invoices as per the requirement.

- Suppose select 'Pending'.

- The user can select 'B2B/Export/CDNR' to view the invoices as per the requirement.
- By default, all these 3 boxes are already selected.

- The Number of invoices will be displayed as per the applied filter i.e. Pending, Uploaded, Cancelled, or All.

- Select an invoice that needs to be uploaded and then click on 'Generate eInvoice' tab.

- The user will click on 'More' Button.

- The user can view the Transaction details.

- The user can view the Seller Details and Buyer Details.

- The user will click on 'Edit' icon to modify the seller or buyer details as per the requirement.

- The user can view the Dispatch Details and Shipment Details and can also tick on the checkbox of ‘Details excluded’ as per the requirement.

- Tick on the checkbox of 'e-Way Bill' if the user needs to upload an e-Way Bill along with an e-Invoice.
- Click on 'Less' button to exit from the window.

- Click on 'e-Way Details' to mention the e-Way Bill details.

- The user will mention the details as per the requirement.
Note: It is mandatory to fill in the 'Current Date, 'Transporter Doc. No.'/Vehicle No.'.

- Click on the 'Save' button.

- Now click on 'Generate eInvoice' button to upload the selected invoices on the e-Invoice Portal.

- An alert message of 'e-Invoice Successfully Uploaded' will appear along with the Acknowledgement No. and Date.
- Click on 'OK'.

- Another alert of 'Wish to Print e-Invoice' will appear.
- Click on 'Yes' to print e-invoice.

- Thereafter, the user can print e-Invoice as per the requirement.

PROCESS TO UPLOAD BULK E-INVOICE IN MARG ERP SOFTWARE
- The user can tick on the given checkbox and select all the invoices.

- The user can also tick a checkbox to upload selected invoices.

- Click on 'Generate eInvoice' button.

- Click on 'Check for Errors' to check for any errors in the invoices that are getting uploaded.

- If there are any errors in the invoices that are getting uploaded then it will be shown here otherwise it will be shown as blank.
- Click on 'Close'.

- Now the user will click on 'Generate Bulk eInvoice' button.

- An alert message of ‘Do you wish to upload Bulk Invoices’ will be displayed.
- Click on ‘Yes’.

- After successfully uploading the invoices, the user will get bill wise acknowledgment no. in the box.

- An alert of Total Filed or Total Failed will appear.


In This Page


