


Welcome to  -
Marg ERP 9+
-
Marg ERP 9+
Home > Margerp > General Queries > How to set Graph in Marg Software ?
How to set Graph in Marg Software ?

Overview/Introduction of Graph in Marg ERP Software
Process to Set Graph in Marg ERP Software
OVERVIEW/INTRODUCTION OF GRAPH IN MARG ERP SOFTWARE
-
Within the Marg ERP Software, users have the convenient ability to visually analyze and review transaction details related to both sales and purchases through graphical representations.
PROCESS TO SET GRAPH IN MARG ERP SOFTWARE
Note: This particular feature is not accessible in the Basic version.
- Firstly, the user needs to Delete the desktop image from the software.
- Next the user needs to download the Marg Graph tool to visit Marg official website www.margerp.com.
- Then click on 'Downloads' tab.

- Then click on 'Download Graphic tool'.

- Thereafter, the user will click on 'Downloads' and copy that downloaded graphic tool.

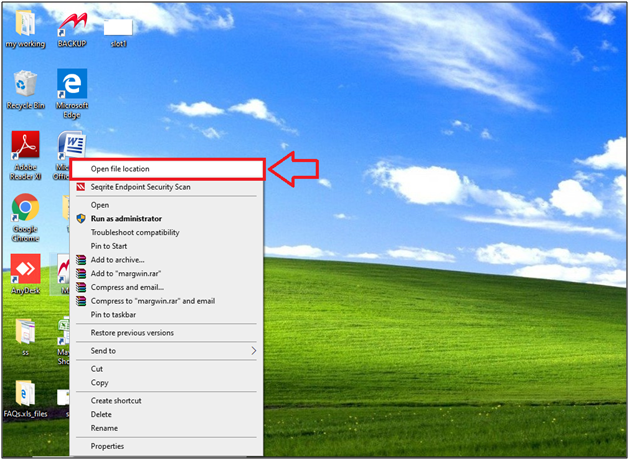
- Then, Go to Marg Folder > Right Click on Marg Icon > Open file location. Press Enter.
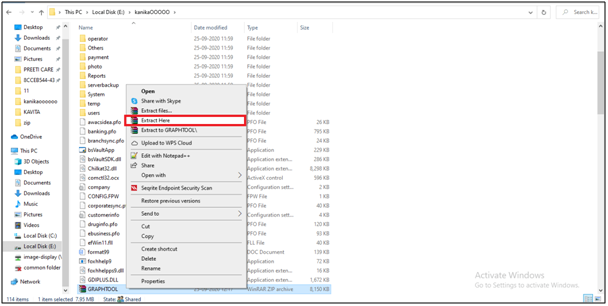
- The Marg folder will open where user needs to paste the copied graphic tool.

- Now the pasted folder can be viewed and the user needs to Extract it.
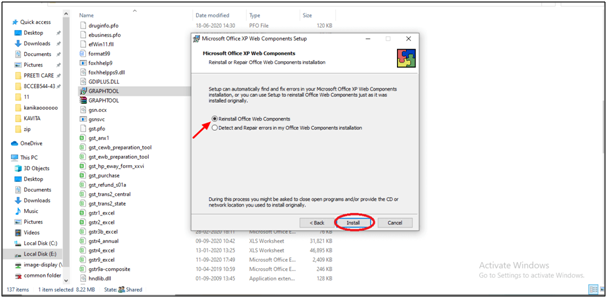
- Then double click on extracted file and then click on 'Next'.

- Select 'Reinstall office web Components'.
- Then click on 'Install'.
- Then click on 'Ok'.

Note: After the installation process the user needs to again install the Graphic tool in the Marg system folder.(Follow the above process).
- Now, the user will open the software.

After following the above steps, the user can view that the Graph will get displayed on the dashboard of the Marg Software.


Alternative answer:-
Go to Desktop > Right click on Marg icon > Click on Open file location > Marg folder will be open > Search---"System" > System folder will be shown > Open that folder by press enter key and paste graph tool into that folder > After paste graph tool also install into system folder > Then press backspace key and exit from the marg folder and Run marg software.
In This Page


