

Welcome to  -
Marg ERP 9+
-
Marg ERP 9+
Home > Margerp > International > How to Export & Import Accounts and Inventory in Marg Software?
How to Export & Import Accounts and Inventory in Marg Software?

Overview/Introduction to Data Export/Import in Marg Software
Steps to Export Accounts and Inventory in Marg Software
Steps to Import Accounts and Inventory in Marg Software
OVERVIEW/INTRODUCTION TO DATA EXPORT/IMPORT IN MARG SOFTWARE
- This option of Marg ERP software facilitates you to export/import products, ledgers, vouchers, sale & purchase transactions, etc creating any method.
- This option only works on ‘Marg to Marg’ i.e. the data should be exported through the Marg software and also should be imported in Marg Software.
STEPS TO EXPORT ACCOUNTS AND INVENTORY IN MARG SOFTWARE
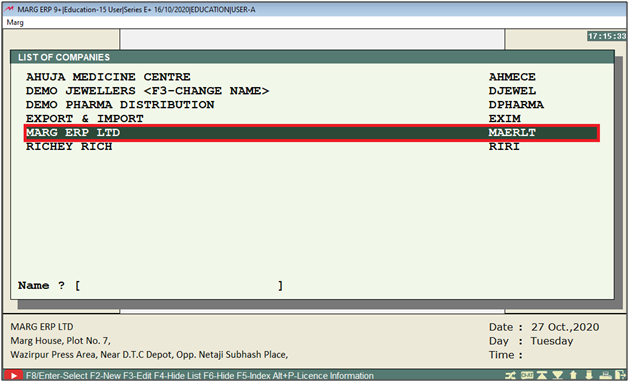
Suppose, we are exporting the data of ‘Marg ERP LTD’ so firstly select the company. Press Enter.
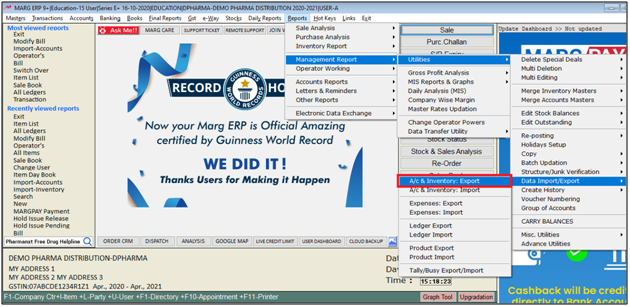
- Then, go to Reports > Management Reports > Utilities > Data Import/Export > A/c Inventory: Export. Press Enter.
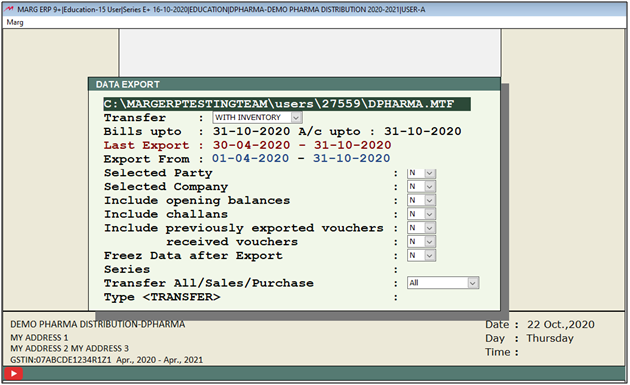
- A Data Export window will appear.
- Mention the location where the file needs to be saved.
1. Transfer: Select whether the data needs to be exported with ‘Inventory’ or only ‘Accounts’.
2. Bills up to: In this field the software will show the last bill date created in the software.
3. Last Export: In this field the software will show the last export date of the data.
4. Export From: In this field you need to mention the time period i.e. from which to which date you need to export the data.
5. Selected Party: Select ‘Y’ if the data of selected parties needs to be exported, otherwise keep the option as ‘No’.
6. Selected Company: Select ‘Y’ if the data of selected companies needs to be exported, otherwise keep the option as ‘No’.
7. Include opening balances: Select ‘Y’ if the data needs to be exported with their opening balances, otherwise keep the option as ‘No’.
8. Include Challans: Select ‘Y’ if the data needs to be exported with challans, otherwise keep the option as ‘No’.
9. Include previously exported vouchers: Select ‘Y’ if the previously exported vouchers need to be exported again, otherwise keeps the option as ‘No’.
10. Freeze Data after Export: Select ‘Y’ if you need to freeze the data after export, otherwise keep the option as ‘No’.
11. Series: Mention the series (if needed).
12. Transfer All/Sales/Purchase: Select ‘All’ if all transactions need to be exported, otherwise select the type of transaction as per the requirement from the dropdown.
- Now type "TRANSFER" to confirm the export.
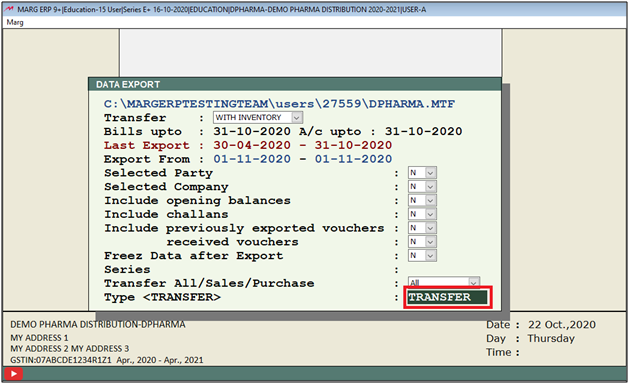
- Thereafter you will see that the data will get exported on selected location.
STEPS TO IMPORT ACCOUNTS AND INVENTORY IN MARG SOFTWARE
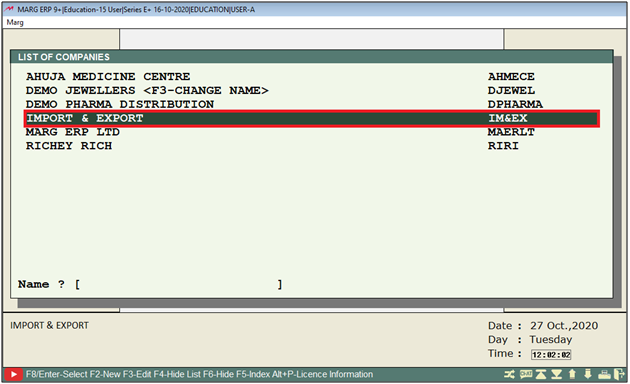
- Now we are importing the data in the ‘Import & Export’. So firstly select the company then press Enter.
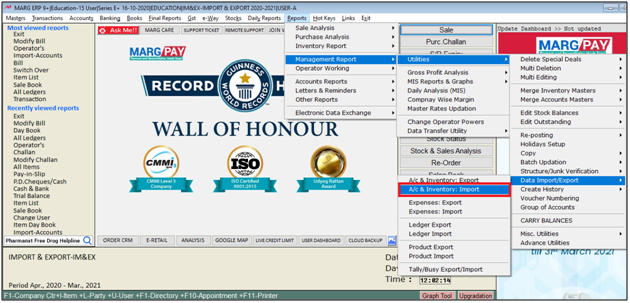
- Then, go to Reports > Management Reports > Utilities > Data Import/Export > A/c Inventory: Import. Press Enter.
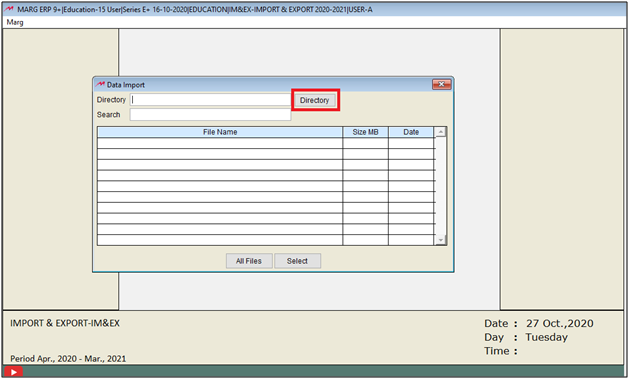
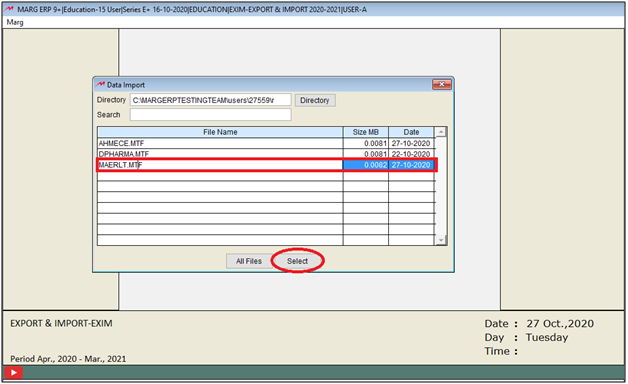
- A 'Data Import' window will appear.
- The user will select a location from where the user needs to import the transaction.
- Then click on 'Directory'.
- Suppose, select ‘Reports’.
- Then click on ‘OK’.

- Then select the file as per the requirement.
- Suppose, select ‘MARELT.MTF’.
- Then click on 'Select'.
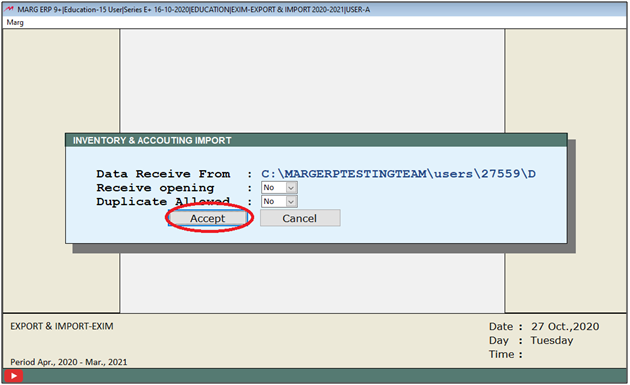
- Now an Inventory & Accounting Import window will appear.
- Select the options as per the requirement then click on ‘Accept’.
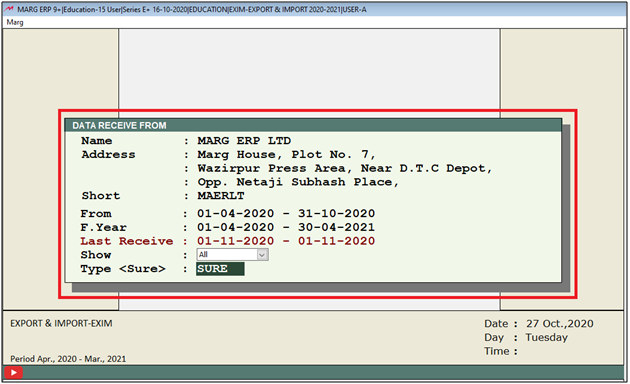
- Then a Data Receive From window will appear.
- Now select the options as per the requirement.
- Then type “SURE” to start import.
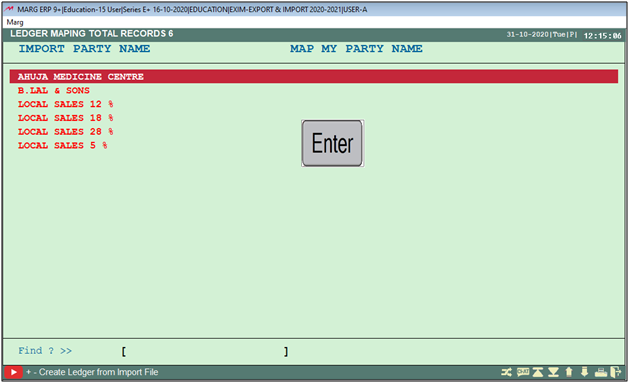
- Now all ledgers to be mapped will appear.
- Press Enter to Map the ledgers.
Note: You can also create the ledger on this window by simply pressing ‘+’ key
- Then MAP window will appear.
- Choose the ledger with which the imported ledger needs to be merged.
- Suppose, select GST Local Sales 12%.

- Now after all the ledgers are being mapped then press ESC key to save the changes.

- Click on ‘Yes’ to save the changes.

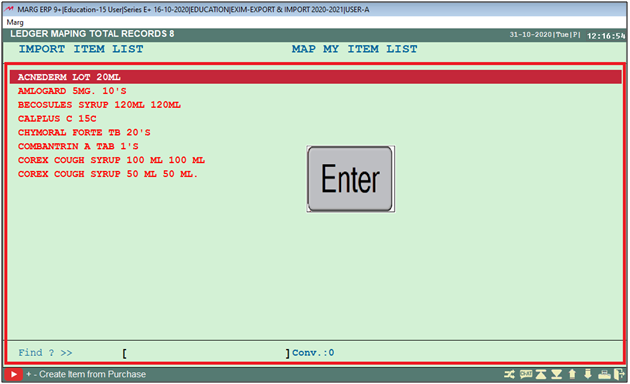
- Now all Items to be mapped will get displayed.
- Press Enter to Map the Items.
Note: You can also create the Items on this window by simply pressing ‘+’ key.
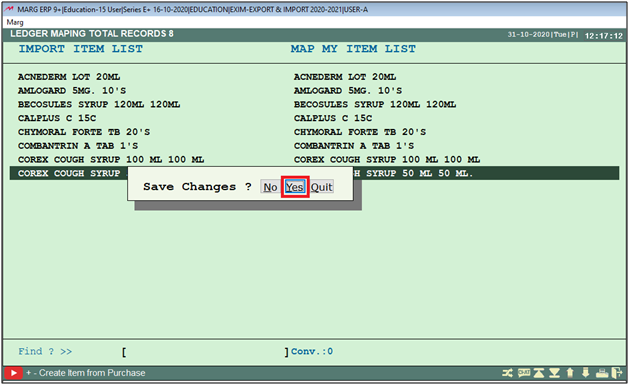
- Now after all the items are being mapped then press ESC key to save the changes.

- Click on ‘Yes’ to save the changes.
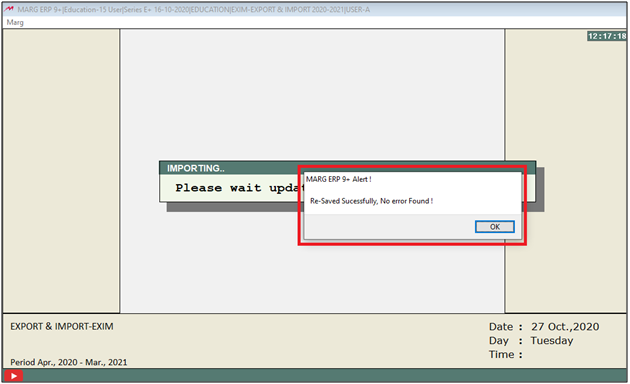
- Now after importing the data software show an alert ‘Re-saved successfully, No error Found’.
- Click on ‘Ok’.
- An Importing window will appear.
- In ‘Delete Import File’, select ‘Yes/No’ as per the requirement.

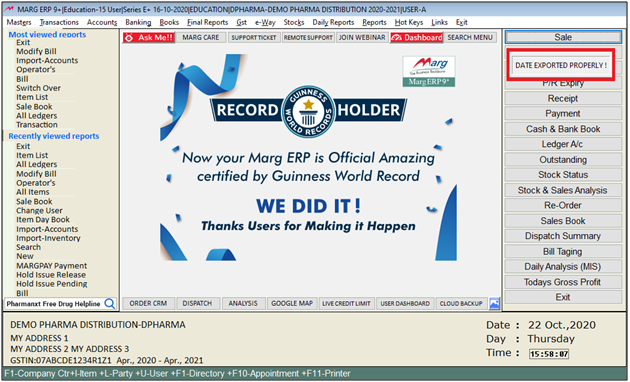
- Thereafter all the process is being done, software shows the confirmation alert ‘Data Imported properly’.
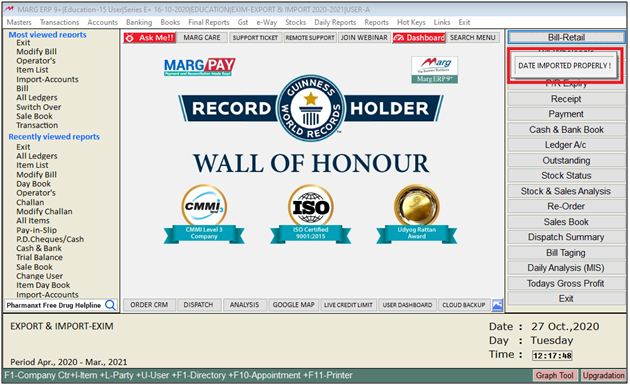
After following the above steps, the data will get imported successfully.

In This Page


