

Welcome to  -
Marg ERP 9+
-
Marg ERP 9+
Home > Margerp > Single Entry > How to create Single Entry in Marg Software ?
How to create Single Entry in Marg Software ?

Overview/Introduction to Single Entry in Marg ERP Software
Process of Single Entry in Marg ERP Software
OVERVIEW/INTRODUCTION TO SINGLE ENTRY IN MARG ERP SOFTWARE
- With the help of Marg ERP software, users can easily create a single entry.
- It is a method of book keeping that recognizes only one side of a business transaction and usually consists only of a record of cash and personal accounts with debtors and creditors.
- In this system, Personal accounts like sundry debtors and sundry creditor's accounts are maintained, but real and nominal accounts are not opened under this system.
- Single entry system followed for expenses paid, purchases of goods, purchases of fixed assets, etc.
PROCESS OF SINGLE ENTRY IN MARG ERP SOFTWARE
In order to pass a single entry, the user needs to follow the below steps:
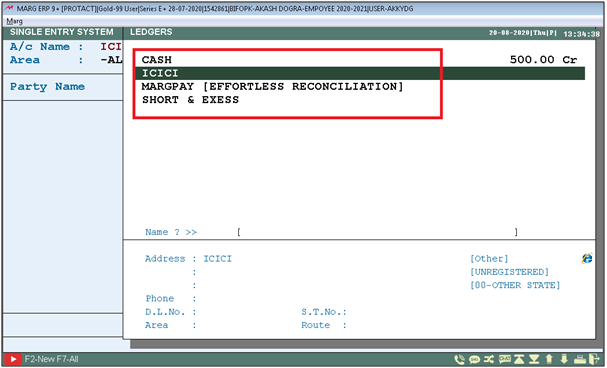
- Go to Accounts > Single Entry > Cash & Bank.

- A 'Ledgers' window will appear in which user will select ledger as per the requirement.
- Suppose select 'ICICI'
Note: In case user have selected bank ledger, then we can also pass the entry for cash in it. However, if select Cash's ledger then can only record the cash transactions.
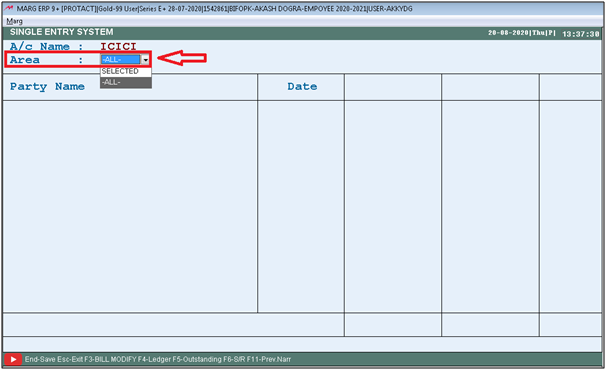
- A 'Single Entry System' window will appear.
- In 'Area', the user will select 'All/ selected' as per the requirement.
- Suppose select 'All'.Press 'Enter' key
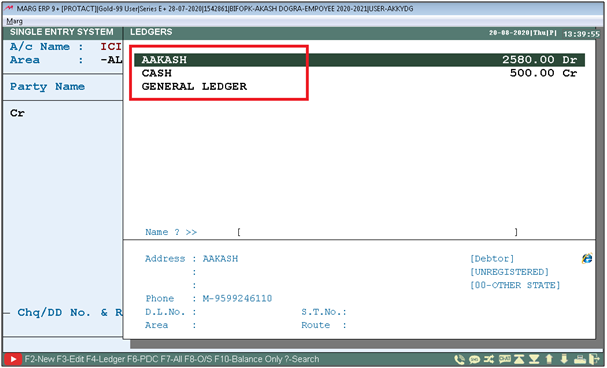
- Now select the party for which the single entry transaction needs to be created.
- The user can select Debtor to pass receipt entry or select Creditor to pass payment entry.
- Suppose select 'Aakash' which is Sundry Debtor.
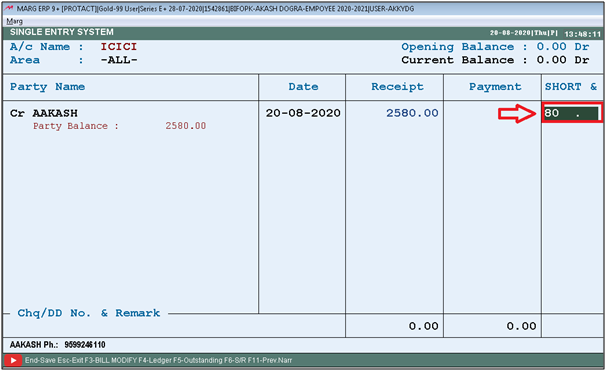
- Then enter date and enter receipt amount as per the requirement. Press 'Enter' key.
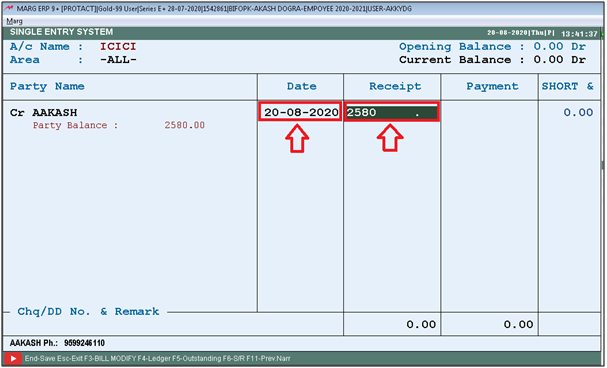
- Now, in 'Short' the user will enter a short amount (If any) and press 'Enter' key.
Note: This filed of Short & Excess is used to record the discrepancy between a company's reported figures (from its sales records or receipts).
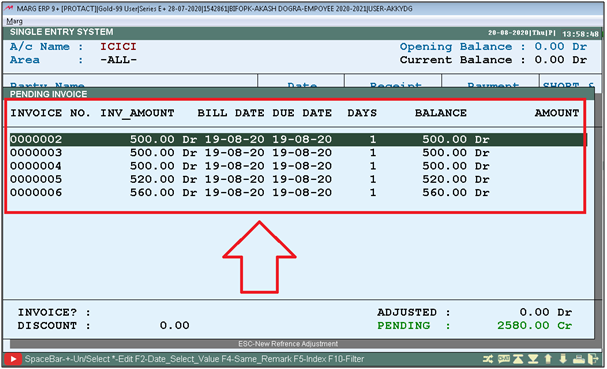
- A 'Bill Adjustment' window will appear, in which the user needs to select those bills against which the single entry is being created.
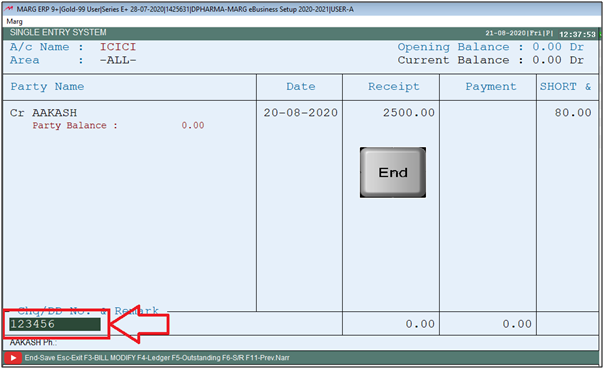
- After that user will Enter the cheque no. in 'Chq/DD No.' field.
- Now Press 'End' key to save the details.
- A 'Save Changes' window will appear.
- Then click on 'Yes' to save the details.


In This Page


