

Welcome to  -
Marg ERP 9+
-
Marg ERP 9+
Home > Margerp > Transaction Analysis > How to view Business Analysis Report in Marg Software ?
How to view Business Analysis Report in Marg Software ?

Overview of Business Analysis Report in Marg Software
Process to View Business Analysis Report in Marg Software
OVERVIEW OF BUSINESS ANALYSIS REPORT IN MARG SOFTWARE
- Business Analysis option in Marg ERP Software enables the user to generate customized reports and filter the reports as per their requirement.
- The user can print their Reports in different formats i.e. GUI View, DOS View, Export/Generate it in Excel and can also compare reports of a particular period.
PROCESS TO VIEW BUSINESS ANALYSIS REPORT IN MARG SOFTWARE
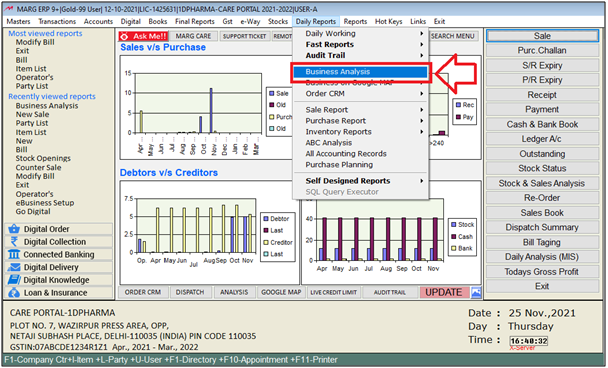
- Go to Daily Reports >> Business Analysis. Press Enter
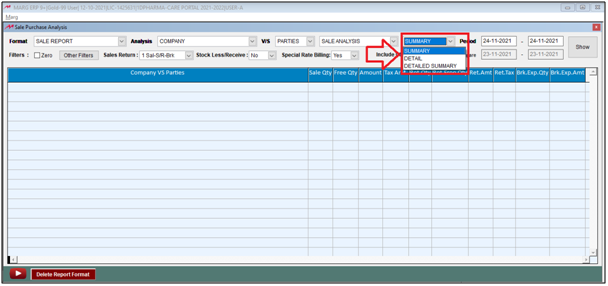
A ‘Sale Purchase Analysis’ window will appear with some options:
a. Format: Here the user can view those templates which have been saved previously at the time of viewing business analysis report (with all the required filters).
b. Analysis: In this option the user can select on which basis the user needs to analyze the report i.e. Company, item, Area, Route, Party, etc.
Suppose select ‘Company’.
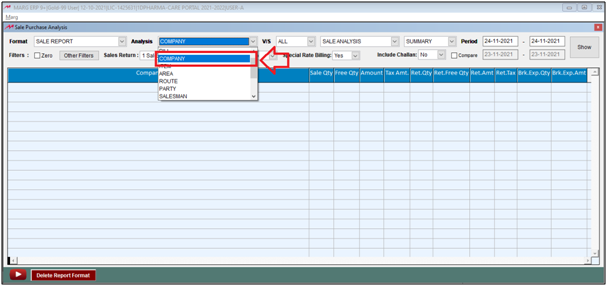
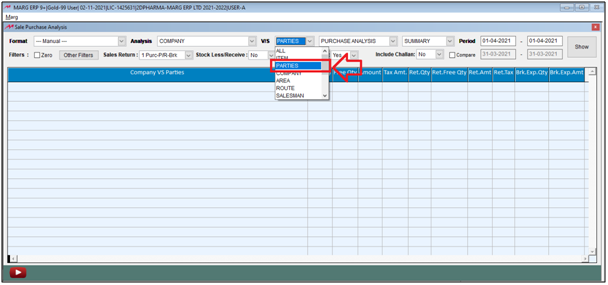
c. V/S: As select Company, the user will select on the behalf of the company what the user needs to analyze like Company V/S Item, Company V/S Parties, etc.
Suppose select ‘Parties’.
- Now the user will select for which transaction the user needs to view the report like Sale Analysis, Sale Scheme Register, Sale Return Analysis, Purchase Analysis, etc.
- Suppose select ‘Sale Analysis’.
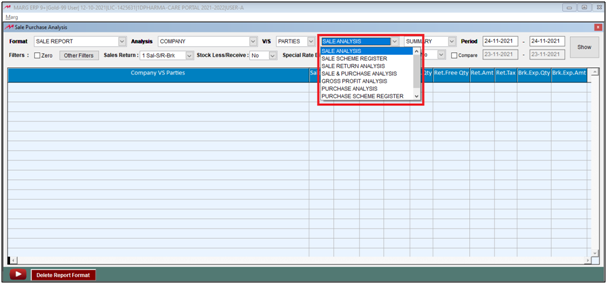
- Then the user will select the on which basis the report needs to be viewed i.e. Summary, Detail or Detailed Summary.
- Suppose select ‘Summary’.
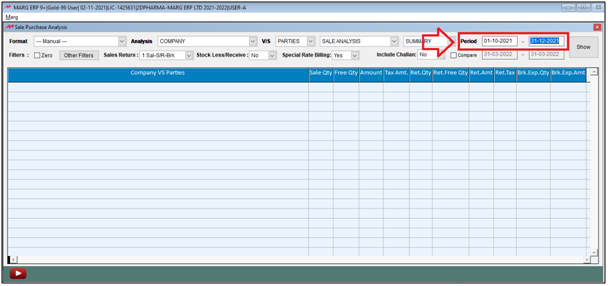
d. Period: Here the user can select the Period i.e. from which date till which date the report needs to be viewed.
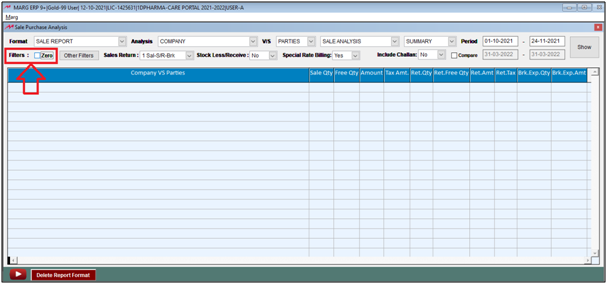
e. Filters: If the user needs to view those items in the report which have not been sold, then the can select this option otherwise kept as default.
f. Other Filters: If the user needs to enable more options for this report then click on it.
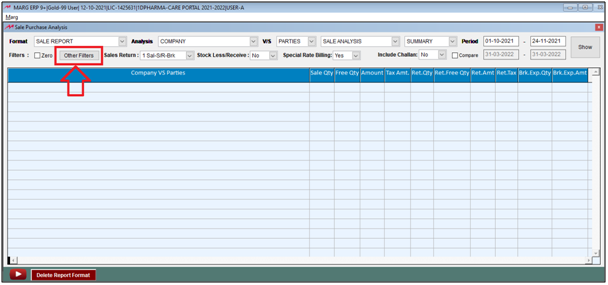
- An ‘Other Filters’ window will appear.
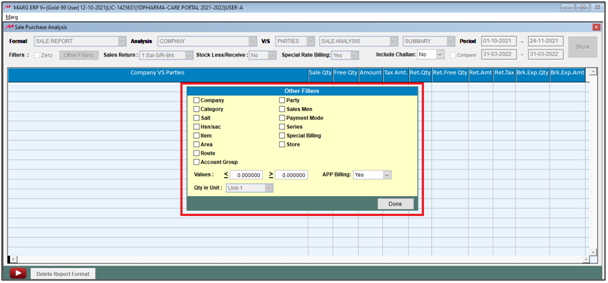
1. Company: If the user needs the report of any specific Company then the user selects this option, so it will ask to select the specific Company.
2. Category: If the user needs the report of any specific Category then the user selects this option, so it will ask to select the specific Category.
3. Salt: If the user needs the report of any specific Salt then the user selects this option, so it will ask to select the specific Salt.
4. HSN/SAC: If the user needs the report of any specific HSN/SAC then the user selects this option, so it will ask to select the specific HSN/SAC.
5. Item: If the user needs the report of any specific Item then the user selects this option, so it will ask to select the specific Item.
6. Area: If the user needs the report of any specific Area then the user selects this option, so it will ask to select the specific Area.
7. Route: If the user needs the report of any specific Area then the user selects this option, so it will ask to select the specific Area.
8. Account Group: If the user needs the report of any specific Account Group then the user selects this option, so it will ask to select the specific Account Group.
9. Party: If the user needs the report of any specific Party then the user selects this option, so it will ask to select the specific Party.
10. Salesman: If the user needs the report of any specific Salesman then the user selects this option, so it will ask to select the specific Salesman.
11. Payment Mode: If the user needs the report of any specific Payment Mode then the user selects this option, so it will ask to select the specific Payment Mode.
12. Series: If the user needs the report of any specific Series then the user selects this option, so it will ask to select the specific Series.
13. Special Billing: If the user needs the report of Old Rate, GST Change, Supplied etc. then the user selects this option and choose option as per the requirement.
14. Store: : If the user needs the report of any specific Store then the user selects this option, so it will ask to select the specific Store.
15. Values: With the help of this option, the user can filter the report on the basis of bill value.
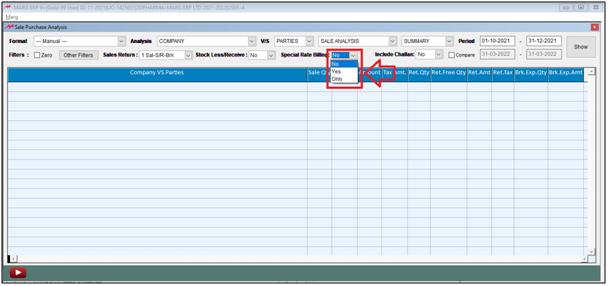
16. App Billing:
- Yes: If the user needs to view the report with the sales bills which have been created from the order received from the app, then select 'Yes'.
- Only: : If the user needs to view the report only the sales bills which have been created from the order received from the app, then select 'Only'.
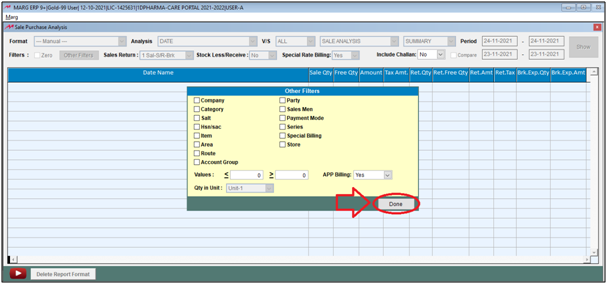
- Then click on ‘Done’.
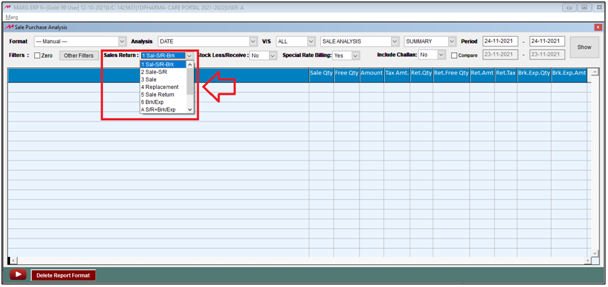
g. Sales Return: Now the user will select for which transaction the user needs to view the report like Sale-Sale Return-Brk, Sale-Sale Return, Sale, Replacement etc.
Suppose select ‘Sale-Sale Return-Brk’.
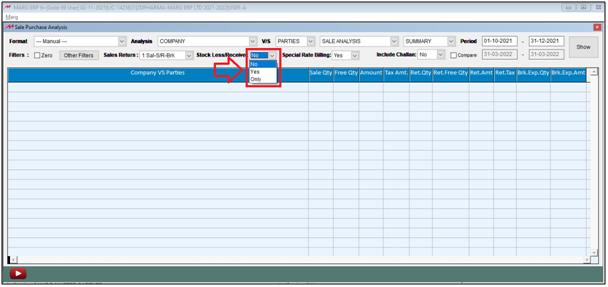
h. Stock Less/Receive:
Yes: If the user needs to view the report with Stock Less and Stock Receive entries, then select ‘Yes’.
No: : If the user needs to view the report without Stock Less and Stock Receive entries, then select ‘No’.
Only: : If the user needs to view report of only Stock Less and Stock Receive entries, then select ‘Only’.
Suppose select ‘No’.
i. Special Rate Billing:
Yes: If the user needs to view the report with special rate transactions, then select ‘Yes’.
No: : If the user needs to view the report without special rate transactions, then select ‘No’.
Only: : If the user needs to view report of only special rate transactions, then select ‘Only’.
Suppose select ‘No’.
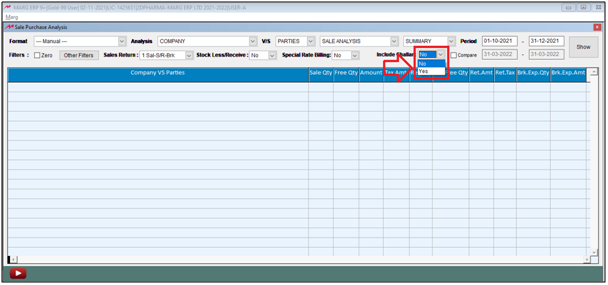
j. Include Challan: If the user needs to view the report with Challan then select 'Yes', otherwise kept as default.
Suppose select ‘No’.
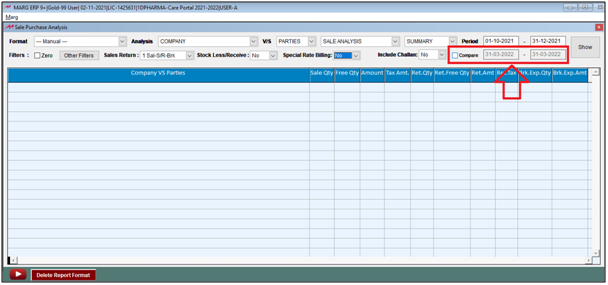
k. Compare: If the user needs to compare that report with the sales report of another period, then tick the checkbox and mention the date from which date to which date needs to compare the report.
- Then click on ‘Show’ button.
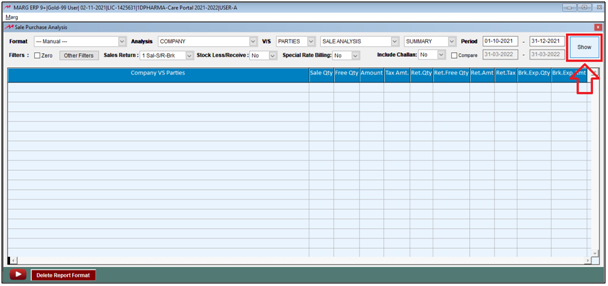
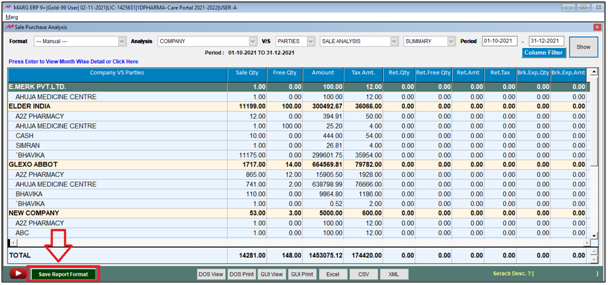
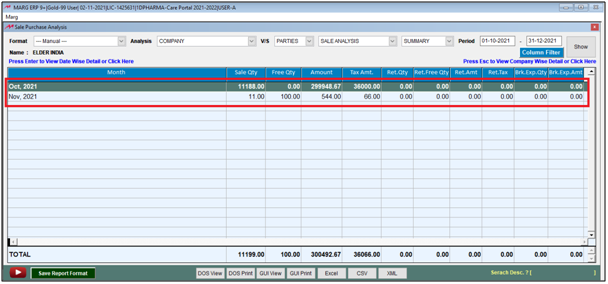
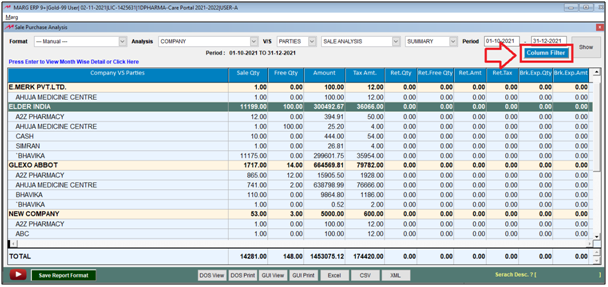
- After following the above steps, the Sale Report will get generated.

- In order to save the Report, the user will click on the ‘Save Report Format’ button.
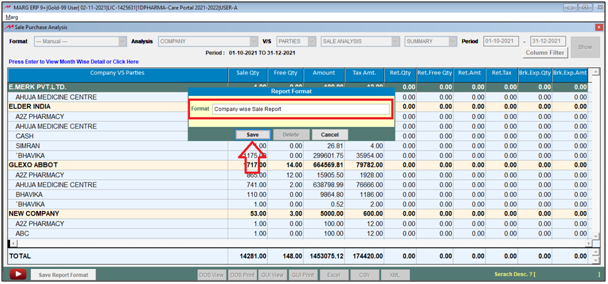
- A ‘Report Format’ window will appear.
- In ‘Format’ field, the user will mention the name of the report as per the requirement.
- Suppose mention ‘Company wise Sale Report’.
- Click on ‘Save’ to save the report.
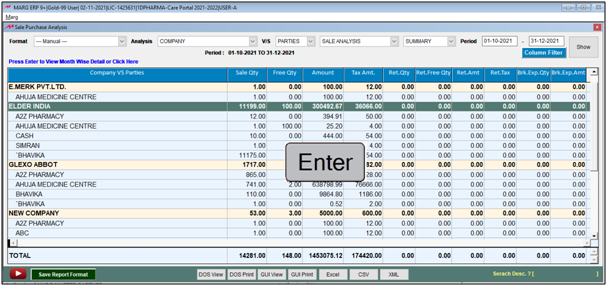
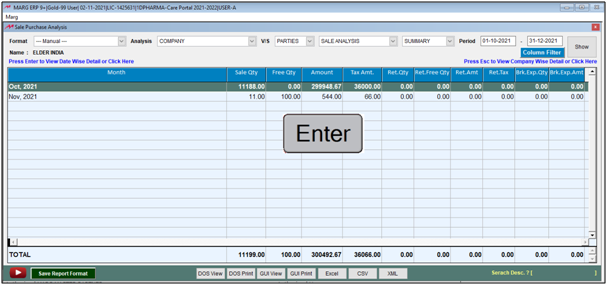
- Now press ‘Enter’ on selected company for further details.
- Suppose select ‘Elder India’.
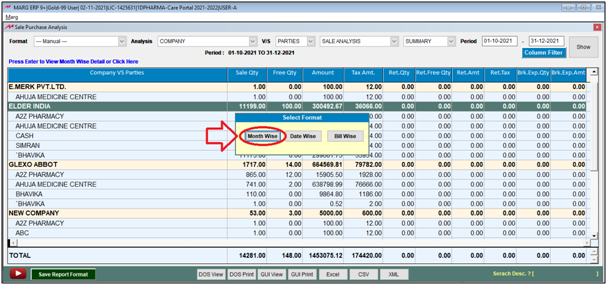
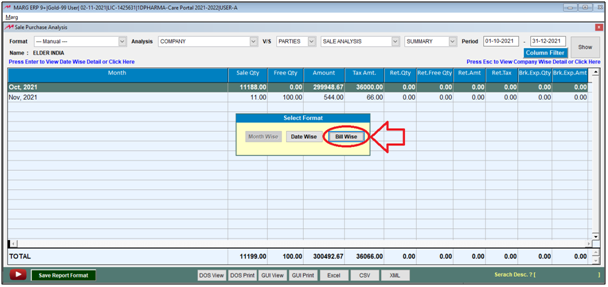
- A ‘Report Format’ window will appear.
- Select the format in which the report needs to be viewed i.e. Month wise, Day wise or Bill wise.
- Suppose select ‘Month Wise’.
- Then user can view the month wise report of selected company has been generated.
- Now as the user will keep on pressing 'Enter' key then further details of that particular company will get displayed.
- Select Date wise or Bill wise as per the requirement.
- Suppose select ‘Bill Wise’.
- The user can view the further details of the selected company.
- Press 'Enter' for further details.
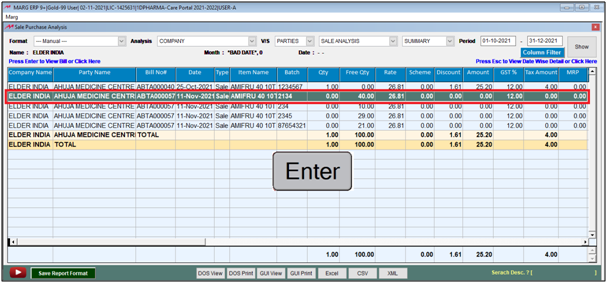
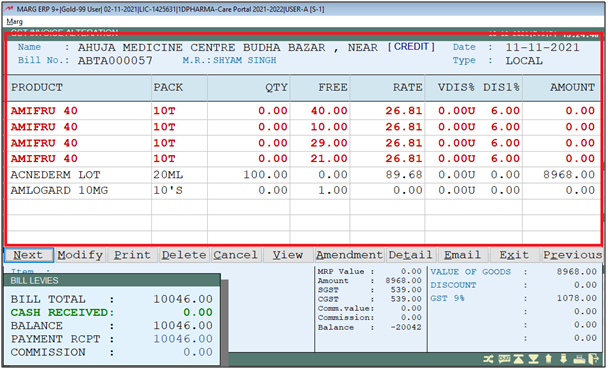
- The user can view the details of the selected bill.
- Now, here the user can view the option of ‘Column Filter’ with the help of which the user can delete those columns of the report which he does not need.

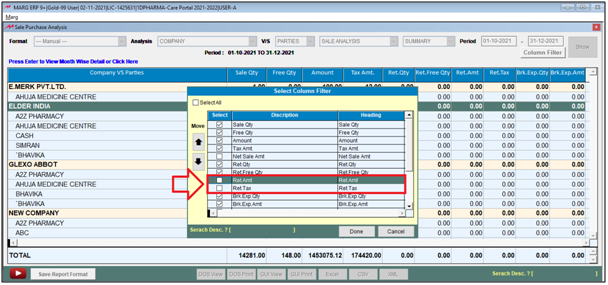
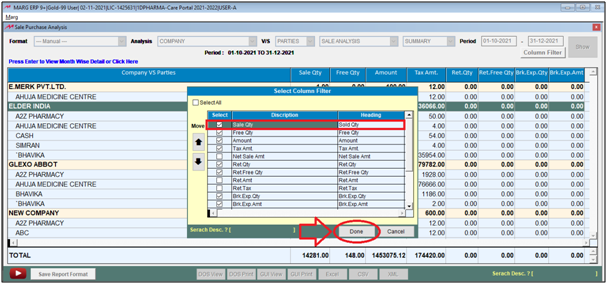
- Then a ‘Select Column Filter’ window will appear.
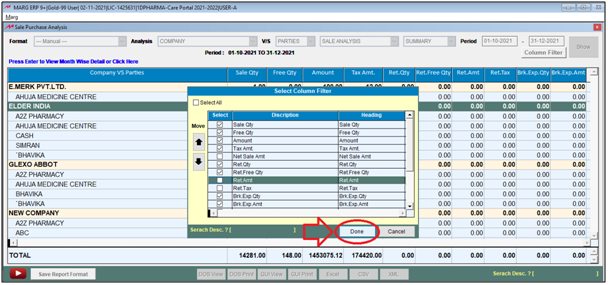
- Un-Select the column which needs to be deleted from the report.
- Suppose un-select ‘Ret. Amt & Ret. Tax’.
- Then click on ‘Done’.
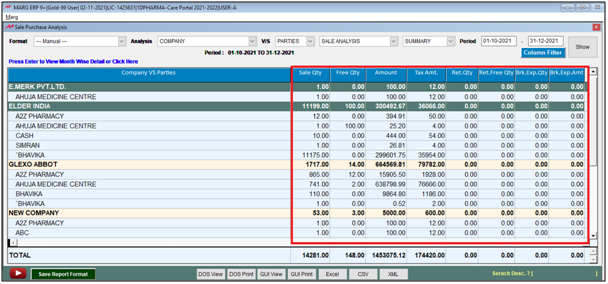
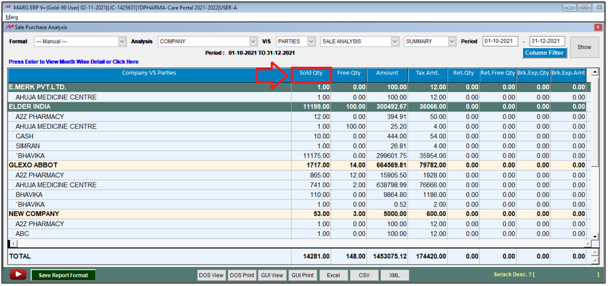
- Now the user can view that selected column has been removed from the report.
- In order to rename the heading of the column, click on ‘Column Filter’ button.
- Now the user can rename the column heading as per the requirement.
- Suppose rename ‘Sale Qty’ with ‘Sold Qty’.
- Then click on ‘Done’.
- Now the user can view, heading of the sale qty column has been changed.
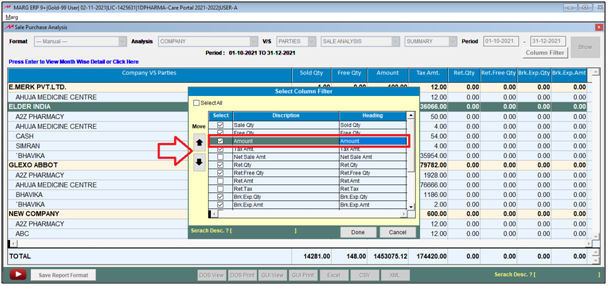
- Along with it If the user needs to change the sequence of the column, then the user will select the column and click on ‘Up ’ & ‘Down’ arrow key as per the requirement.
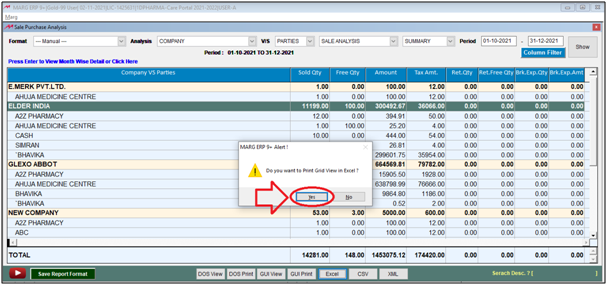
- Then select report format in which the report needs to be generated i.e. DOS View, DOS Print, GUI View, GUI Print, Excel, CSV etc. as per the requirement.
- Suppose select ‘Excel’.

- Click on ‘Yes’.
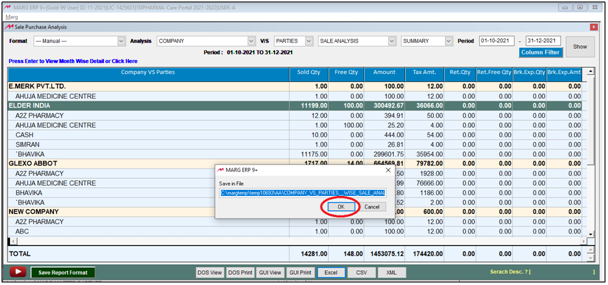
- A ‘Save in File’ window will appear in which the user will view the location in which the excel file will be saved.
- Click on ‘Ok’.
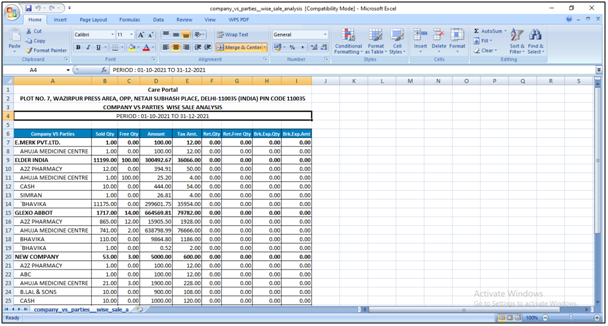
After following the above steps, the report will get generated in excel format.

In This Page


